
Smooth heels at home are a big deal: one electric foot file on Amazon has 26,102 ratings.
That’s a lot of people skipping the salon chair.
An at home pedicure is one of the easiest wins in nail care, as long as you work in the right order and keep blades away from your skin.
Below are the 9 steps, the tools that matter, and the shortcuts that quietly damage your feet.
At a glance
- Best for
- Anyone with healthy feet who wants neat toes and softer heels. Skip it if you have diabetes, poor circulation or an open sore on your feet.
- Cost
- Free if you use what you own; a basic kit and polish are the only buys.
- Time
- Same day (one evening, plus drying time).
- First step
- Lay down a towel and gather every tool before you start.
How to Do a Pedicure at Home, Step by Step
An at-home pedicure works in this order: take off old polish, trim and file dry nails, soak, buff away dead skin, push back cuticles, scrub and dry, moisturize, then paint. Trimming before the soak matters, because dry toenails cut cleanly while soaked ones bend and tear.
Step 1: Take Off Old Polish
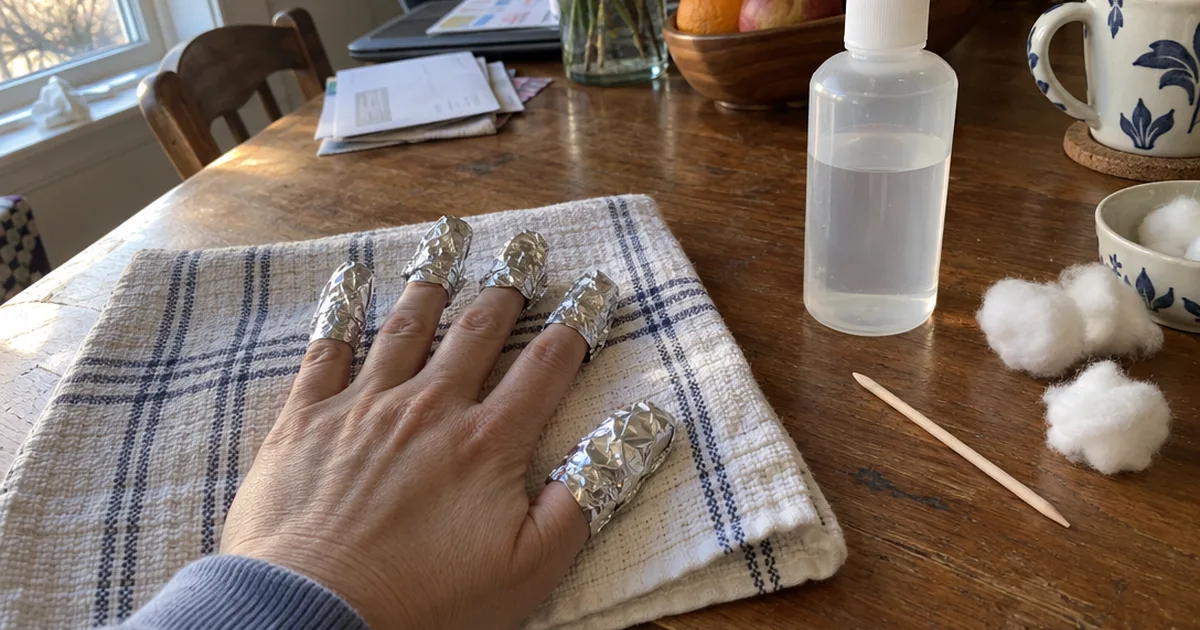
Press a cotton pad soaked in acetone or non-acetone nail polish remover onto each toenail for a few seconds, then wipe from the base to the tip.
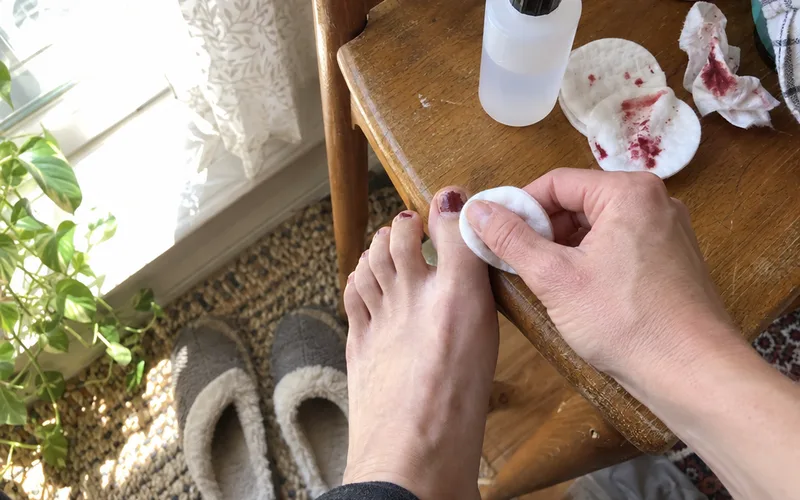
Letting the remover sit loosens the color, so you don’t have to scrub. If you’re coming off gel, follow the gentler gel and dip removal steps instead of picking it off.
Step 2: Trim Your Toenails Straight Across
Clip each nail straight across with a straight-edged toenail clipper, leaving a little white at the tip.
Don’t curve the corners down to follow your toe. Rounded, short corners are the classic setup for ingrown nails, because the edge can grow into the skin beside it.
Step 3: File the Edges Smooth
Run a nail file across the tip in one direction to smooth any sharp edge, keeping the shape squared off.
A glass file or a regular emery board both work, and smooth tips hold polish longer.
Step 4: Soak Your Feet in Warm Water
Fill a basin with comfortably warm water, add a handful of Epsom salt or a squirt of body wash, and soak until your skin feels soft.
Step 5: Buff Away Dead Skin and Calluses
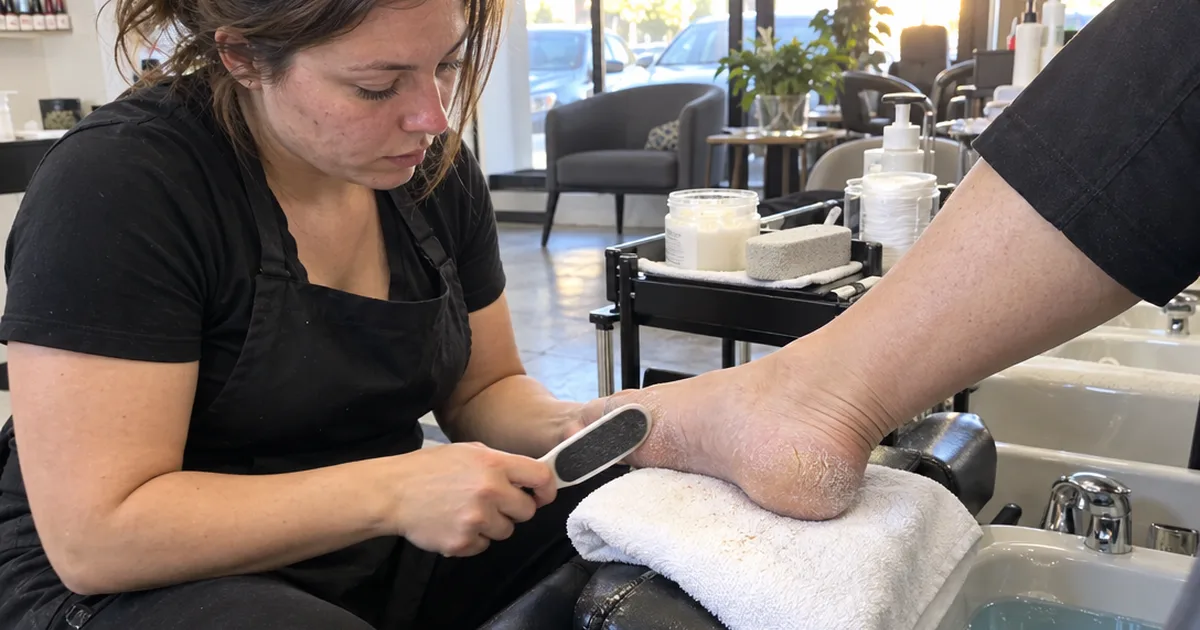
Pat your feet mostly dry, then work a pumice stone or foot file over your heels, the balls of your feet and the outer edge of each big toe.
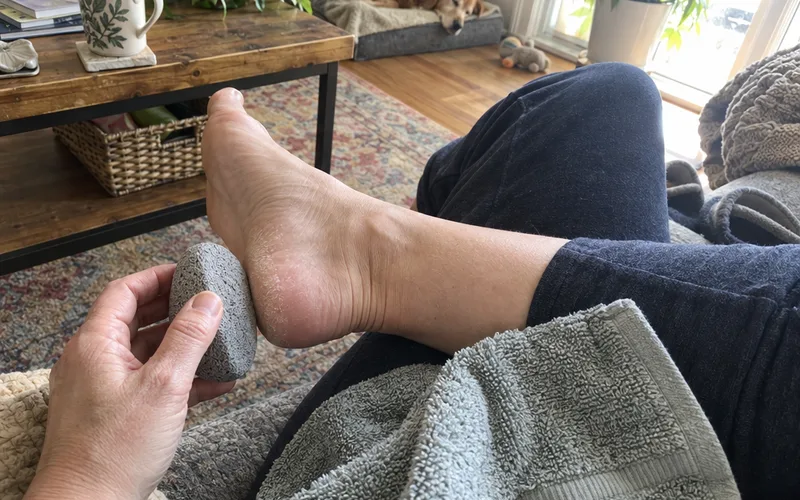
Use light, back-and-forth strokes and stop while the skin still feels firm, not tender. A callus is there to protect you, so the goal is smooth, not gone.
Step 6: Push Back Your Cuticles (Don’t Cut Them)
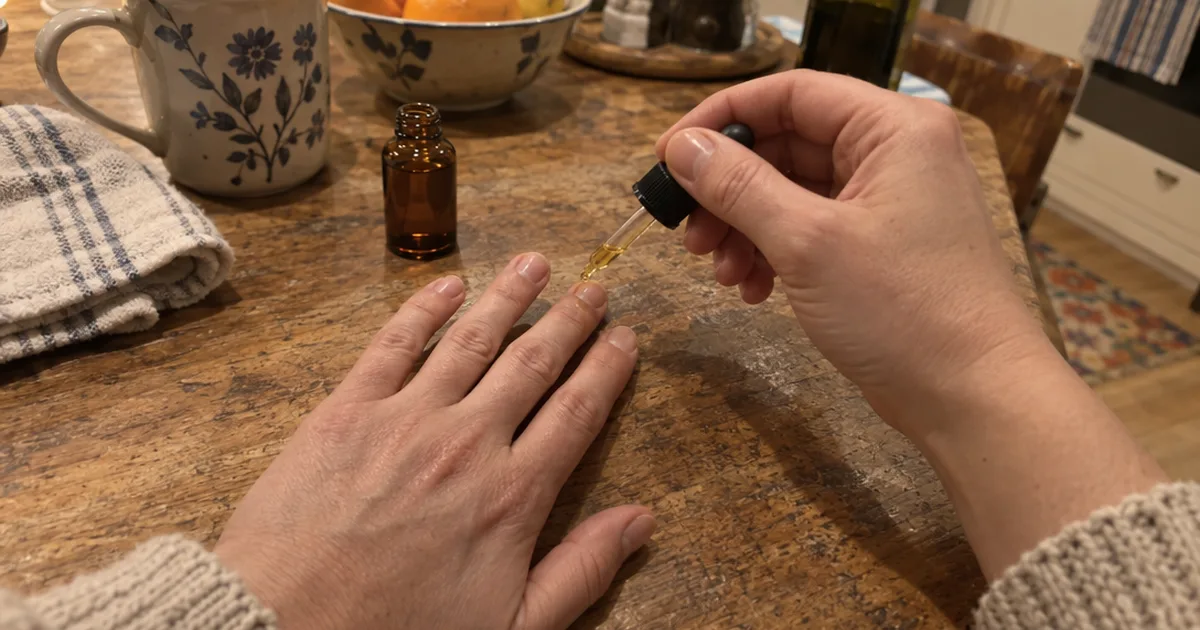
Massage a drop of cuticle oil into each cuticle, then nudge it back gently with a cuticle pusher or orange stick.
That’s it. The cuticle seals the base of the nail against germs, so cutting it trades a slightly neater look for a real infection risk.
Step 7: Scrub, Rinse and Dry Between Your Toes
Rub a foot scrub over damp feet for a minute, rinse, then dry every toe gap with a towel.
Damp skin between the toes is where a fungal infection like athlete’s foot likes to settle, so this drying step matters more than the scrub. If you want to mix your own, these homemade foot scrub recipes use kitchen basics.
Step 8: Moisturize, Then Wipe Your Nails Clean
Massage a thick foot cream with shea butter, or plain petroleum jelly, into your heels and soles, then swipe each toenail with remover to strip off the lotion.
Polish can’t grip a nail coated in moisturizer. This one wipe is the difference between color that chips in days and color that lasts.
Step 9: Paint: Base Coat, 2 Thin Coats, Top Coat
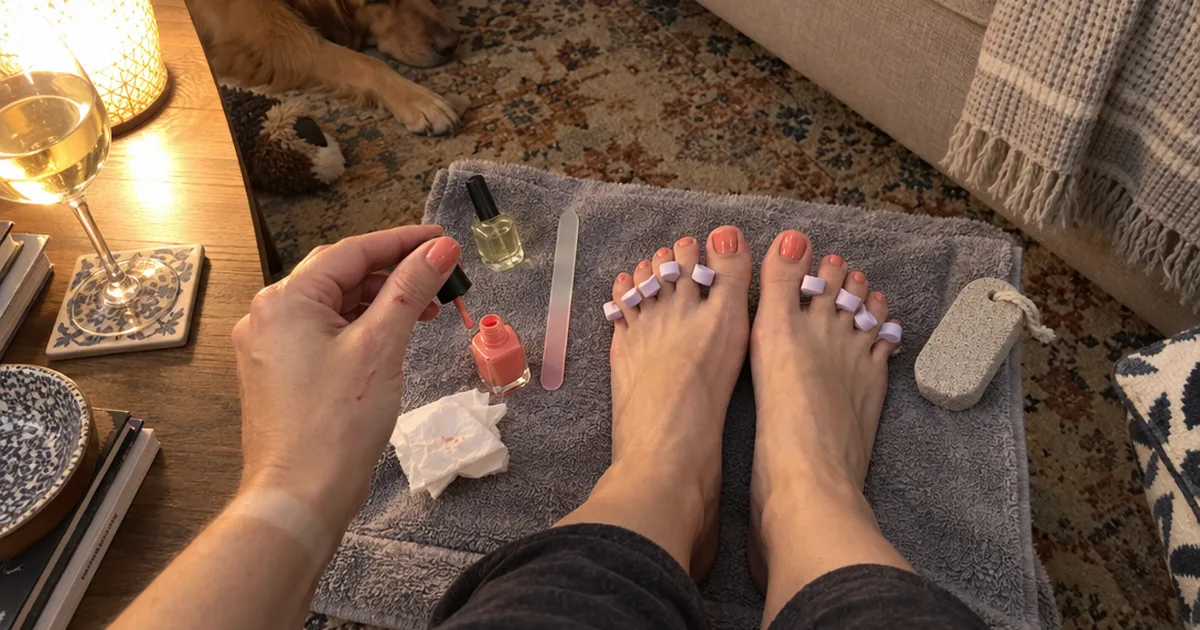
Put in toe separators, then apply a base coat, 2 thin coats of color and a top coat, letting each layer dry before the next.
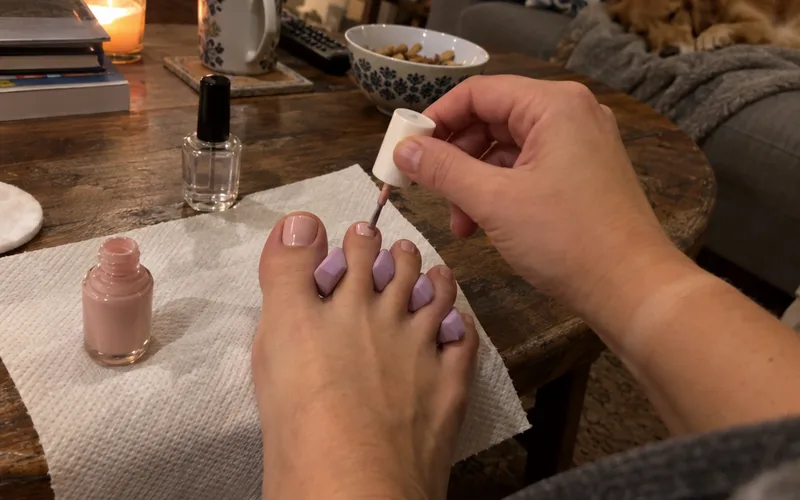
Then let your toes dry fully before socks or closed shoes.
What You Need for an At-Home Pedicure
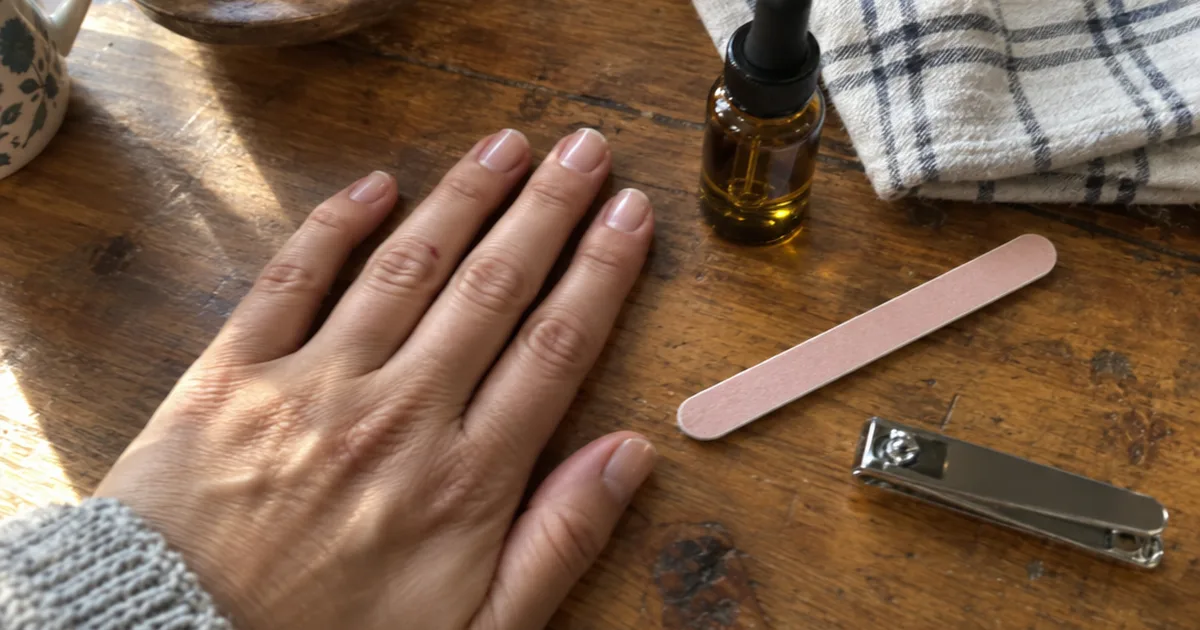
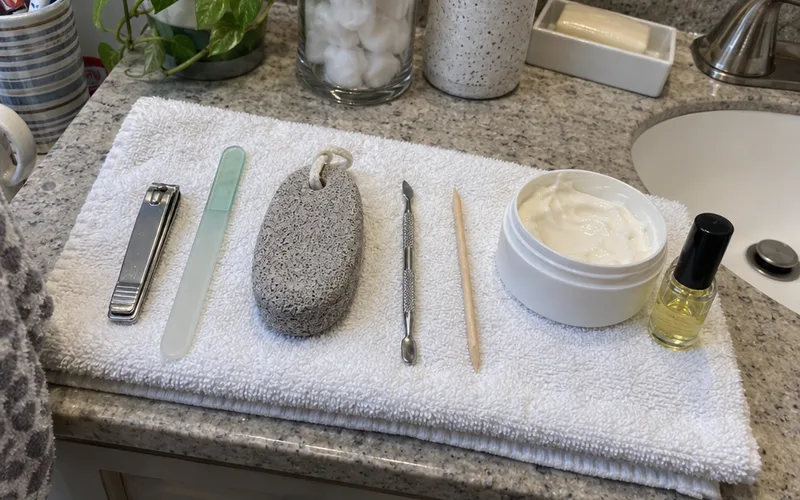
You need four tools for an at-home pedicure: a straight-edged toenail clipper, a nail file, a pumice stone or foot file, and a cuticle pusher. A basin, towel, cuticle oil, moisturizer and polish cover everything else.
Most of that is already in a bathroom drawer. The one tool worth upgrading is the foot file, since callus work takes the longest.
For example, the Amopé Pedi Perfect electric foot file had 4.4 out of 5 stars from 26,102 ratings on its Amazon listing as of November 2026. The same listing ranked it #5 in Corn & Callus Trimmers.
What to Put in Your Foot Soak
Plain warm water with a little mild soap or body wash is enough for a pedicure foot soak. Epsom salt is the classic add-in for a spa feel, and a drop of essential oil is optional if your skin isn’t sensitive.
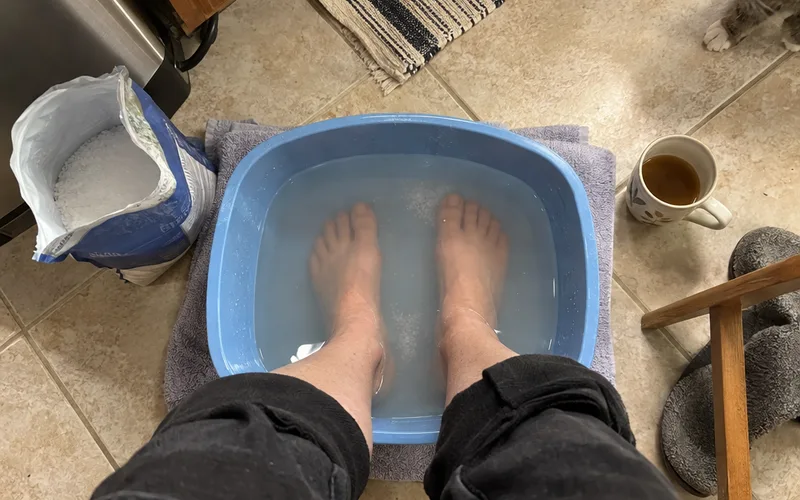
Skip a very hot soak. Heat dries skin out and can burn feet that don’t feel it well.
Salt, lemon, chamomile tea or a squirt of shampoo are popular add-ins too, but they’re optional, since warmth does the softening. For fancier blends, try these homemade foot soak recipes.
How Long to Soak Your Feet
Soak your feet until the skin on your heels feels soft to your thumb, then get out. For most feet, that’s a short soak, not a long bath.
Over-soaking is the more common mistake. Wrinkled, swollen skin files unevenly and gets raw fast.
How to Remove Dead Skin From Your Feet Safely
Remove dead skin from your feet with a pumice stone or foot file on soft, slightly damp skin, using light strokes and stopping before it feels tender. Never shave or cut calluses with a razor or blade, because one slip opens the skin to infection.
If your heels are deeply cracked, the pedicure for cracked heels guide walks through what to ask a salon for and what to do between visits. Thick, built-up skin also takes a few rounds, so removing thick dead skin is its own project.
Pumice Stone vs. Foot File vs. Electric File
A pumice stone is the gentlest option for light roughness, a metal or glass foot file handles average calluses, and an electric file is fastest on very hard skin.
Here’s how the electric option works:
The Amopé Pedi Perfect listing says it has an integrated safety stop that keeps you from pressing too hard, and two speeds. That safety stop is the feature that matters most, because pressure is what turns smoothing into soreness.
The same listing says its extra coarse roller head has diamond crystals and spins 360 degrees. It’s splashproof but meant for dry use, and it runs on 4 AA batteries that come in the box.
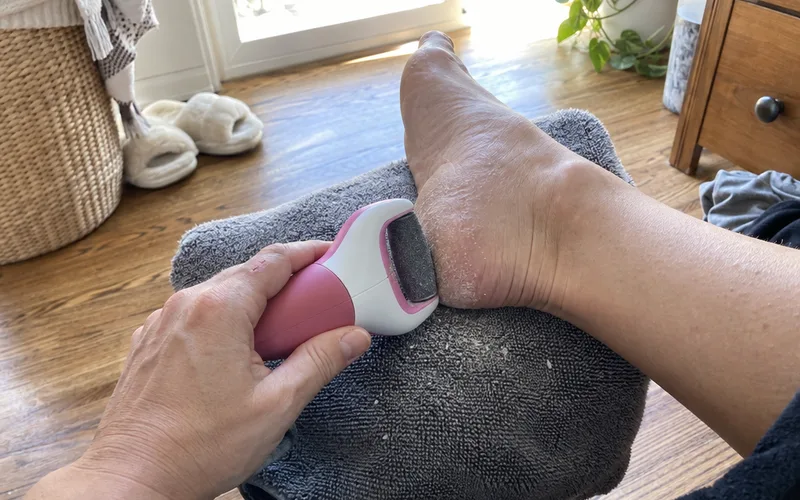
So if you use one, run it on dry skin before the soak or after you’ve fully dried off.
Should You Cut Your Cuticles?
No, you shouldn’t cut your cuticles during an at-home pedicure. The cuticle is a protective seal at the base of the toenail, and cutting it leaves a tiny opening where bacteria and fungus can get in.
Soften them in the soak, add cuticle oil, and push them back gently. A daily drop of oil keeps them from looking ragged, which is one of the real cuticle oil benefits for toes as well as fingers.
If a dry flap of loose skin snags on socks, clip only that dead piece. Never cut into skin that’s attached.
How to Cut Toenails So They Don’t Grow In
Cut toenails straight across with a straight-edged clipper, leave them about level with the tip of your toe, and never dig into the corners. Ingrown toenails usually start when corners are cut too short or rounded down.
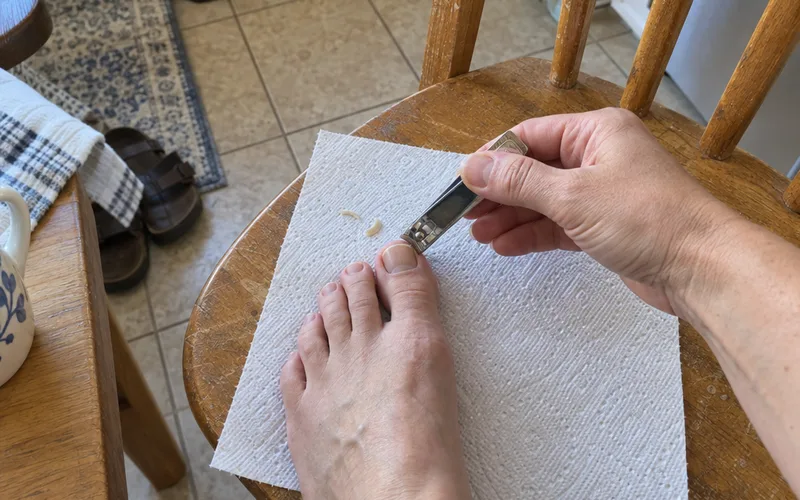
Take small snips across the nail instead of one big cut. One large clip can crack a thick toenail.
If a corner already feels sharp, smooth it with a file rather than cutting deeper. And if a toe is red, swollen or draining, see a doctor instead of trimming it yourself.
How to Make Toenail Polish Last
Toenail polish lasts longest on a clean, oil-free nail with a base coat, 2 thin color coats, a top coat and a sealed tip. Thick coats stay soft underneath and dent the moment you put shoes on.
Here’s the deal:
- Wipe each nail with remover right before the base coat, even if it looks clean.
- Roll the bottle between your palms instead of shaking it, which keeps bubbles out.
- Swipe a little color across the front edge of each nail to seal the tip, where chips start.
- Add a fresh top coat every few days.
Lighter shades hide chips best on toes, and simple nail art hides them even better. If you love a crisp white, a dedicated white nail polish for toes goes on more evenly than a sheer one.
How Often to Do a Pedicure at Home
Do a full at-home pedicure every few weeks, when your toenails have grown out and your heels feel rough again. Between sessions, moisturize every day and give your heels a light buff once a week.
Toenails grow slowly, so trimming them weekly isn’t necessary. Filing heels too often is the bigger risk, since thin, raw skin cracks more easily.
Pair it with a weekly manicure or natural nail care session, and your fingers and toes stay on one schedule.
How to Do a Pedicure at Home Without Tools
You can do a basic pedicure at home without special tools: soak your feet in a bowl of warm, soapy water, rub rough spots with a washcloth or soft brush, trim with regular clippers, and moisturize. Skip anything sharp you’d have to improvise.
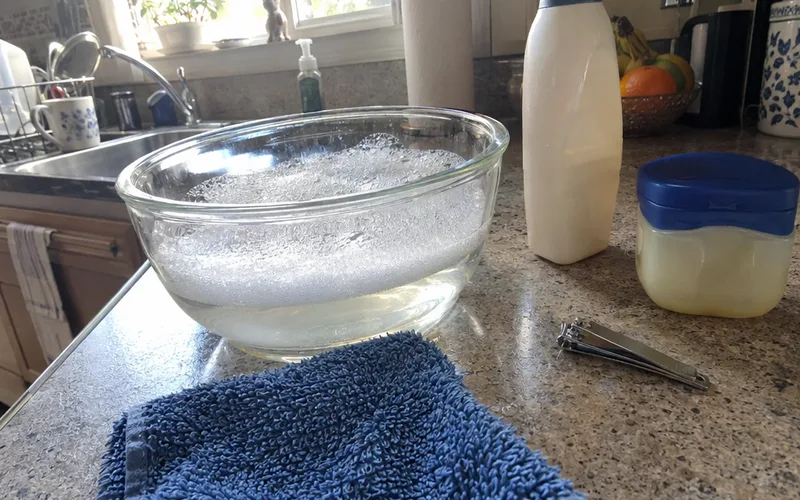
A washcloth won’t remove a thick callus. But it will smooth light roughness, which is all most feet need between real pedicures.
No clippers at all? Skip trimming that week rather than reaching for scissors.
Is an At-Home Pedicure Safer Than a Salon?
An at-home pedicure is usually safer than a salon pedicure for infections, because you’re the only person using your tools, basin and water. The risks at home come from your own technique: cutting cuticles, digging into corners or filing too hard.
Keep your home spa safe with three habits. Use your own tools, wash and dry them after every pedicure, and replace a pumice stone or emery board once it gets grimy.
Who Should Skip the DIY Pedicure
If you have diabetes, poor circulation or numbness in your feet, have a podiatrist or your doctor handle trimming and callus care. A small nick you can’t feel can turn into a serious wound.
The same goes for a toenail that looks thick, yellow or crumbly, which can be nail fungus, or skin that’s red and swollen. Get it looked at first, then pick up the routine.
Frequently Asked Questions
What should you not do before a pedicure?
Before a pedicure, don’t shave or wax your legs, and don’t start if you have a cut, blister or sore on your feet, because broken skin lets germs in. Skip lotion on the nails right before polish too, or the color won’t stick.
Is a pedicure good for your feet?
A pedicure is good for your feet when it’s gentle: clean tools, nails cut straight across, calluses filed rather than cut, and cuticles left in place. A rough pedicure that cuts skin or files heels raw does more harm than good.
What are the tools in a pedicure kit?
A basic pedicure kit holds toenail clippers, a nail file, a cuticle pusher and a foot file or pumice stone, and many add a nail brush and nippers. You can skip the nippers at home, since cuticles shouldn’t be cut.
How much money does an at-home pedicure save?
An at-home pedicure saves you the full salon price and tip every time, minus the cost of polish and remover once your tools are bought. To get your own number, multiply the pedicure price on your local nail salon menu by how many visits you make a year.
Should you trim toenails before or after soaking?
Trim toenails before soaking, while they’re dry and firm, so the clipper cuts cleanly instead of bending or tearing a soft nail. Soak afterward to soften the skin for filing.
Final Thoughts
The best at-home pedicure is a gentle one: dry trimming, a short soak, a file instead of a blade, and cuticles left alone.
Pick one evening this week, lay out your tools on a towel, and work through the 9 steps in order.