
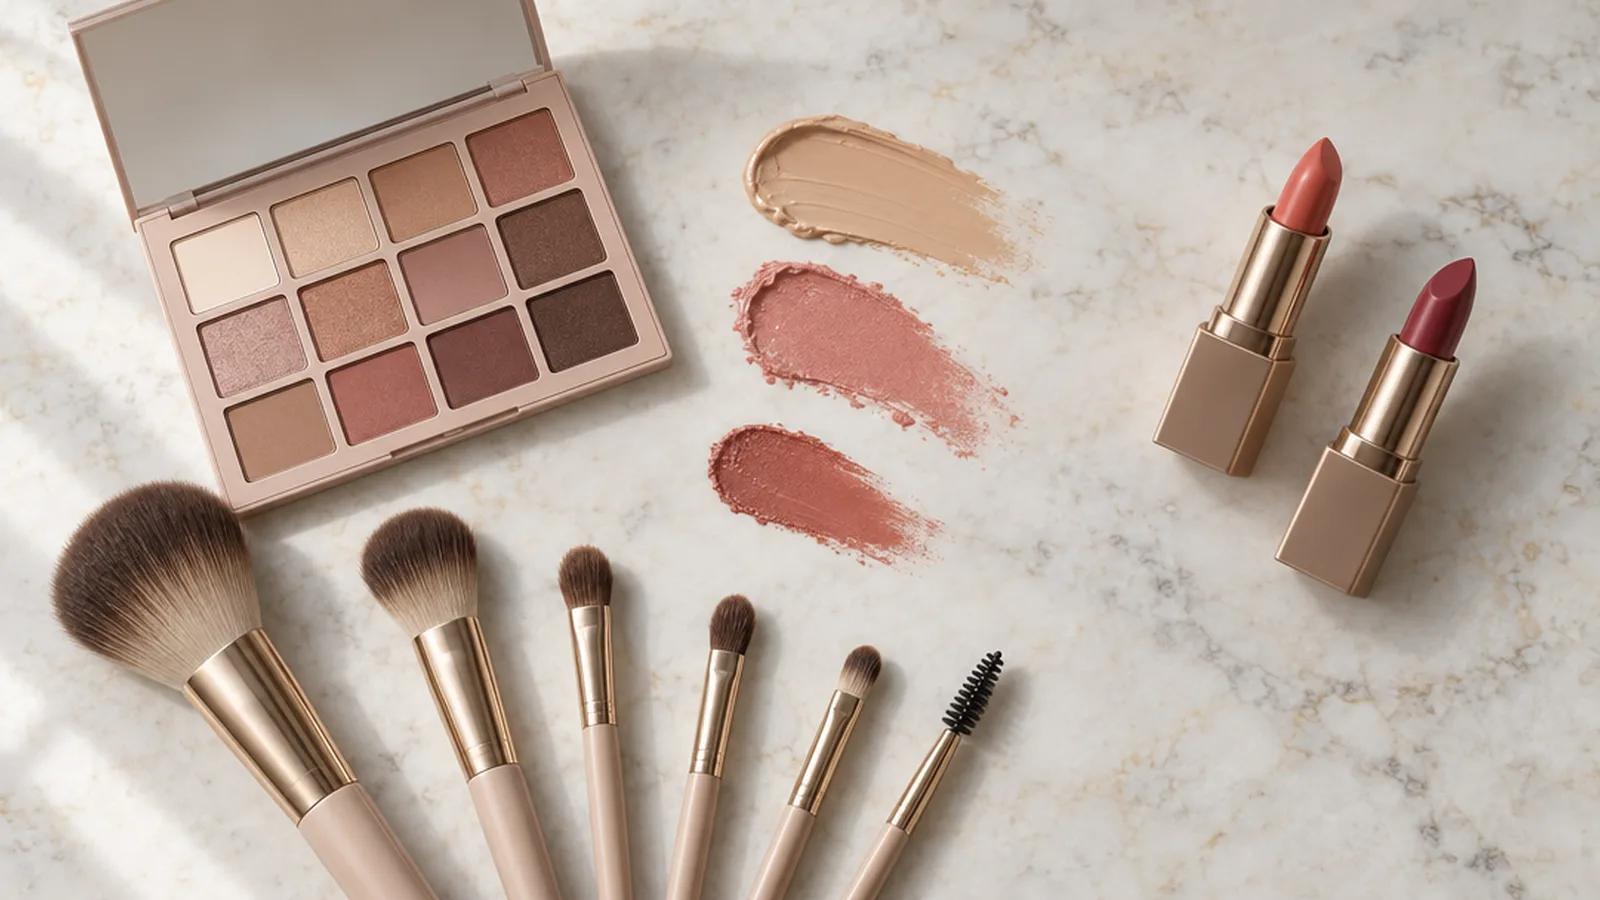
You don’t need 12 products to do your makeup well.
You need about 5, plus the right order to put them on.
That order is what most long shopping lists leave out.
So let’s fix that with a short kit, a clear sequence and a few habits that keep everything in place.
What Is Makeup?
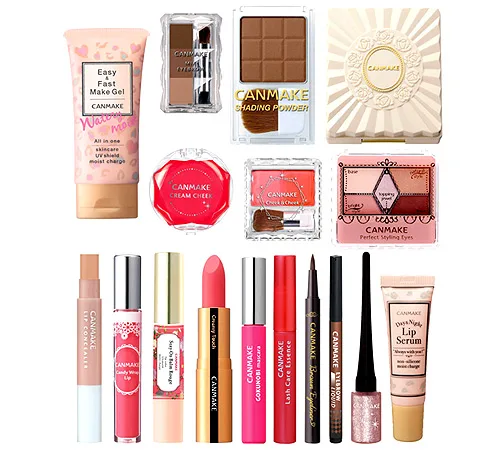
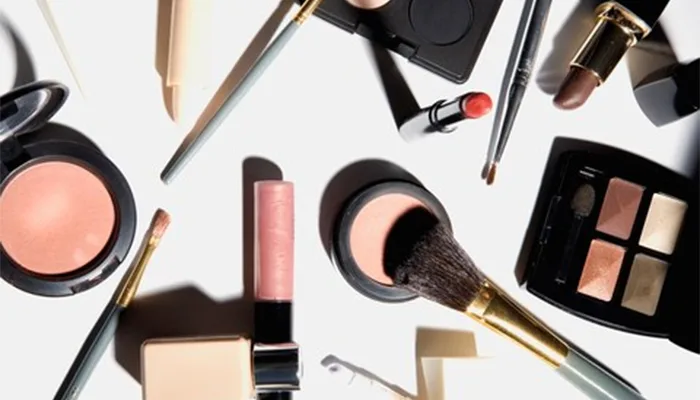
Makeup is any cosmetic you put on your face to even out your skin, add color or define a feature. Foundation, concealer, blush, mascara and lipstick are the products most people picture first.
It helps to think of makeup as 5 groups, because each group does its own job:
- Base: evens out your skin so everything else has a smooth start.
- Cheeks: brings back the warmth and shape a base can flatten.
- Eyes: defines your eyes and makes them look more awake.
- Brows: frames your eyes and balances your face.
- Lips: adds the color or shine that finishes the look.
You rarely need all 5 groups on the same day.
A busy morning might call for concealer, mascara and a tinted balm, and that’s a complete look.
Makeup doesn’t have to fix anything, either. Plenty of people wear it for fun, the way you’d pick a bright scarf.
So pick the group that does the most for what you want today, and start there.
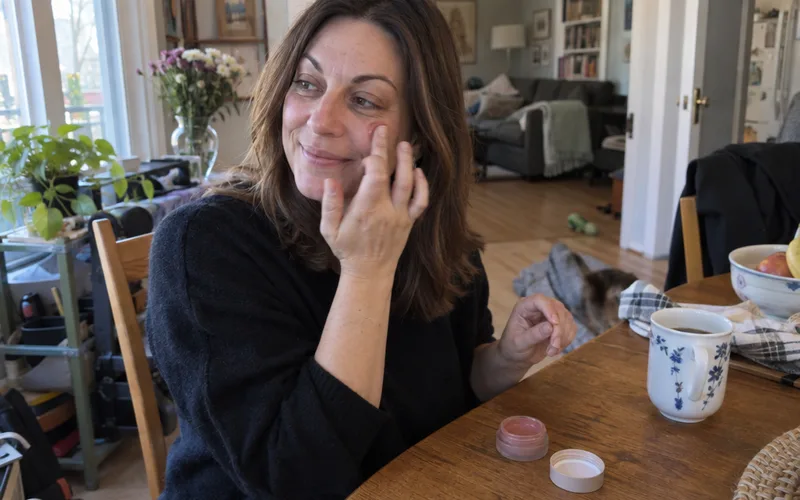
Skincare isn’t makeup, but it’s where makeup starts, so your skincare basics deserve a look before you buy your first foundation.
What Makeup Should You Buy First?
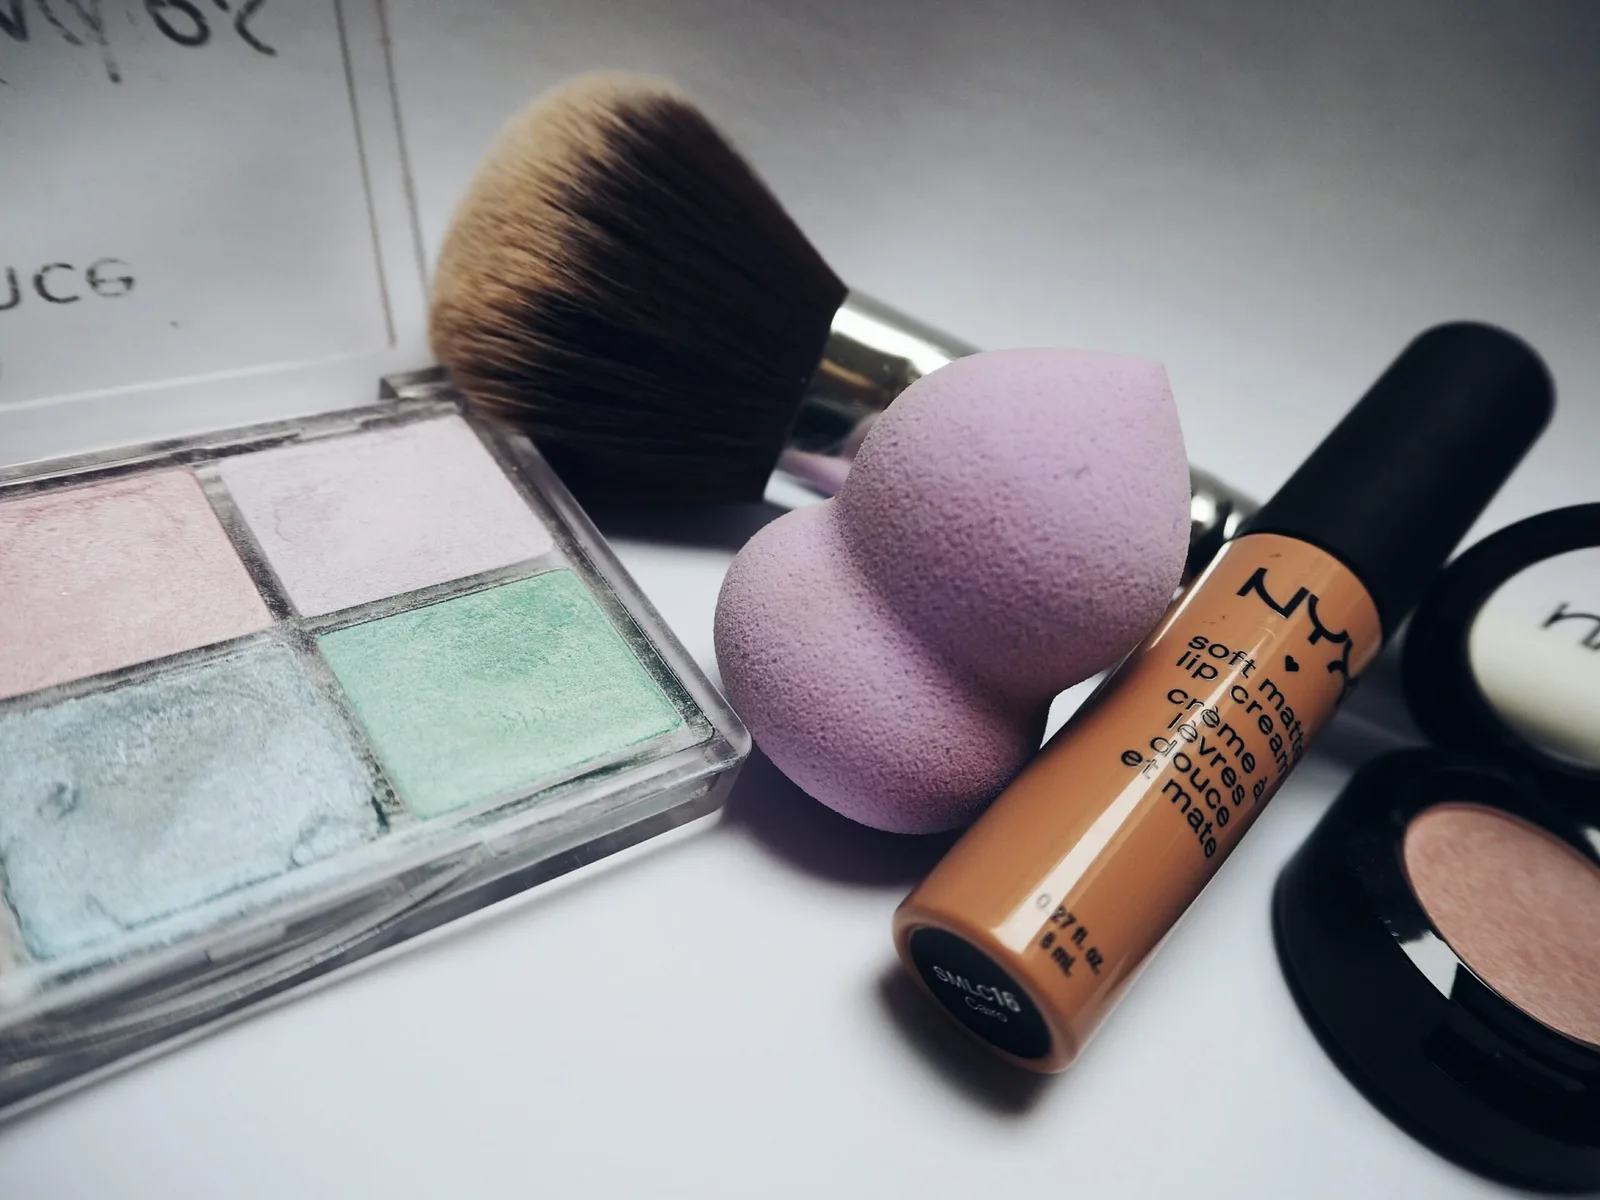
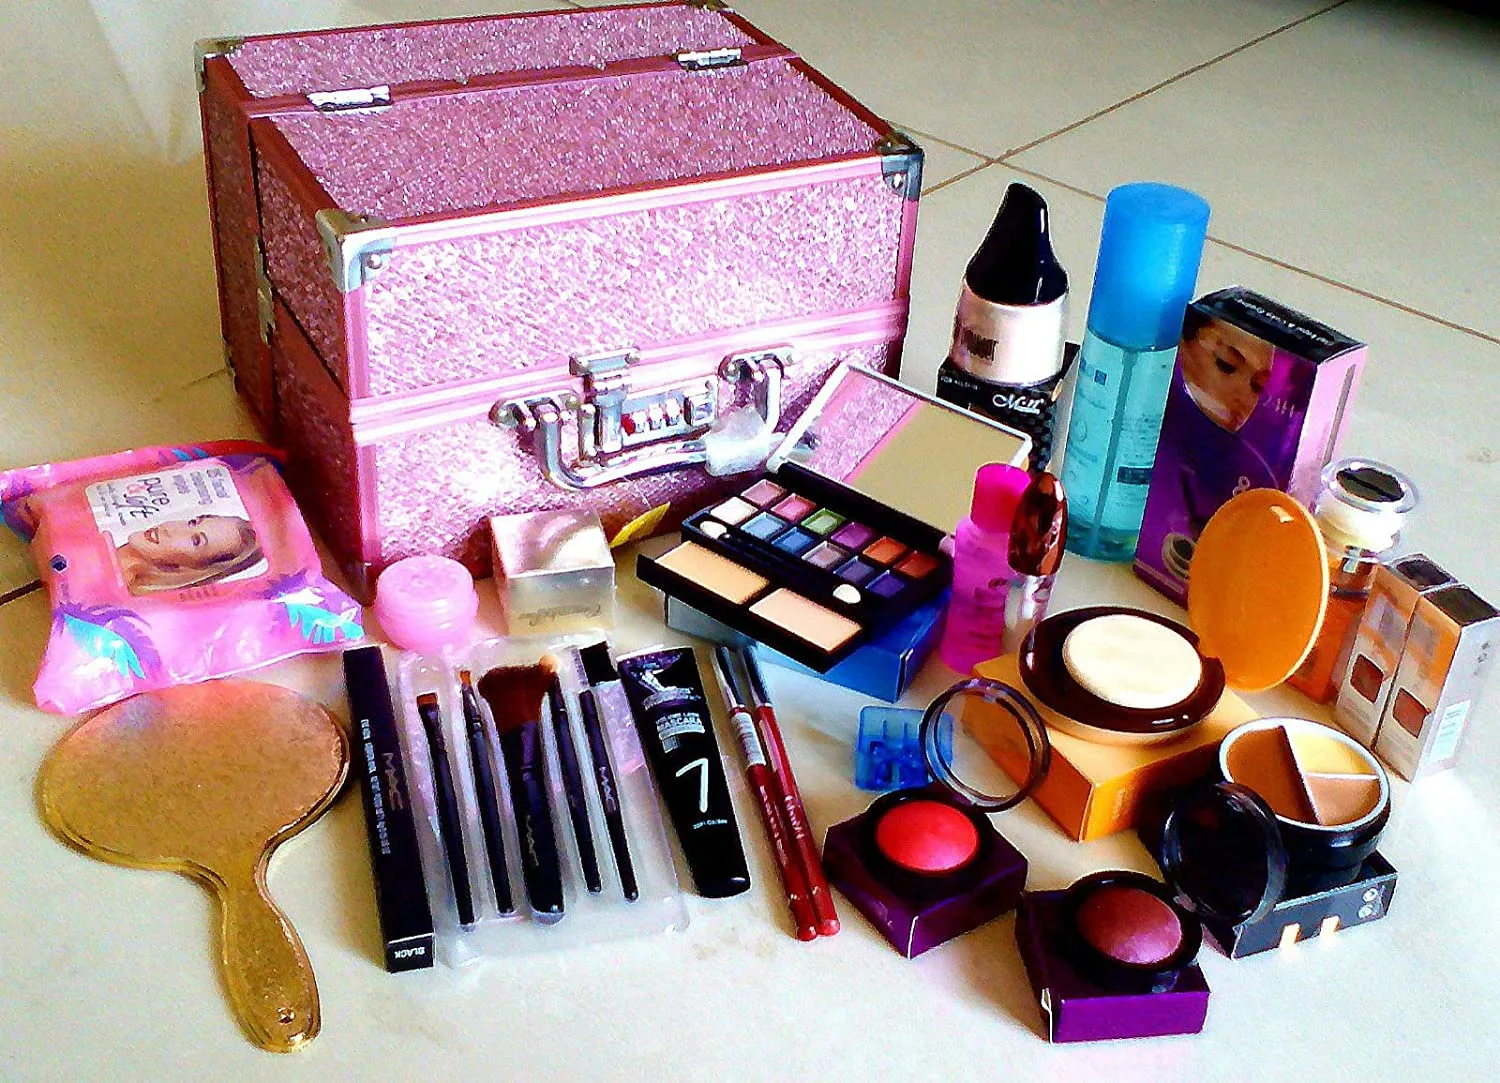
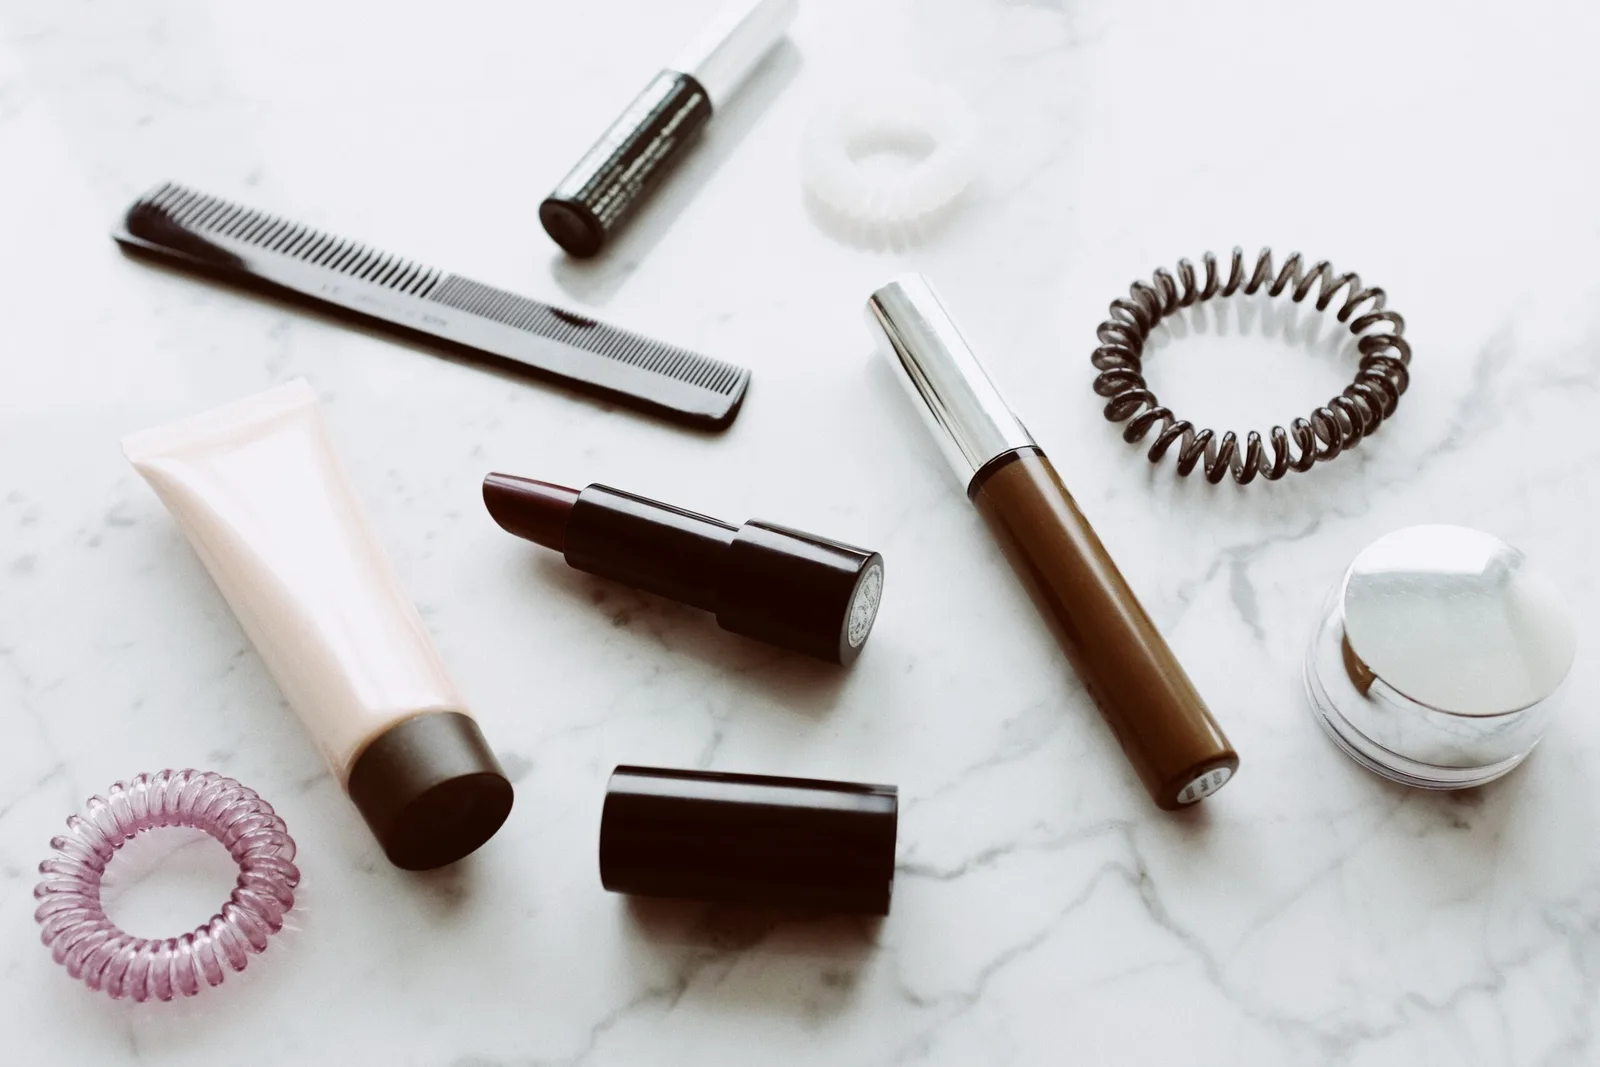
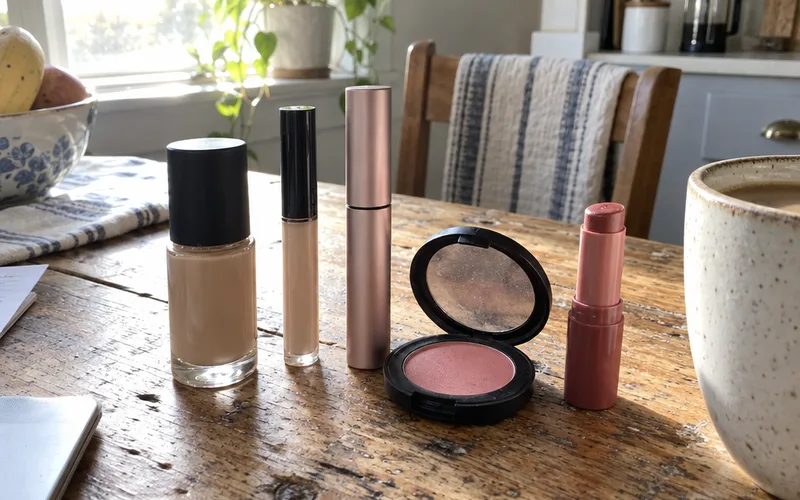
The best makeup for beginners is a short kit of 5 forgiving products that cover your skin, lashes, cheeks and lips. Cream and liquid textures blend easily, so small mistakes disappear instead of showing.
Here’s the order I’d buy them in:
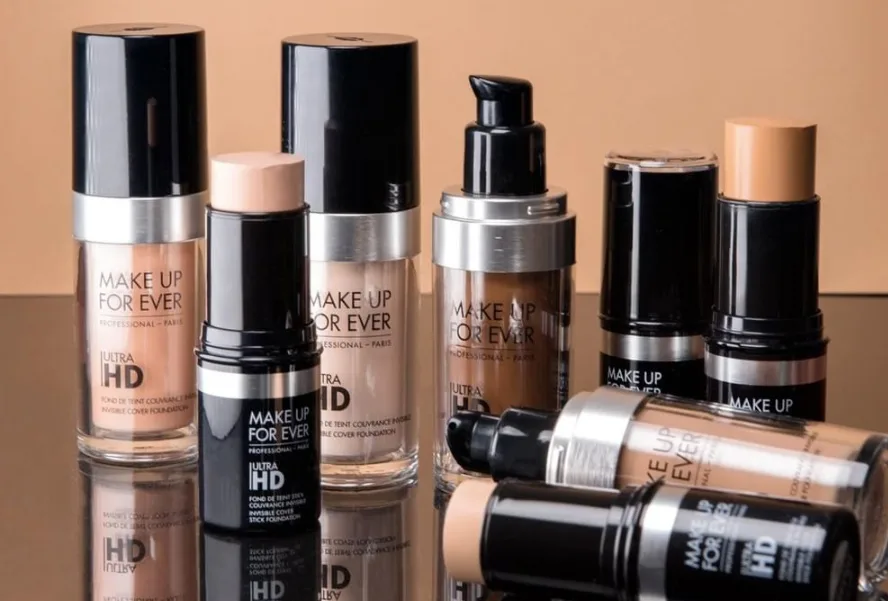
- Foundation or a light base. A cream or liquid formula is easy to blend and gives the rest of your makeup a smooth start.
- Concealer. It handles what foundation leaves behind, such as blemishes and under-eye shadows.
- Mascara. A single coat thickens and defines your lashes, and your eyes look finished right away.
- Blush. A little color on your cheeks puts life back into your face after a base goes on.
- Tinted lip balm. It hydrates your lips and adds color at once, so you don’t need liner or a steady hand.
There’s no palette, highlighter or contour yet, because those take practice.
Once those 5 feel easy, add one thing at a time. A brow pencil usually comes next, since a few minutes on your brows changes your whole look.
From there, add setting powder if your makeup slides, then a neutral eyeshadow, then eyeliner. Save contouring your face for last, since placement takes the most practice of anything here.
If 5 products still feels like a lot, a minimal makeup routine trims the list further.
Your skin type can change the formula, though not the list. Shine-prone faces do better with lighter, longer-wearing formulas, like these picks for oily skin.
Buy the first product, learn it, then buy the next one.
That habit protects your budget and your face at the same time.
What Is the Correct Order to Apply Makeup?
The correct order to apply makeup starts with skincare and ends with setting spray. One rule decides nearly everything in between: liquids and creams go on before powders.
Why that rule?
Powder sets whatever sits underneath it, so anything creamy needs to be in place first. That’s also why a cream blush goes on before setting powder, while a powder blush goes on after it.
Follow these 10 steps while you’re learning:
- Skincare. Cleanse, moisturize and add sunscreen for daytime, then let it sink in.
- Primer. Press on a thin, even layer.
- Foundation. Blend it out in thin layers.
- Concealer. Dab it only where you still need coverage.
- Cream cheek products. Blend in any cream or liquid bronzer, contour or blush.
- Setting powder. Dab it where oil shows up first.
- Powder cheek products. Sweep on any powder bronzer or blush.
- Brows. Fill the gaps, then set the shape.
- Eyes. Do shadow, then liner, then mascara.
- Lips and setting spray. Finish your lip color, then mist your whole face.
Makeup guides don’t all agree on this list, and that’s fine.
Some put brows before the base, and some put them after your eyes. Some do eye makeup before foundation.
Here’s what doesn’t move: skincare comes first, spray comes last and creams stay under powders.
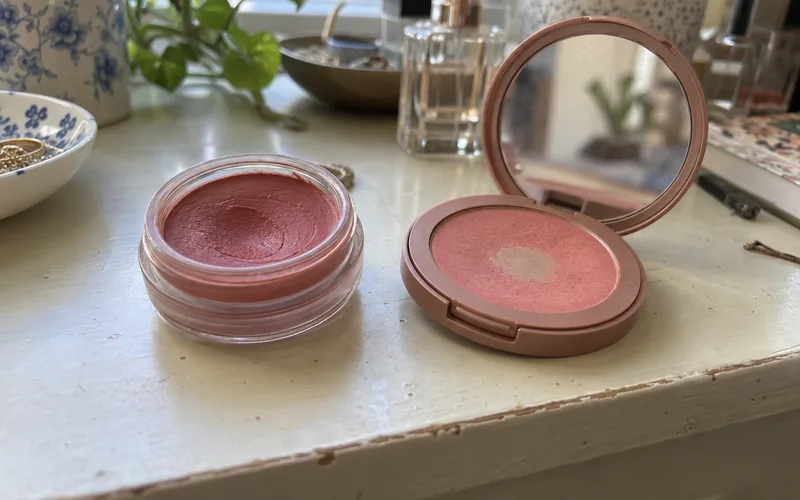
Concealer after foundation is a smart default too, because you can see what your base already covered and use less product. The pairing to watch is setting powder and blush, so let the texture decide which goes first.
Keep the texture rule and move anything else that suits your routine.
How Do You Prep Your Skin for Makeup?
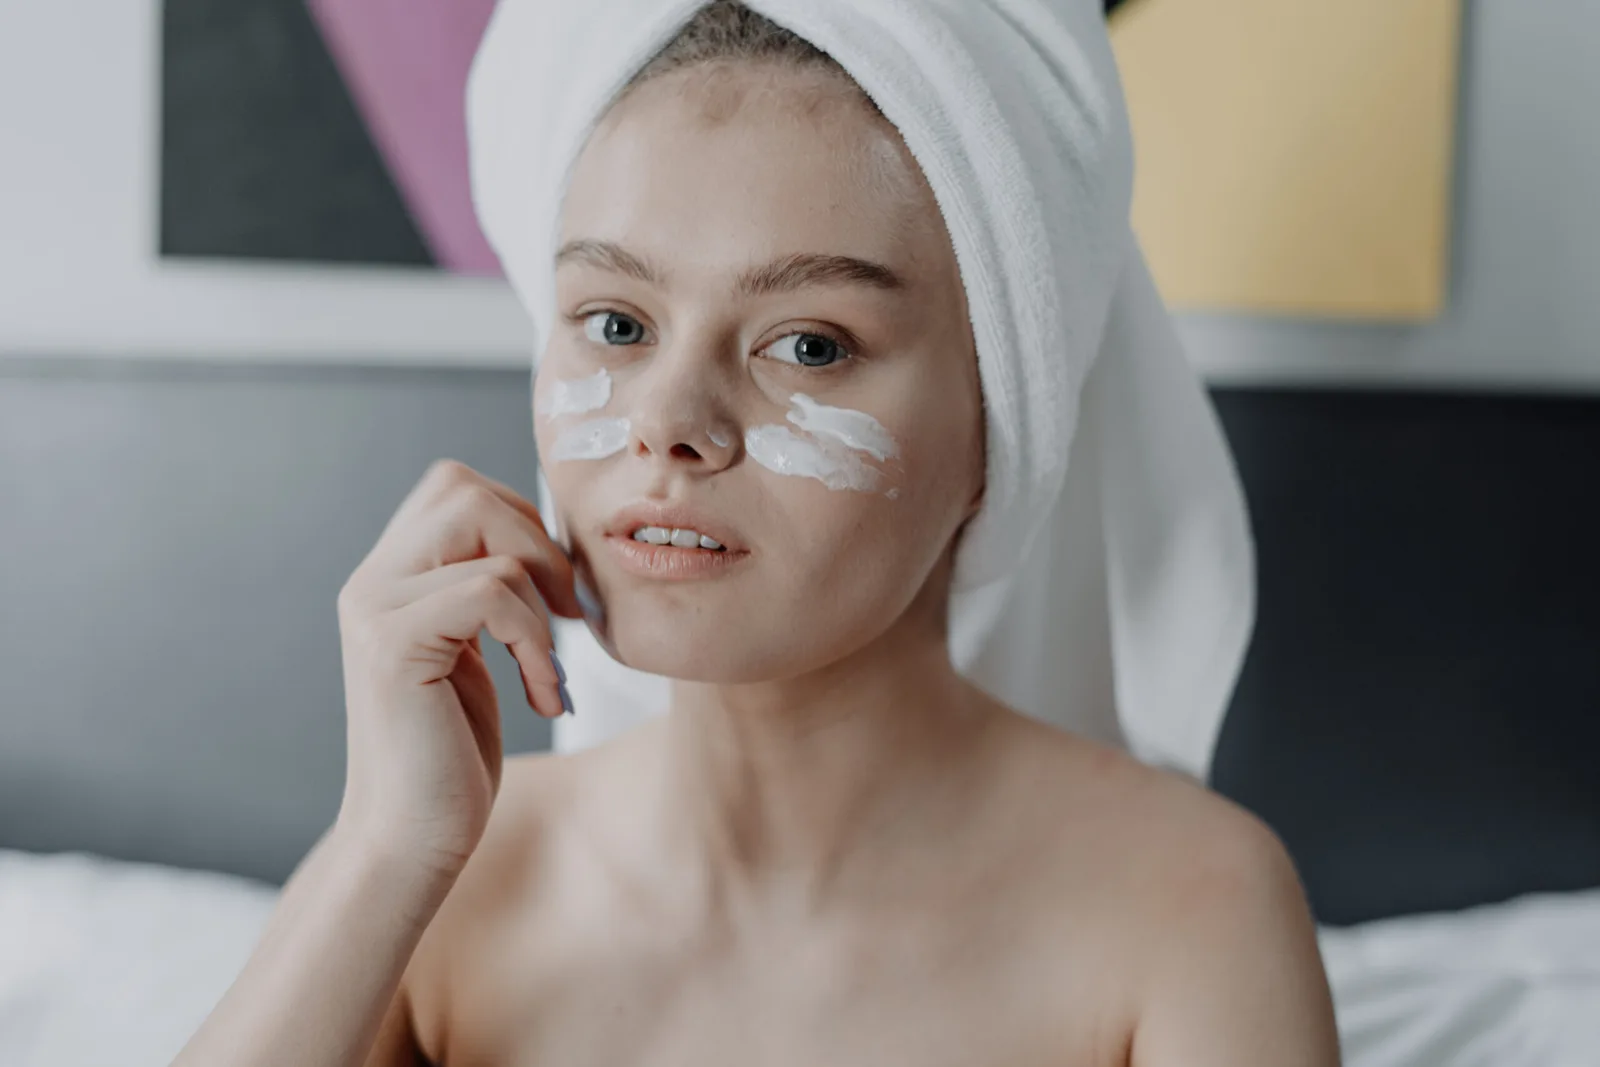
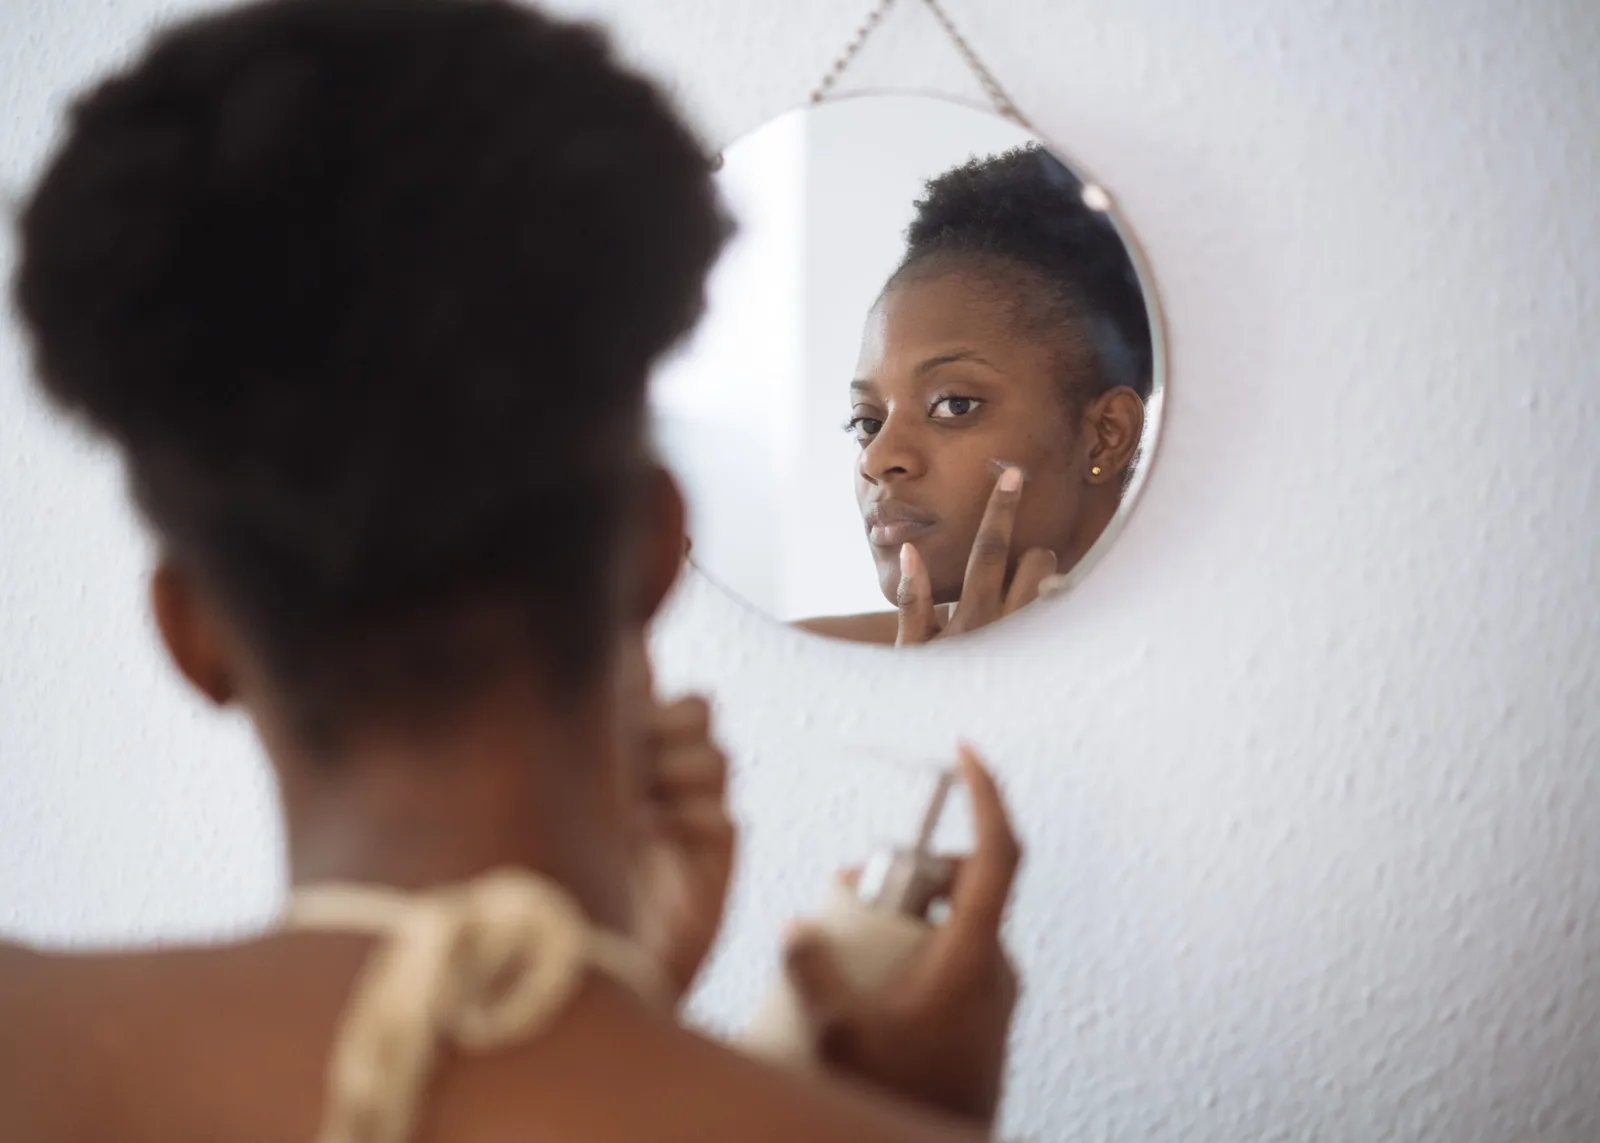
Prepping your skin for makeup means cleansing, moisturizing and adding sunscreen for daytime, then giving it all a few minutes to sink in. Prepped skin lets products go on smoother and stay put longer.
A lightweight gel moisturizer suits oily skin, and a richer cream suits dry skin. If you’re not sure where to begin, a simple skincare routine gets the basics in place before any makeup goes on.
Sunscreen comes next for daytime looks.
Pick a broad-spectrum formula that works under makeup and doesn’t leave a white cast. Comparing sunscreens for your face helps you find one that layers well.
Then wait.
Rushing straight from wet skincare into foundation is how makeup starts to pill, which means it rolls up into little balls on your skin.
Primer goes on after your skincare has sunk in, and it smooths your skin so makeup grips evenly and lasts through the day. Press a thin layer across your face with your fingertips, with a bit extra on your T-zone if you get shiny there.
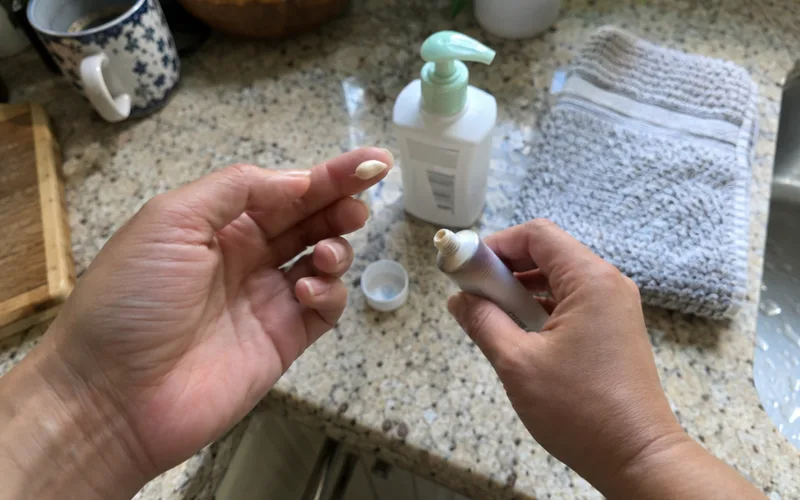
Your T-zone is your forehead, nose and chin, the area where oil tends to show up first.
A hydrating primer for dry skin solves a different problem than a primer for large pores, so match it to what bothers you most.
If your makeup looks fine by evening without any primer, you can skip it and save the money. If it fades or slides by lunch, buy primer before you buy anything fancier.
How Do You Find Your Foundation Shade and Undertone?
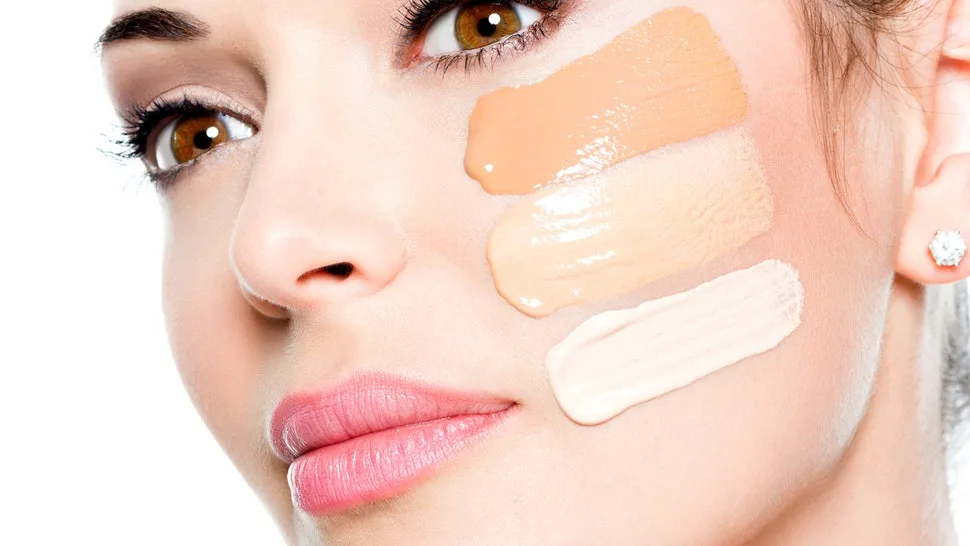
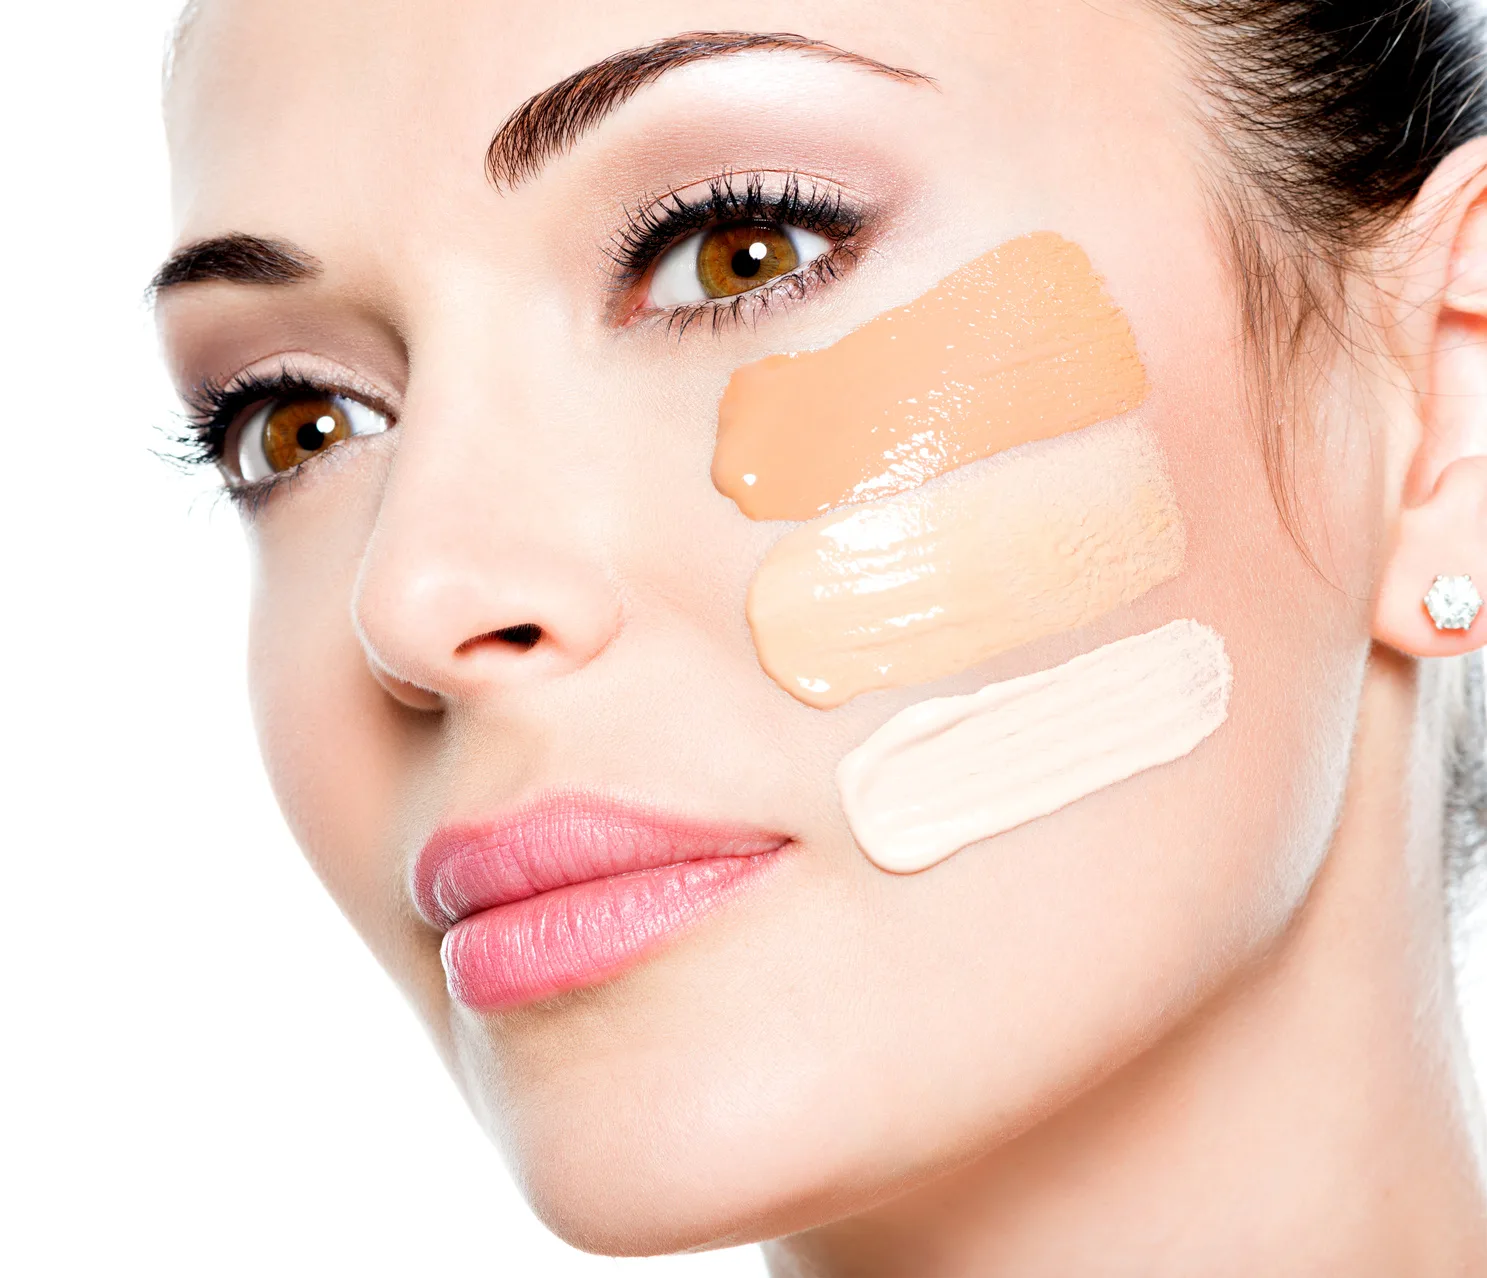
Your foundation shade depends on your skin depth, from fair to deep, and on your undertone, the cool, warm or neutral color under the surface. Test shades on your jawline in natural light, never on the back of your hand or under store lighting.
Finding your undertone starts with 2 quick checks.
First, look at the veins on your wrist. Blue or purple veins suggest a cool undertone, green veins suggest warm, and a mix suggests neutral.
Second, think about your jewelry. Silver tends to flatter cool undertones, and gold tends to flatter warm ones.
Treat both checks as clues, not a verdict, because the real test happens on your skin.
Swipe a few shades along your jawline, then step over to a window. The one that melts into your jaw and neck is your match.
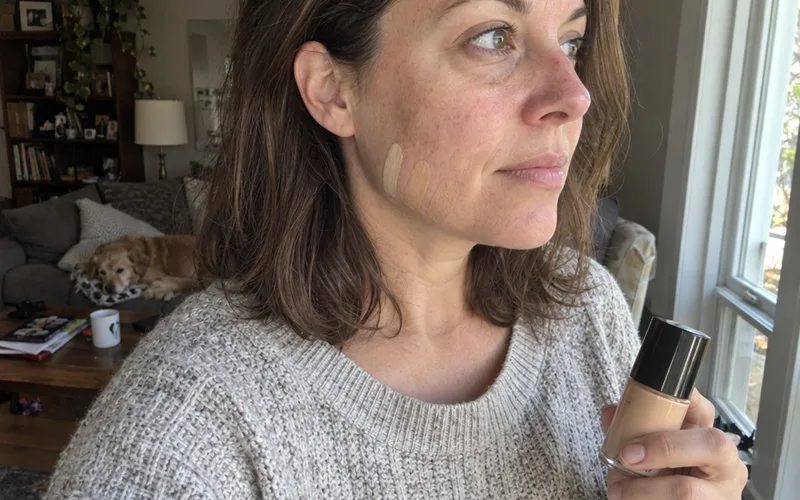
Choose your base, cheek and lip shades from the same color family, so everything looks natural together. A warm-toned blush suits warm skin tones, for example, and a cool-toned blush suits cool ones.
Concealer follows slightly different math. A shade that matches your skin covers blemishes best, while a shade about one step lighter brightens the area under your eyes.
Finish matters as much as color. Dewy formulas flatter dry or normal skin, and matte formulas help oily skin stay shine-free for longer.
You can also wear a dewy base and use matte powder only on your T-zone.
From there, shop by skin type: a foundation for oily skin and a foundation for dry skin are built to do opposite jobs. Breakout-prone readers can start with non-comedogenic foundation.
Fans of Korean brands can check Korean foundation shades before ordering online.
How Do You Apply Foundation and Concealer?
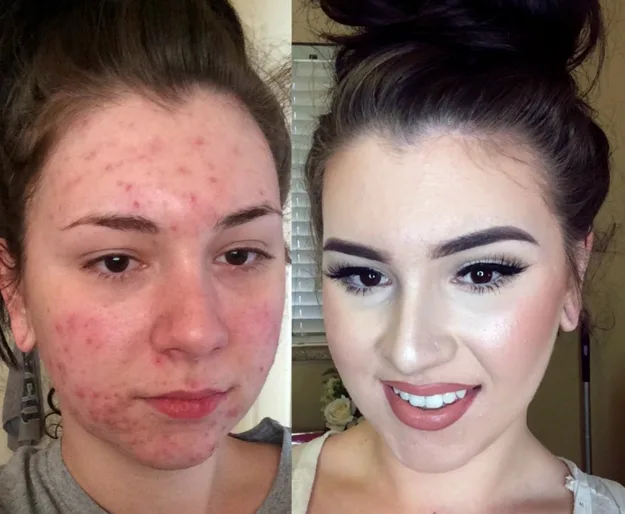
Foundation goes on in thin layers, blended out with a brush or damp sponge, and concealer goes only on the spots that still show. Building up slowly keeps your skin looking like skin.
Start small.
Dot foundation onto your face with your fingers or a flat brush, then blend it outward. Add more only where you actually want more coverage, and press it in instead of piling it on.
Too much product at once is what makes makeup look cakey, and it can draw attention to the very spots you’re trying to hide. If that’s already happened, you can still fix cakey makeup.
Concealer works differently depending on the job.
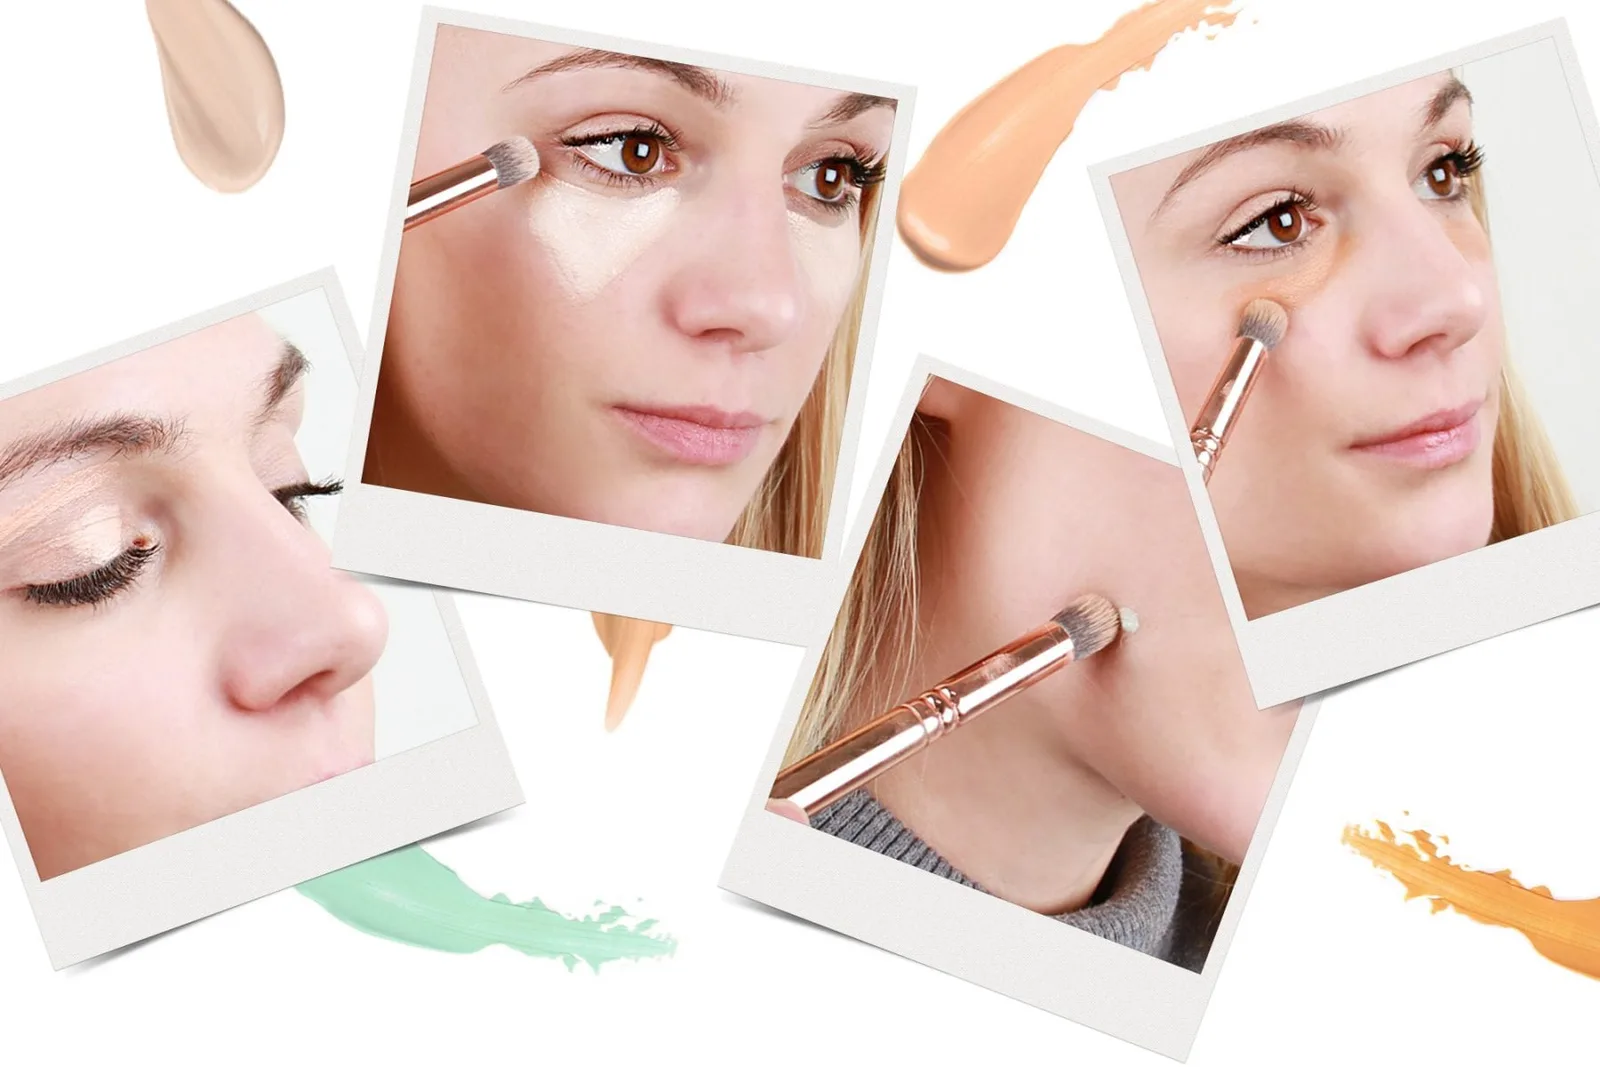
For a blemish, pick up a small amount on a concealer brush, dab it over the spot and blend only the edges. That way, the coverage stays where you need it.
For dark circles, dot concealer in an upside-down triangle under each eye, then blend with a damp sponge or brush. These tips on using a makeup sponge cover the rest.
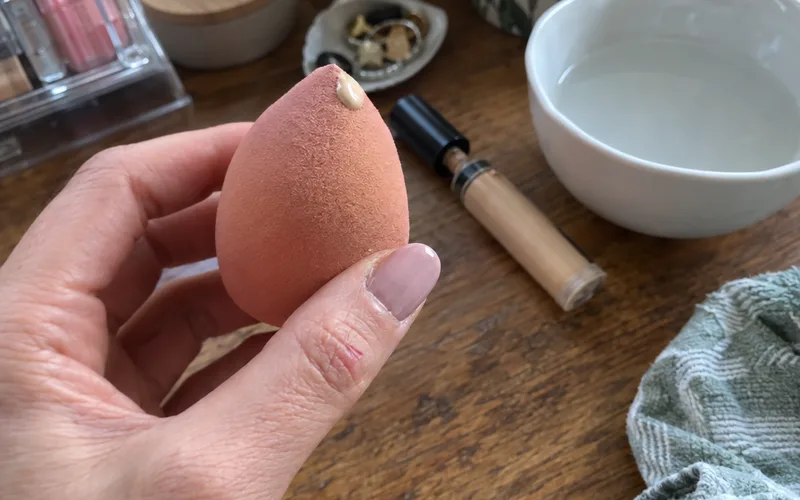
Take your time applying foundation and applying concealer the first few times, because both get easier with practice.
What Is the Difference Between Bronzer and Contour?
Bronzer adds warmth where the sun naturally hits your face, while contour adds shadow to the hollows so your bone structure looks sharper. Start with bronzer, because it’s the more forgiving of the 2.
The placement tells you which is which.
Bronzer goes on your temples, along your hairline and across your cheekbones, all the spots that would catch the sun. Use a fluffy brush and blend well for a soft, sun-kissed finish.
Contour goes where a shadow would naturally fall: along your cheekbones, under your jaw and beside your nose. Pick a natural shade a few shades darker than your base, since a softer color leaves you more room for error.
Want only one of them this month? Buy the bronzer.
When you’re ready for more, learn contour and highlighter together, and try these drugstore contour products to keep the experiment cheap.
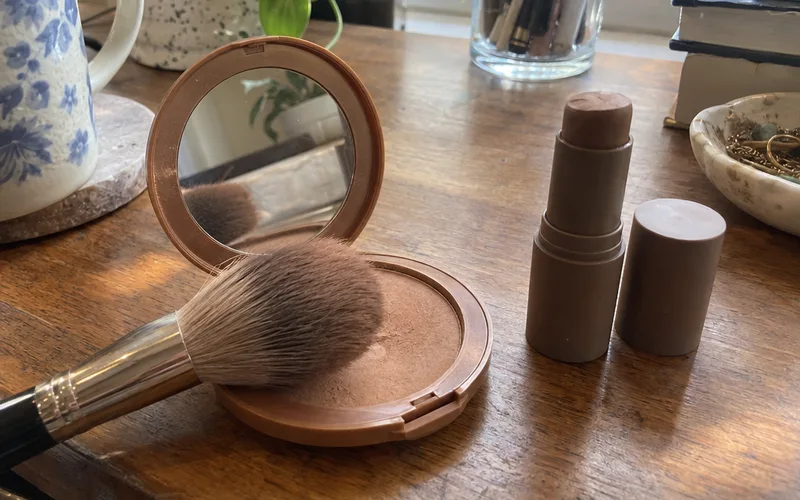
Highlighter is the opposite of contour.
It sits on the high points where light naturally lands, such as your cheekbones, brow bones and the bridge of your nose. Keeping it opposite your contour creates the contrast that makes both of them work.
Blush is the simplest of the 3.
Smile, then apply color to the fullest part of your cheeks, known as the apples. Cream blush blends easily with your fingers, which makes it a good first choice, and liquid blush goes on at the same step.
How Do You Do Eye Makeup as a Beginner?
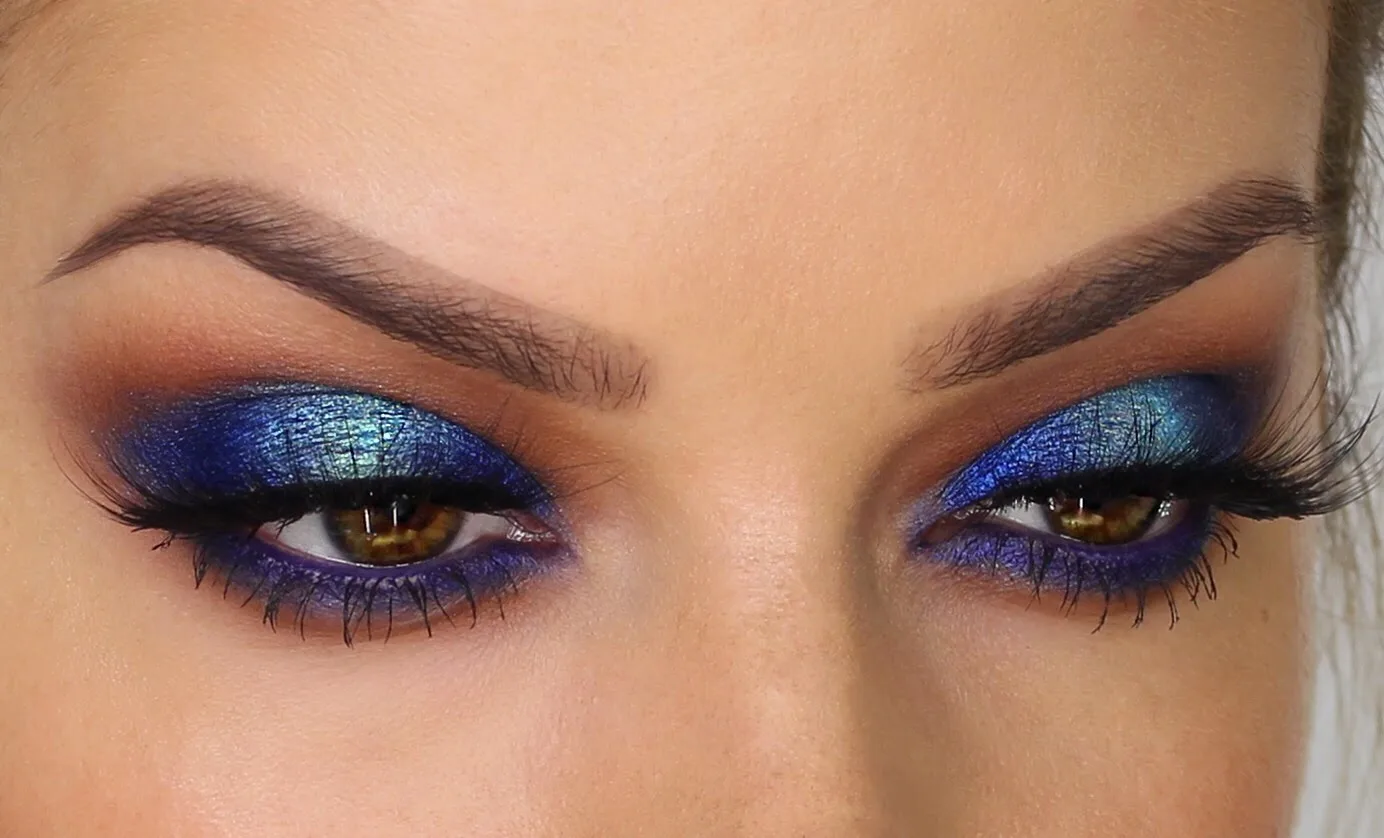
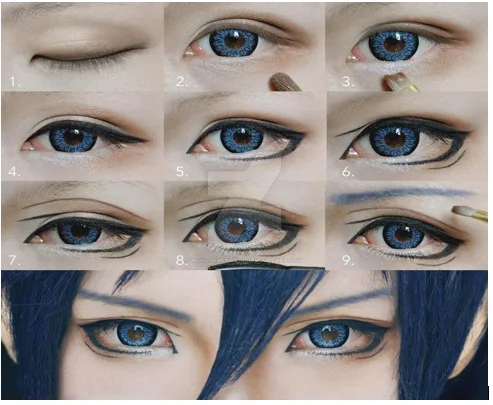
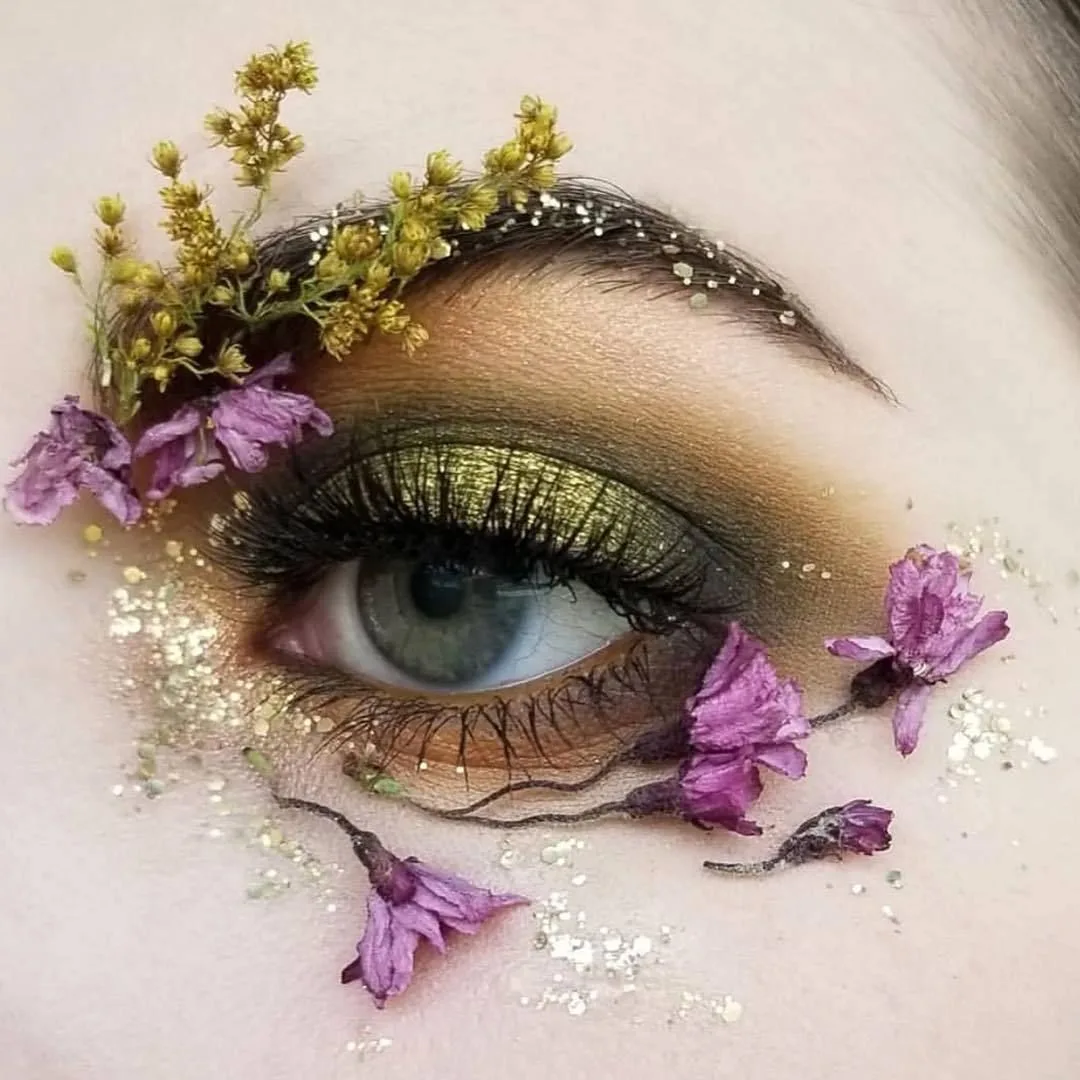
Beginner eye makeup is a soft neutral eyeshadow, a thin line of gel or pencil eyeliner and a coat of mascara, in that order. Creamy gel and pencil liners glide on easily, so save liquid liner until you’ve had more practice.
Start with shadow.
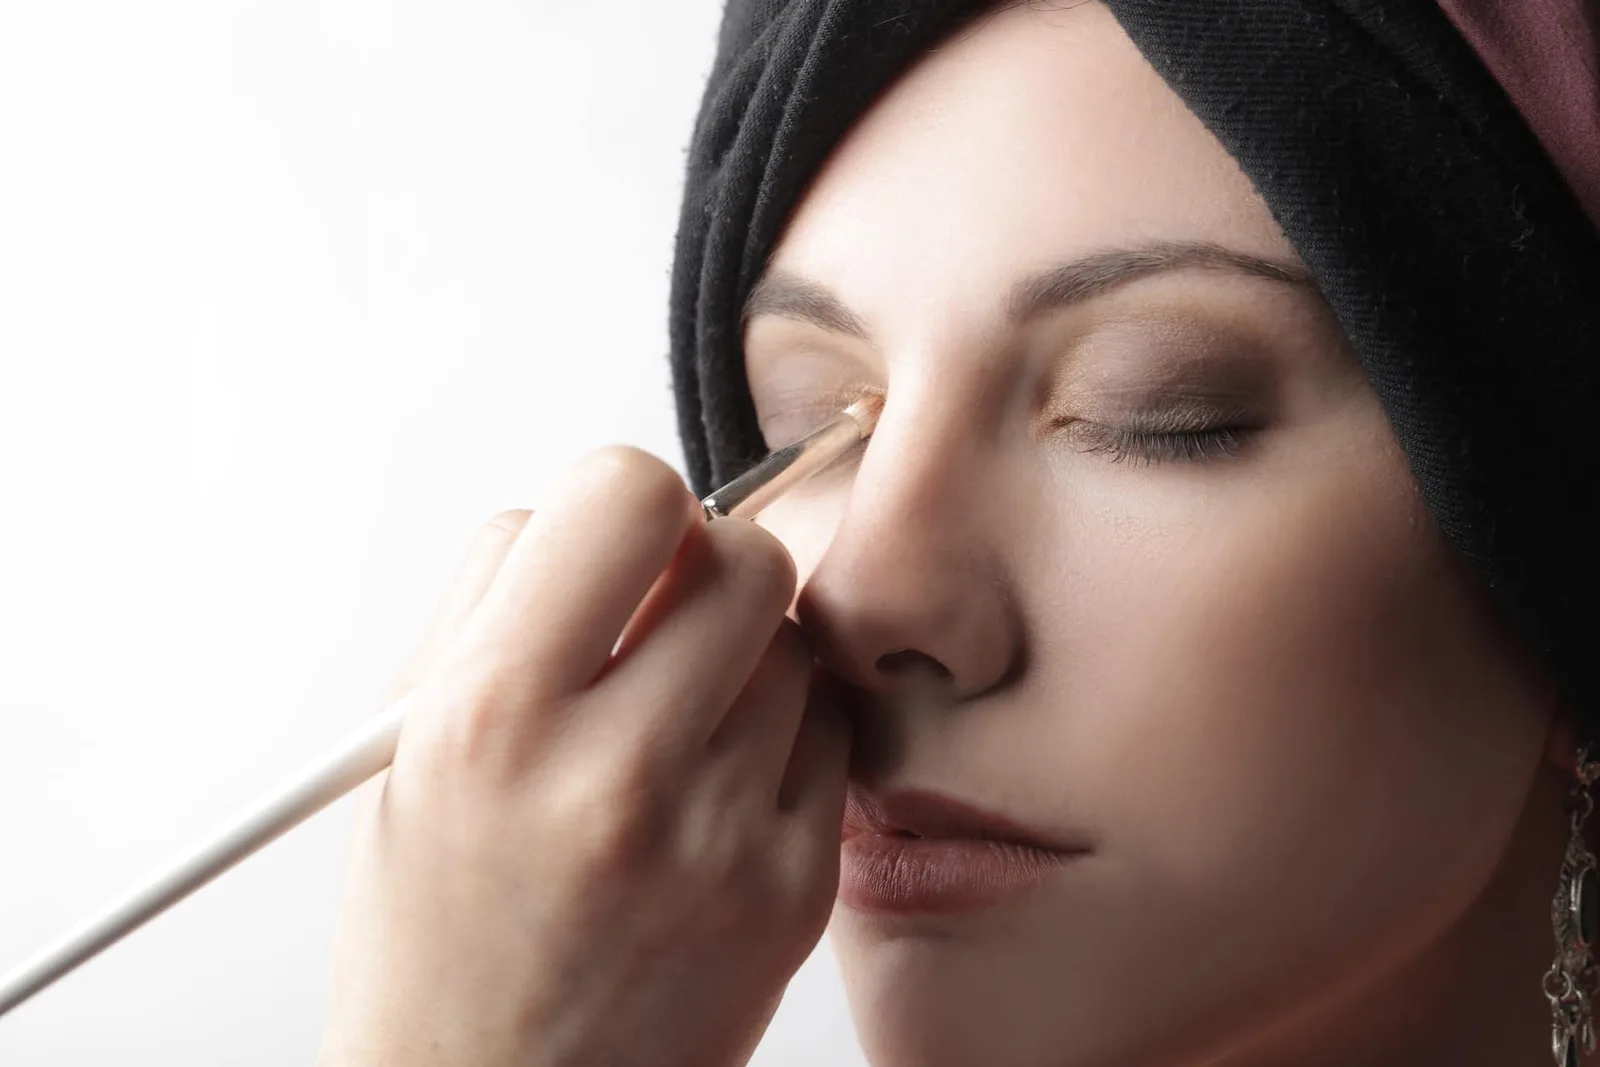
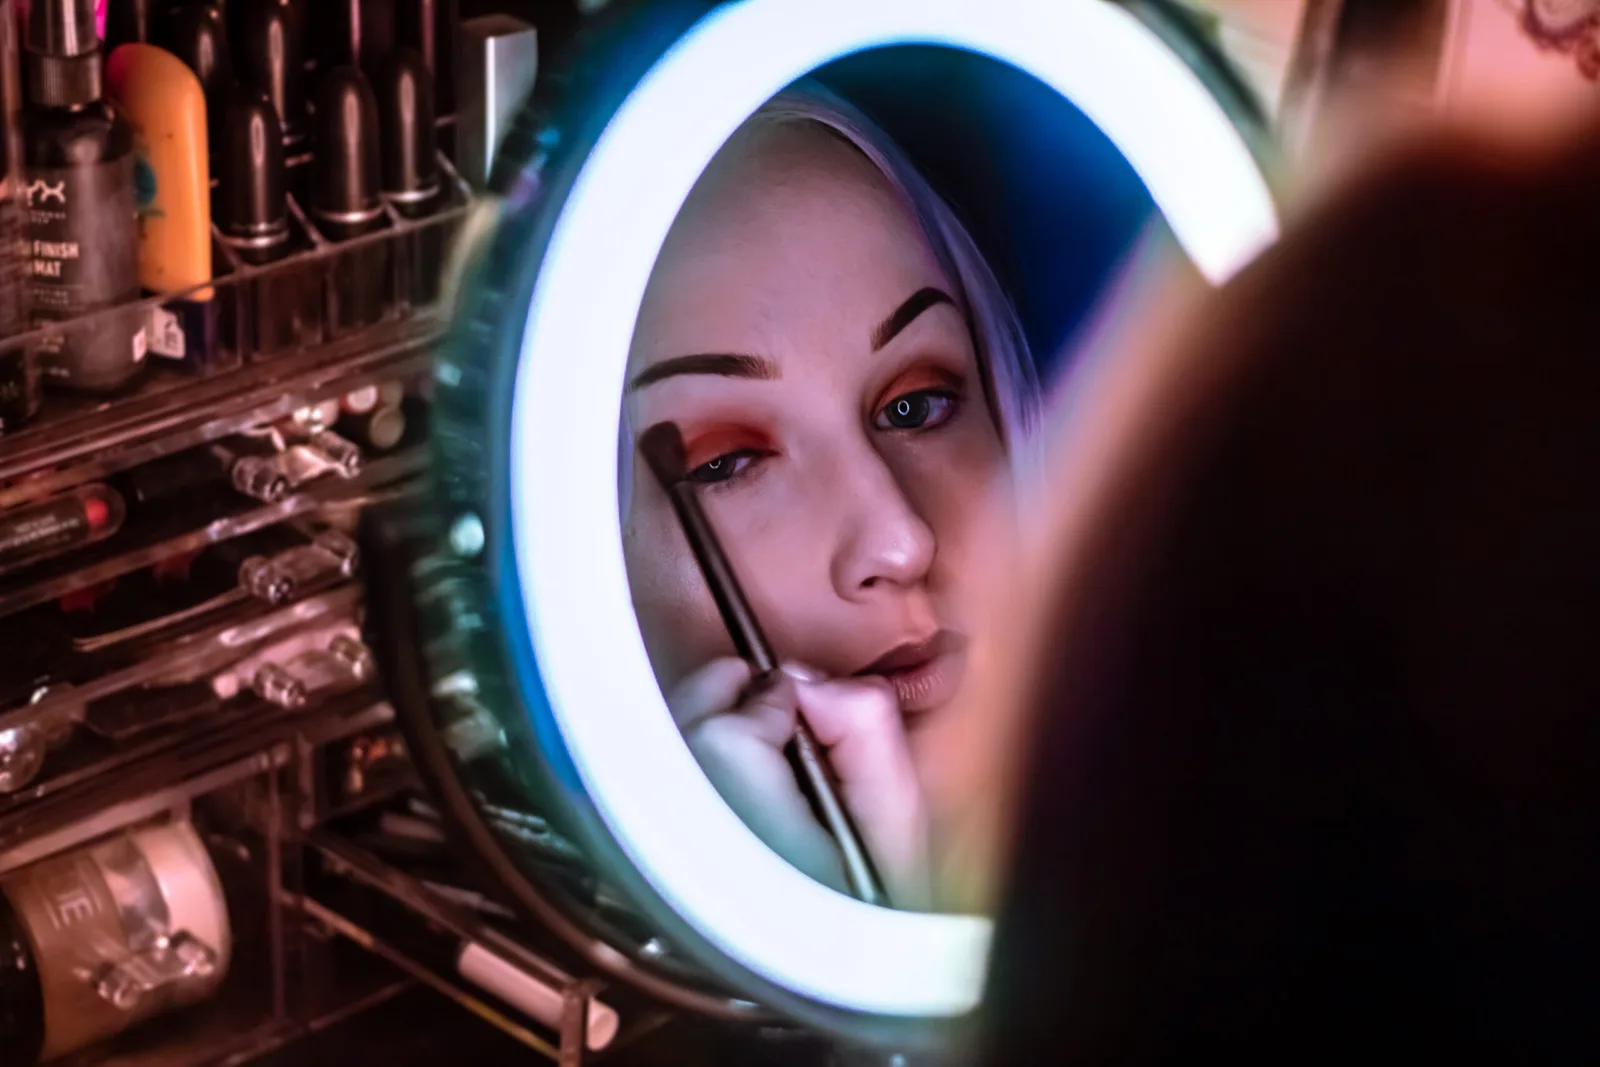
Sweep a light shade across your whole lid to set a base. Then start a darker shade at the center of your lash line and blend out toward the outer corner.
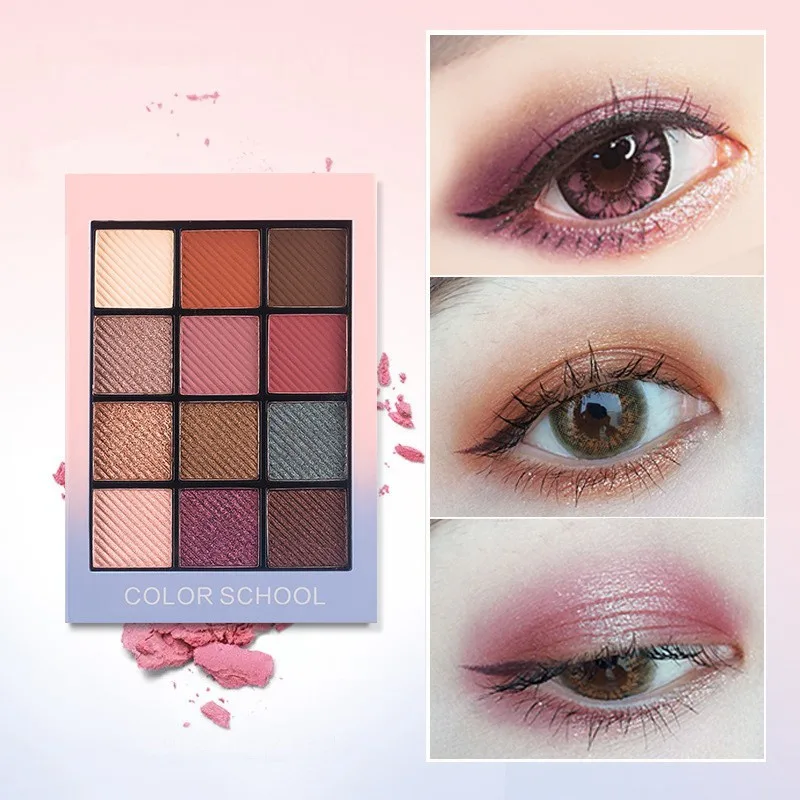
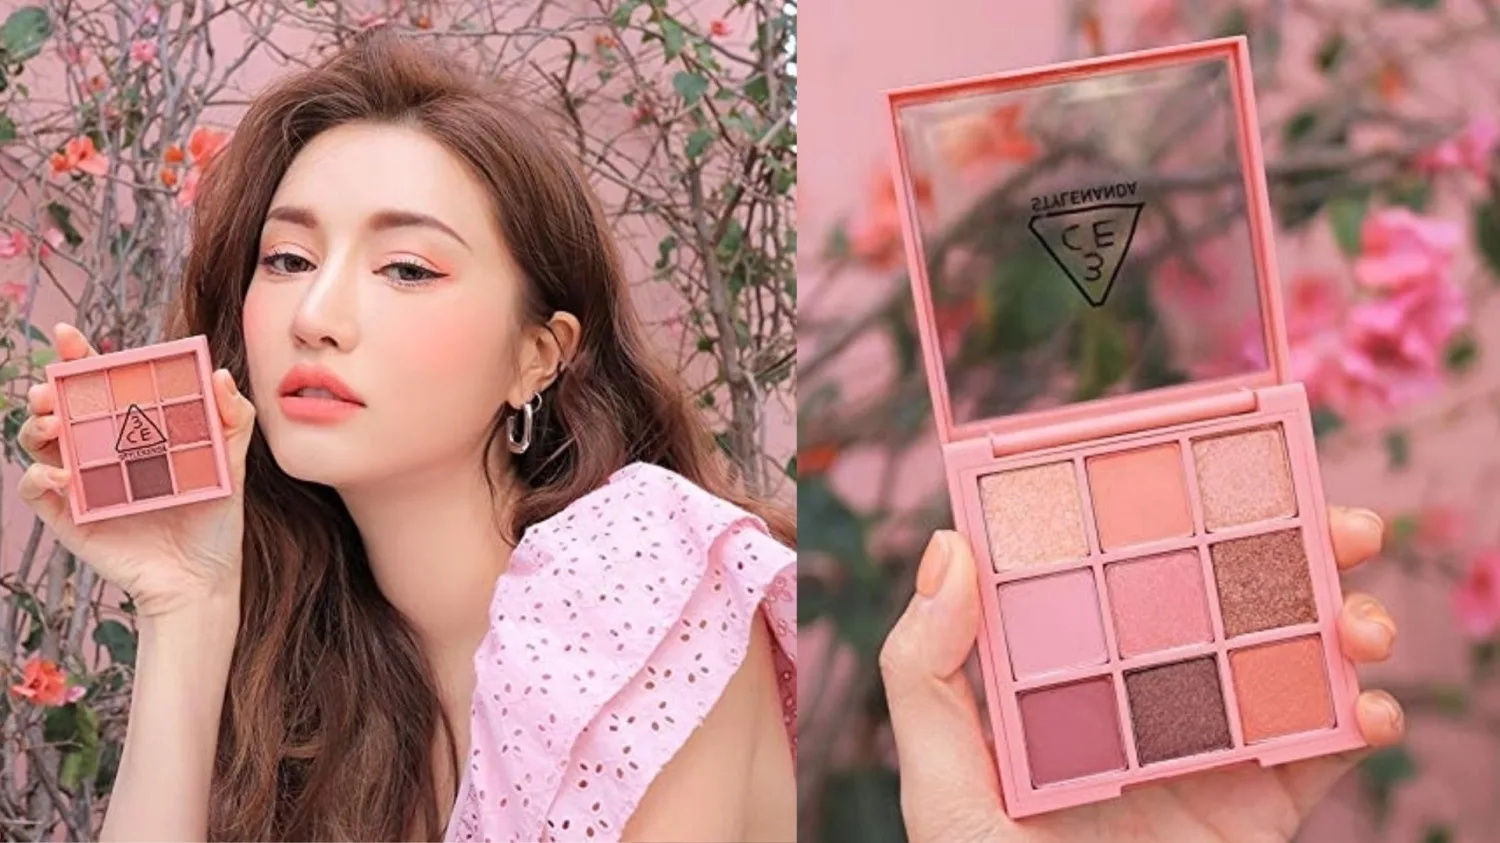
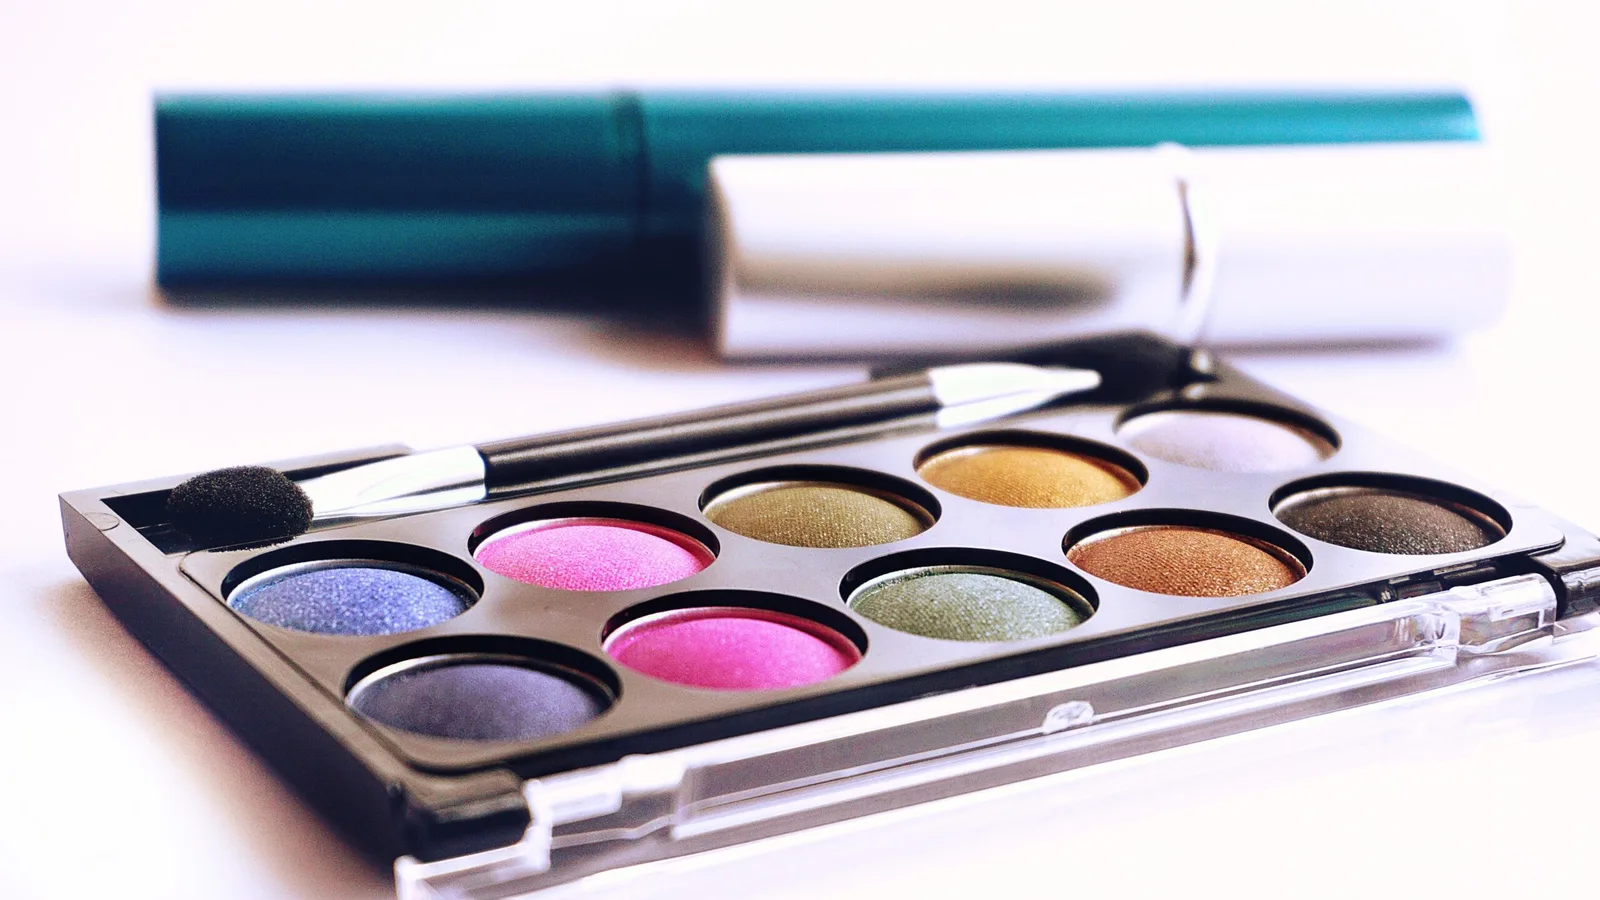
A neutral eyeshadow palette gives you shades that work together, so you can’t really pick a bad pair. If brushes feel like too much, a cream eyeshadow stick blends out with one finger.
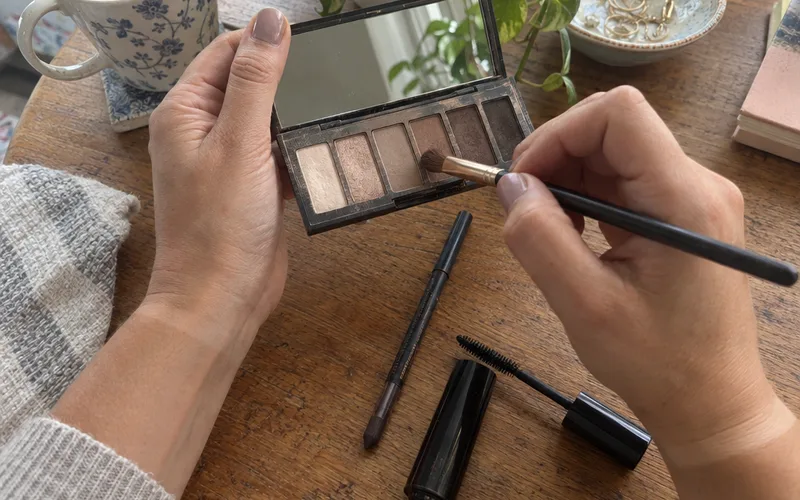
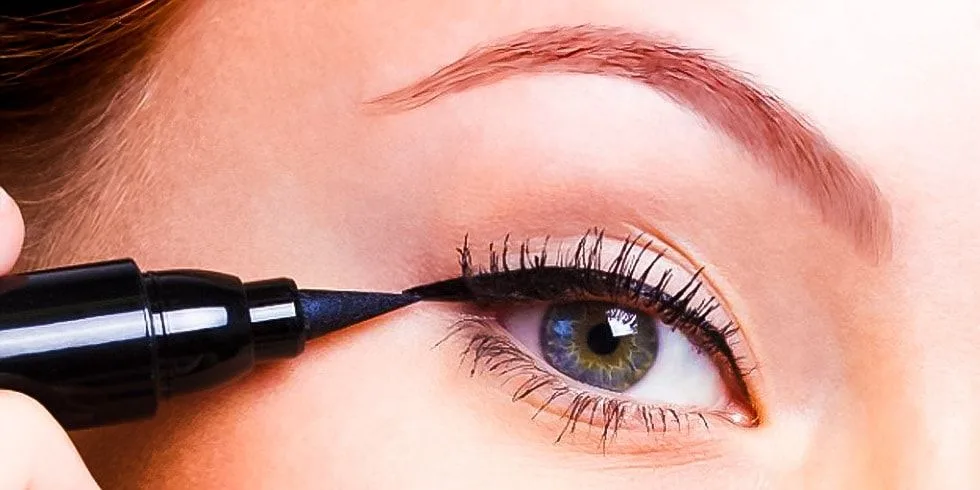
Look down into a mirror as you apply eyeliner, because that angle helps you avoid gaps in your line. Then keep the line thin and close to your upper lashes, since even a thin line across your lash line does a lot.
That’s all eyeliner for beginners needs to be at first.
Mascara comes last.
Curl your lashes first if you own a curler, pressing gently at the root for a few seconds. Then place the wand at the root and wiggle it up to the tip.
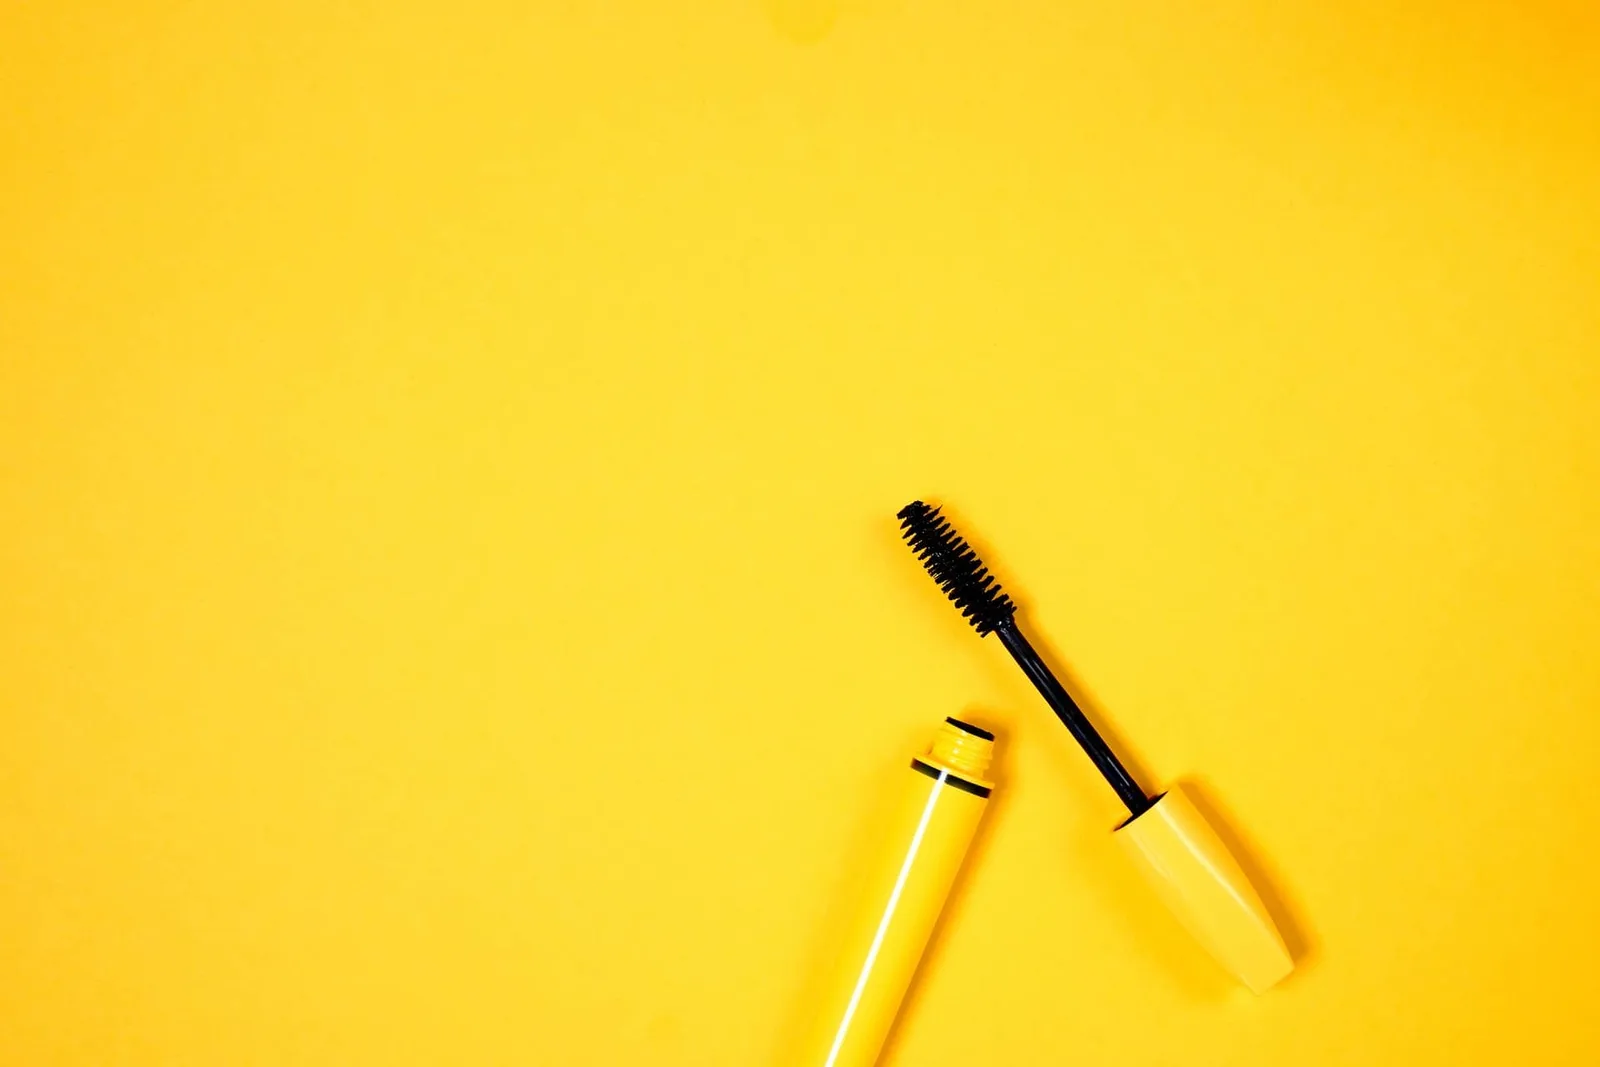
Choose your mascara by what your lashes lack. Volumizing formulas add fullness to sparse lashes, lengthening formulas stretch short lashes and curling formulas lift straight lashes.
Sensitive eyes change the shopping list, so read about makeup for sensitive eyes before you buy.
How Do You Fill In Your Eyebrows?
Eyebrows look most natural when you brush the hairs up with a spoolie, fill the sparse gaps with short strokes and set the shape with tinted gel. A spoolie is the little mascara-style brush on many brow pencils.
Work in the direction your hairs grow.
Short strokes copy real hair, while one long drawn line looks like exactly what it is.
Choose a pencil close to the color of your natural brows, so the fill blends in.
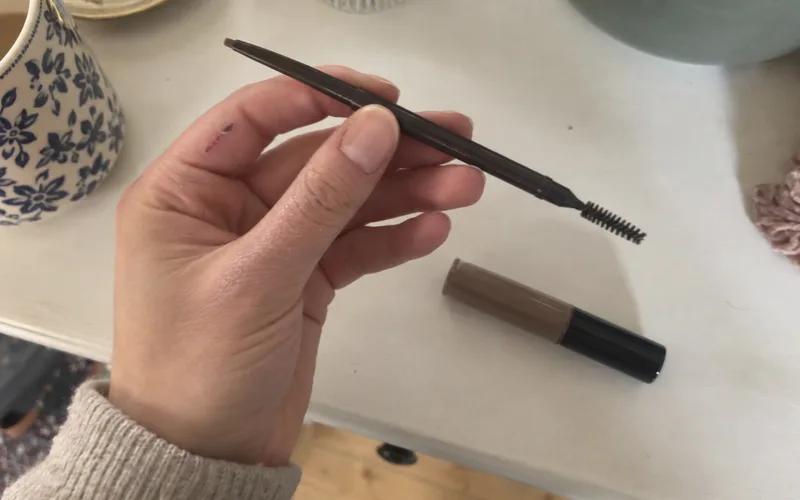
Fill only the gaps, and you’ll rarely overdo your brows.
If your brows have bigger bare patches, filling in eyebrows takes more strokes and more patience. And if you’re shopping, start with a good eyebrow pencil, because that’s the one tool doing most of the work.
Setting the shape takes only a moment. Brush gel up through the hairs, press them into place and let them dry.
How Do You Apply Lip Color?
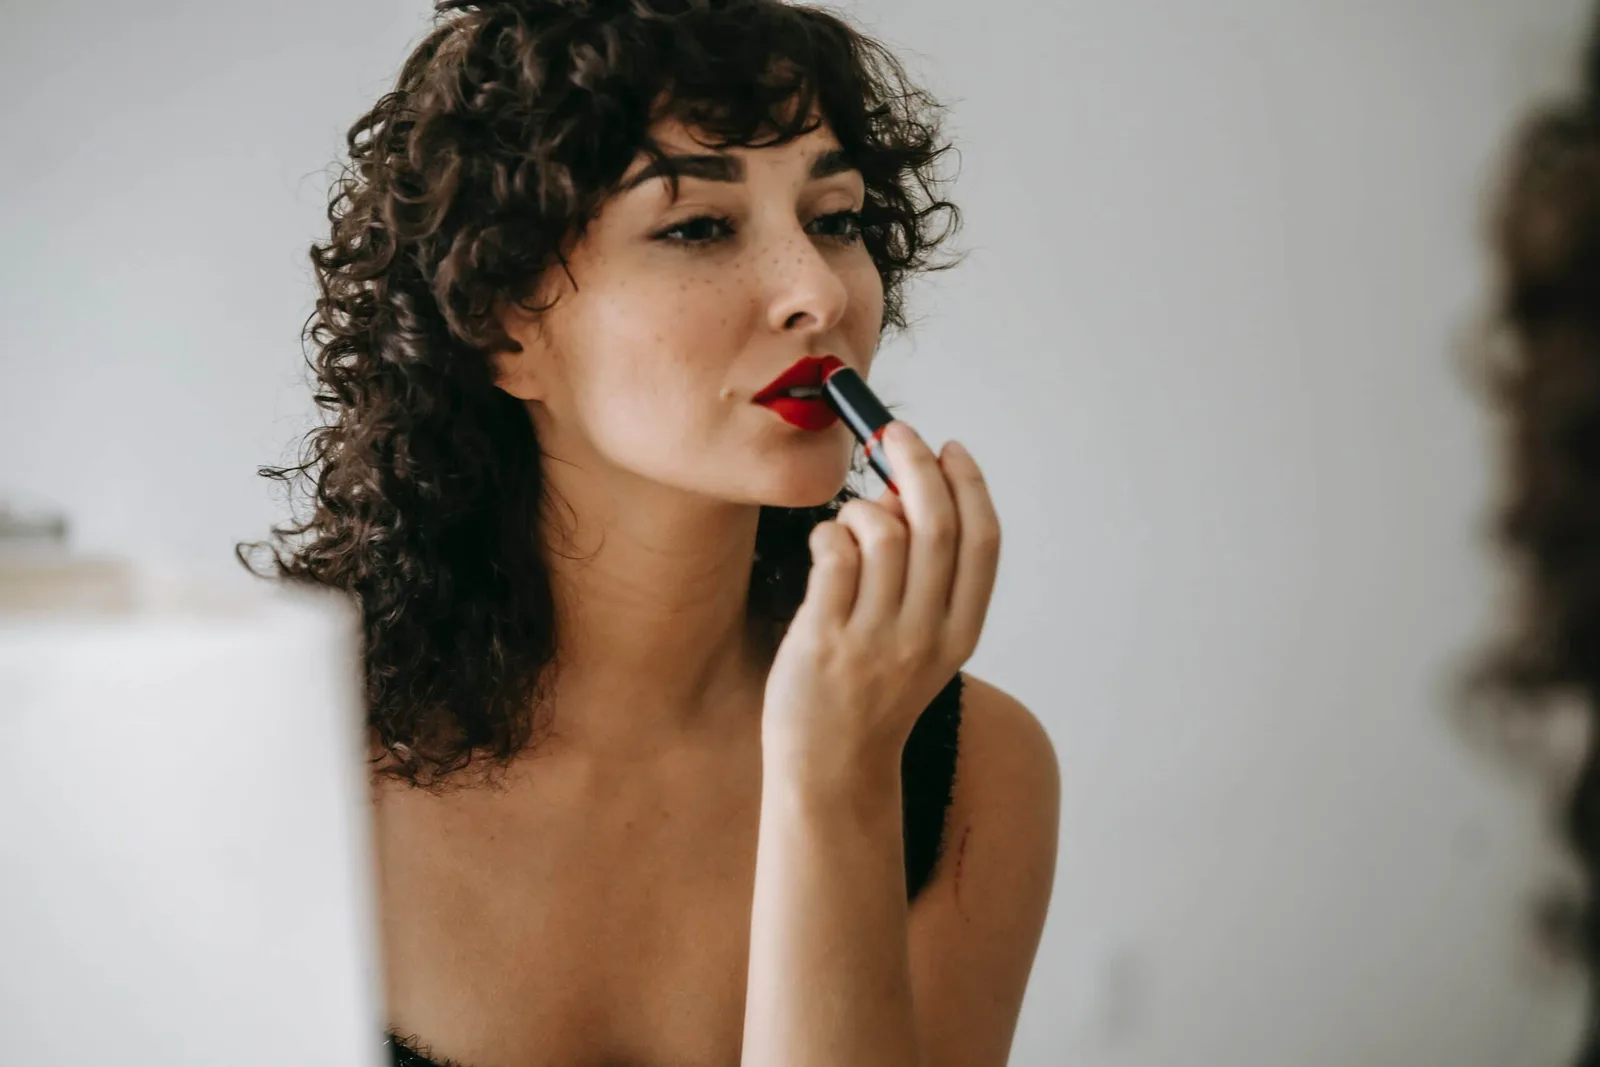
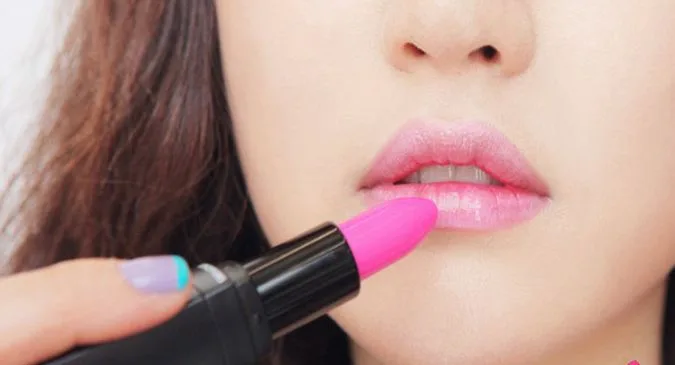
Lip color goes on near the end, and a tinted lip balm is the easiest place to start because it hydrates while it adds color. Swipe it across your upper and lower lips, then press them together to spread it evenly.
When you want more definition, add a liner.
Choose one that matches your lip color, then line the outer edges of your lips with short strokes. A liner helps keep your color in place, and it gives your lips a cleaner shape.
Next comes the choice between shine and impact.
A matte, full-coverage lipstick gives you bold color, and a gloss or lip oil gives you a softer, shinier finish. Pick by the look you want that day, not by what’s trending this month.
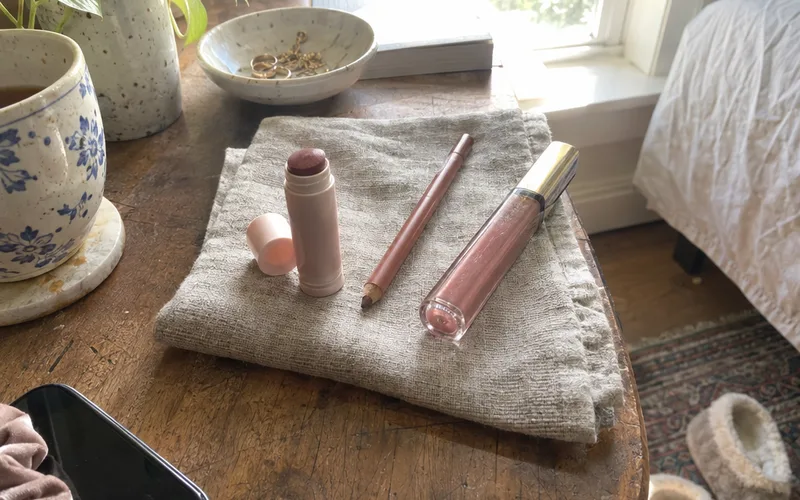
Knowing the types of lipstick makes that choice easier, and a liner helps when your edges come out uneven while applying lipstick. Budget shoppers can compare drugstore lipstick picks first.
What Makeup Tools Do You Really Need?
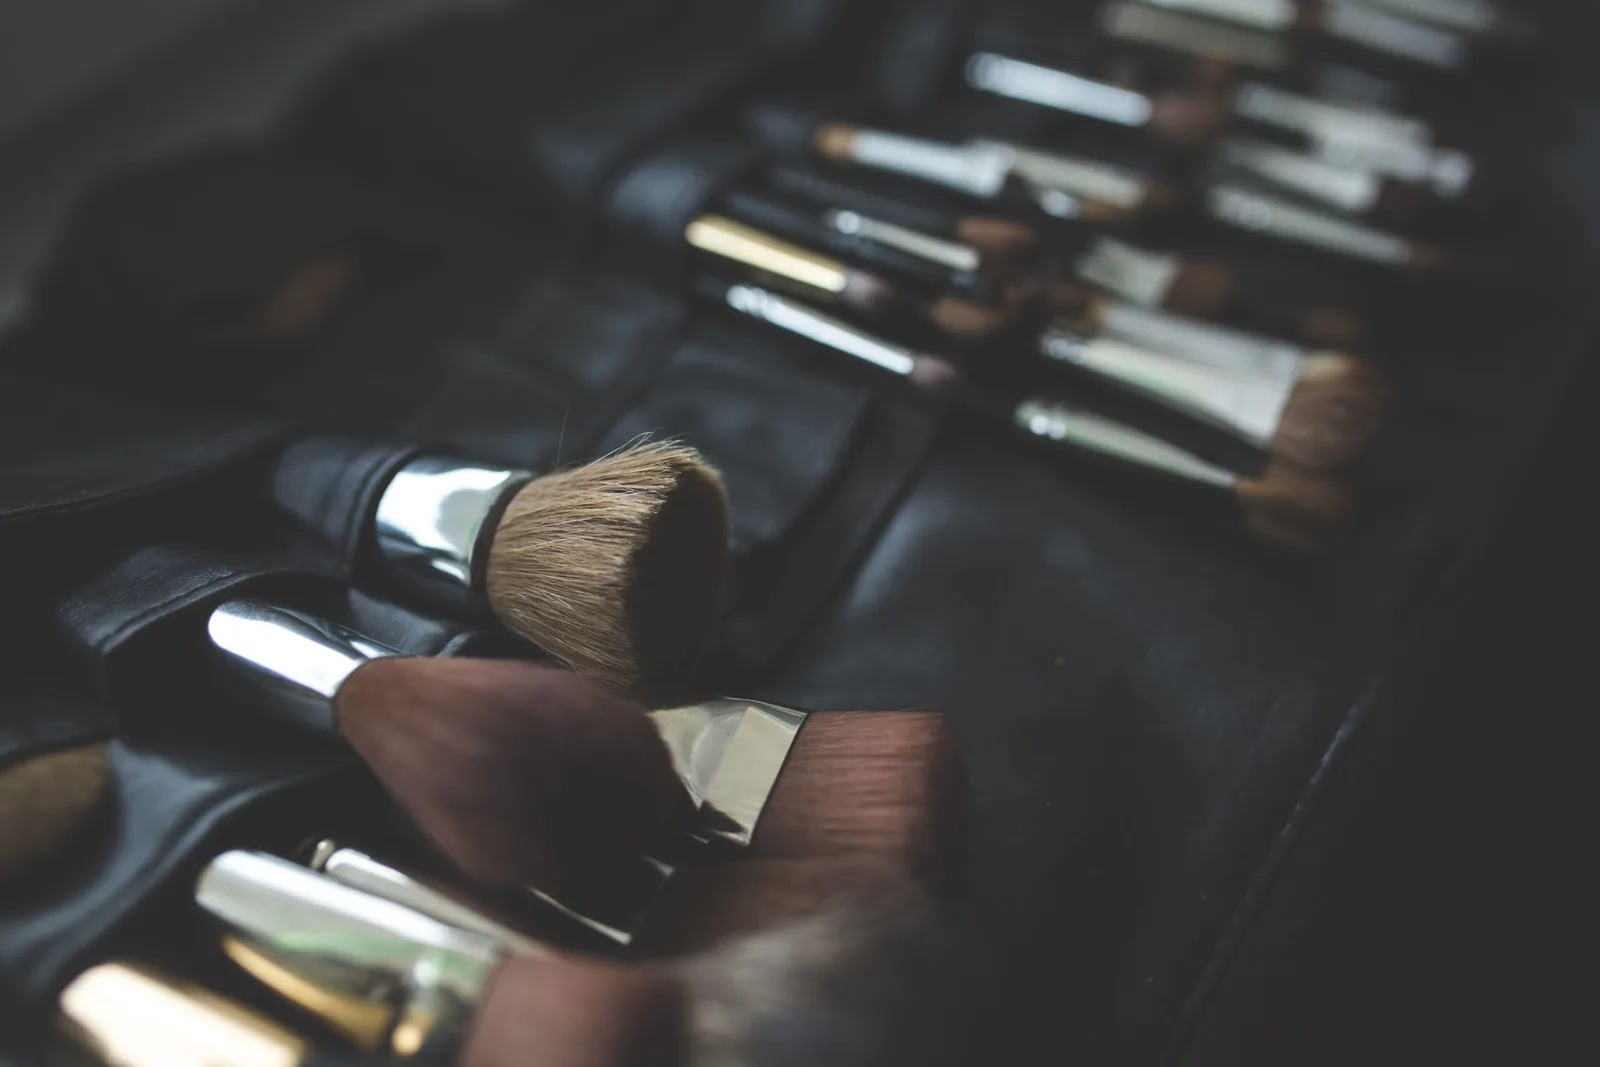
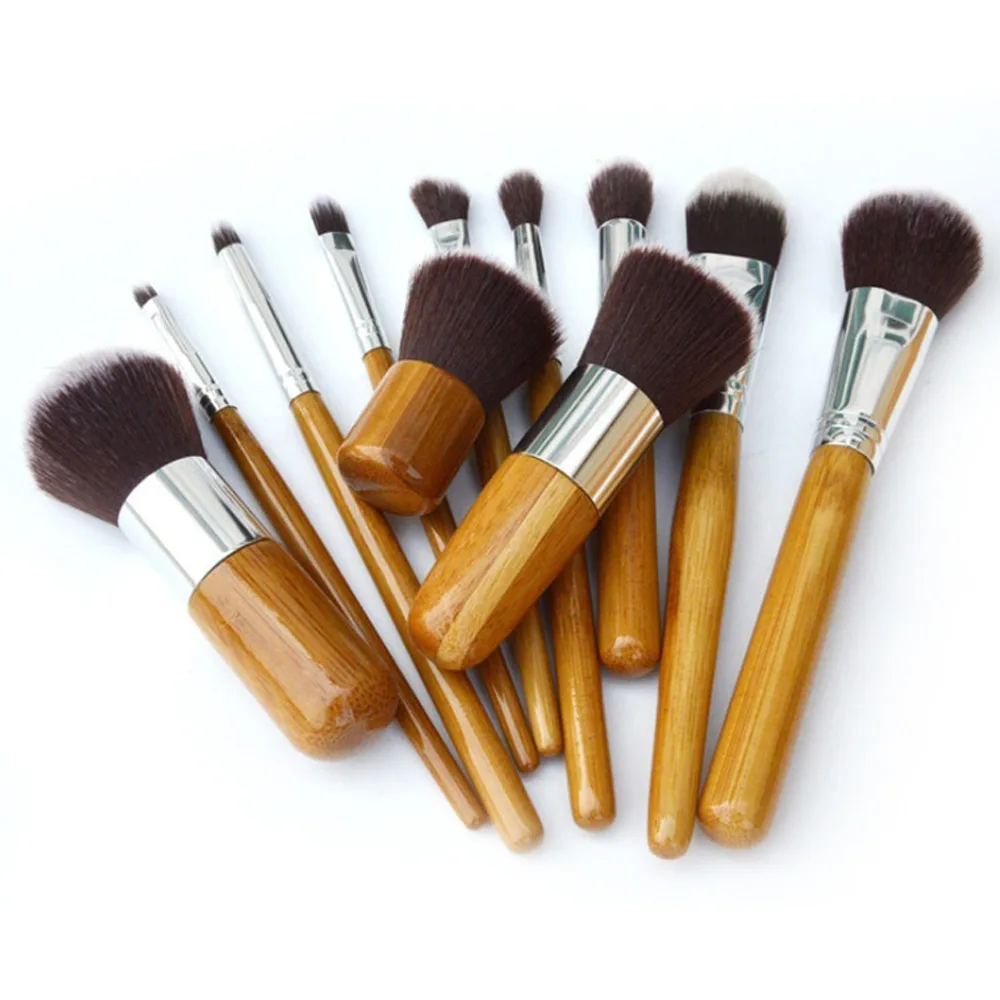
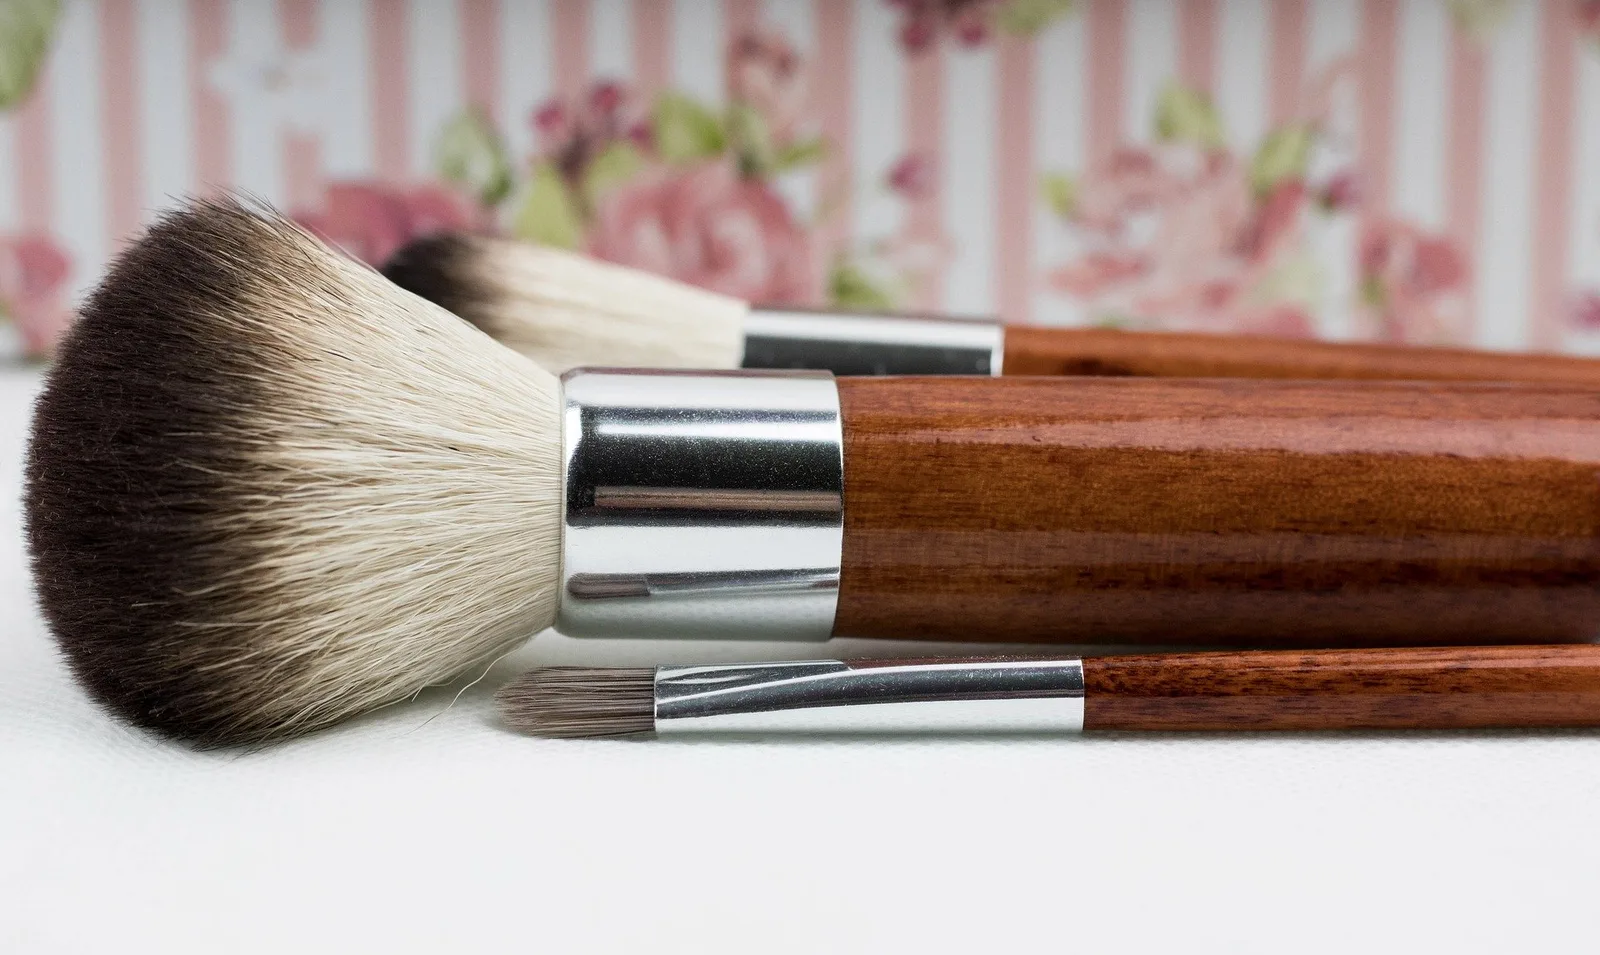
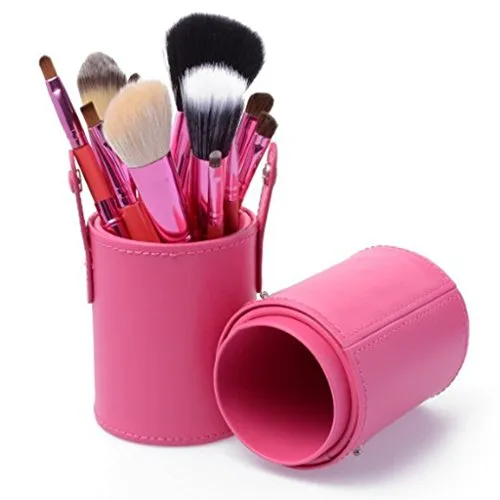
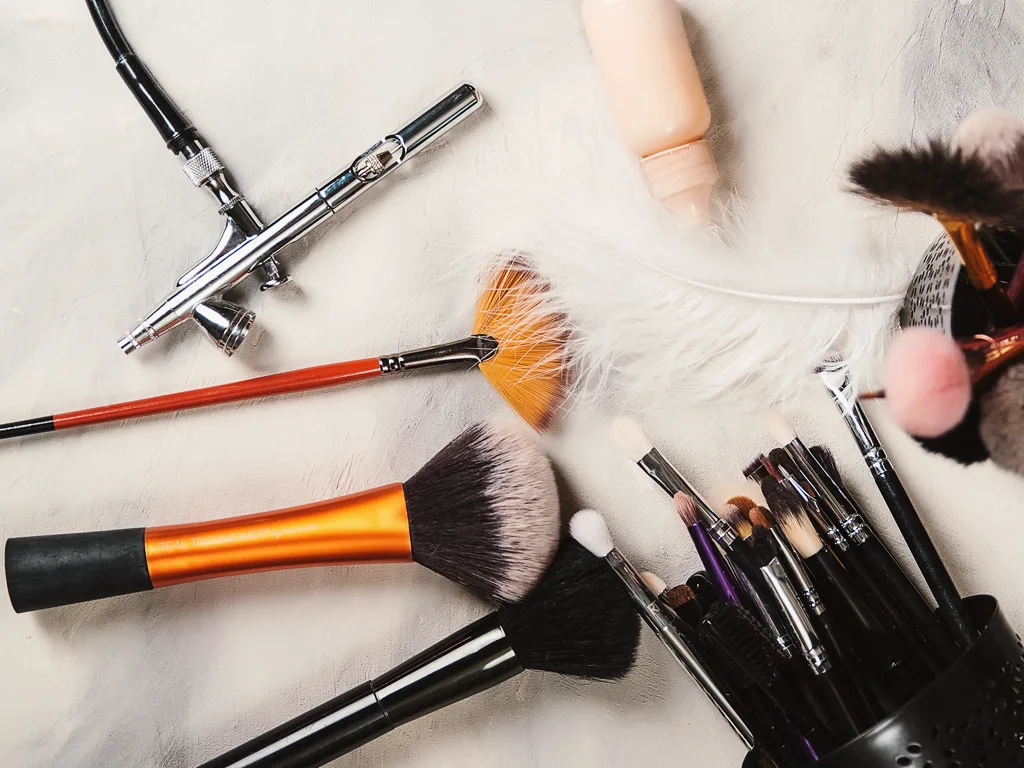
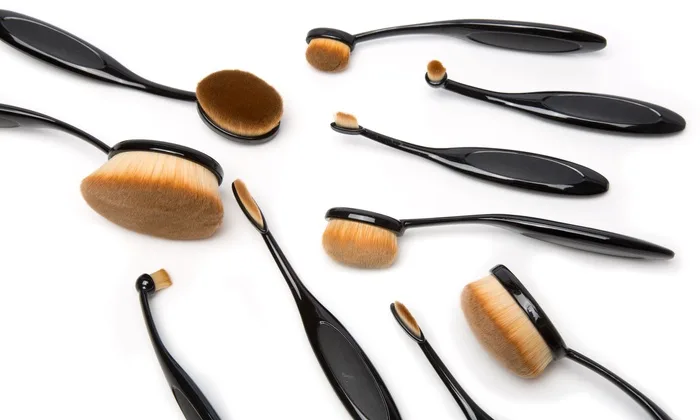
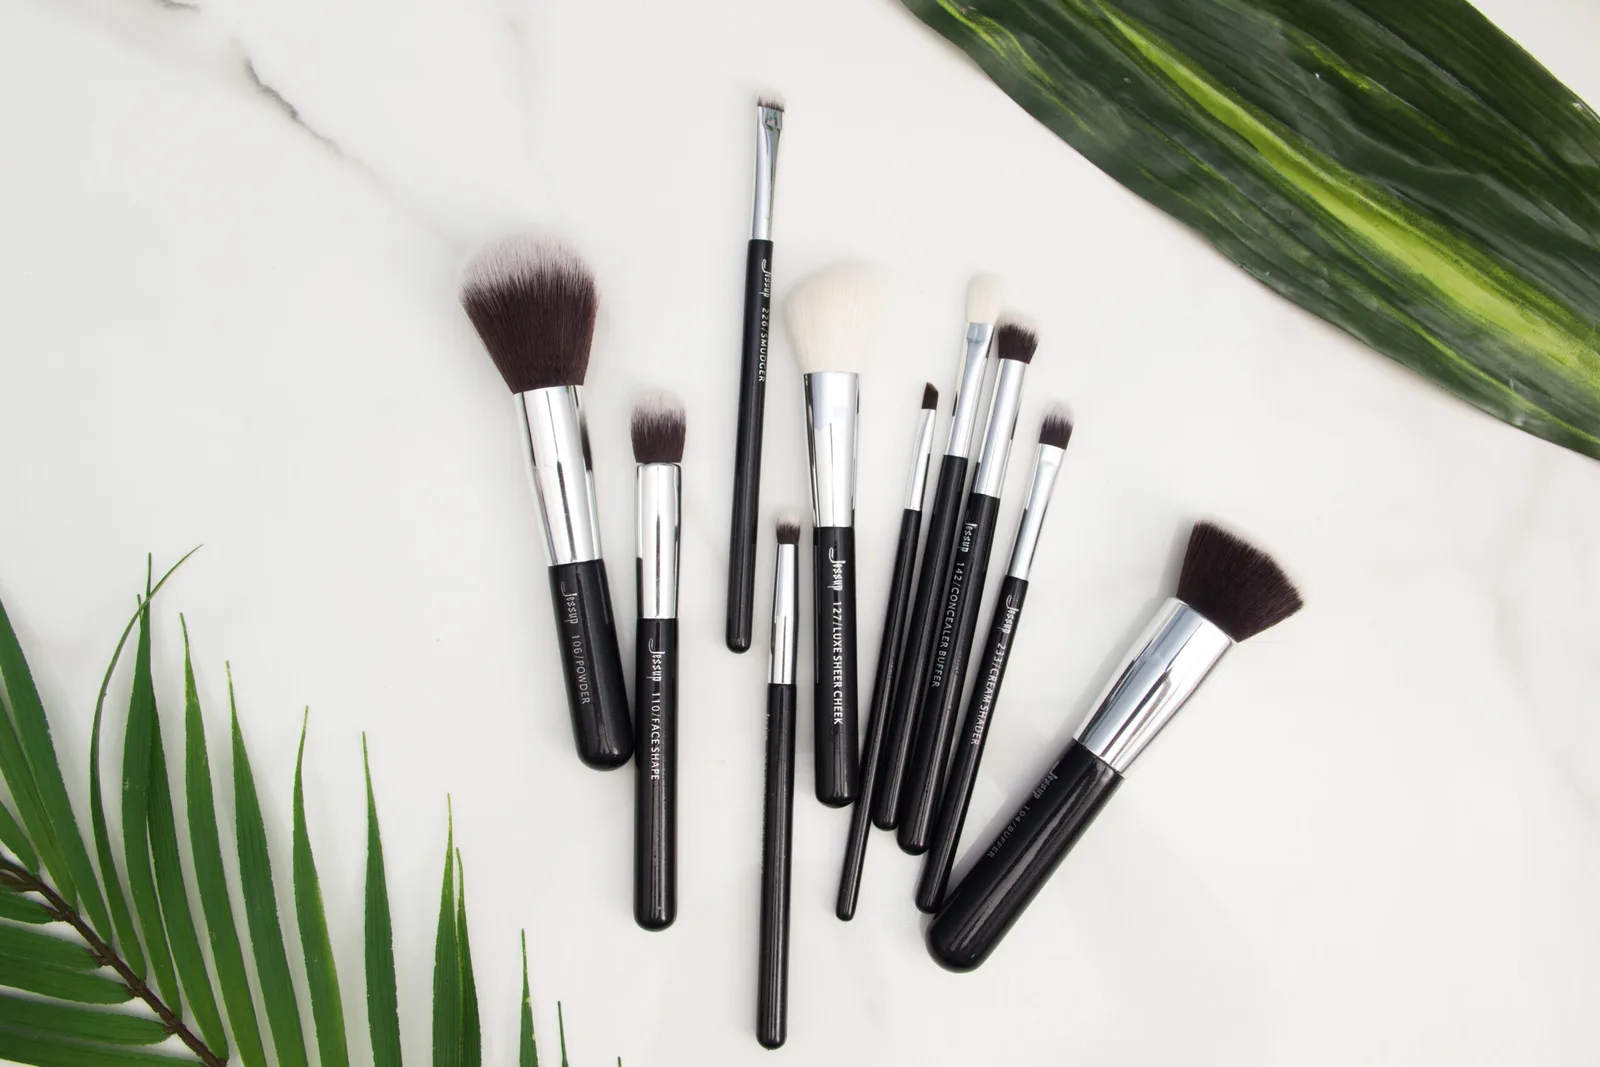
The makeup tools you really need are a foundation brush or damp makeup sponge for your base and a fluffy brush for your cheeks. Those 2 tools handle the steps that shape your finished look, and your fingers can handle most cream products.
That means you can skip the giant set for now.
A 32-piece makeup brush set can wait until you know which shapes you actually use.
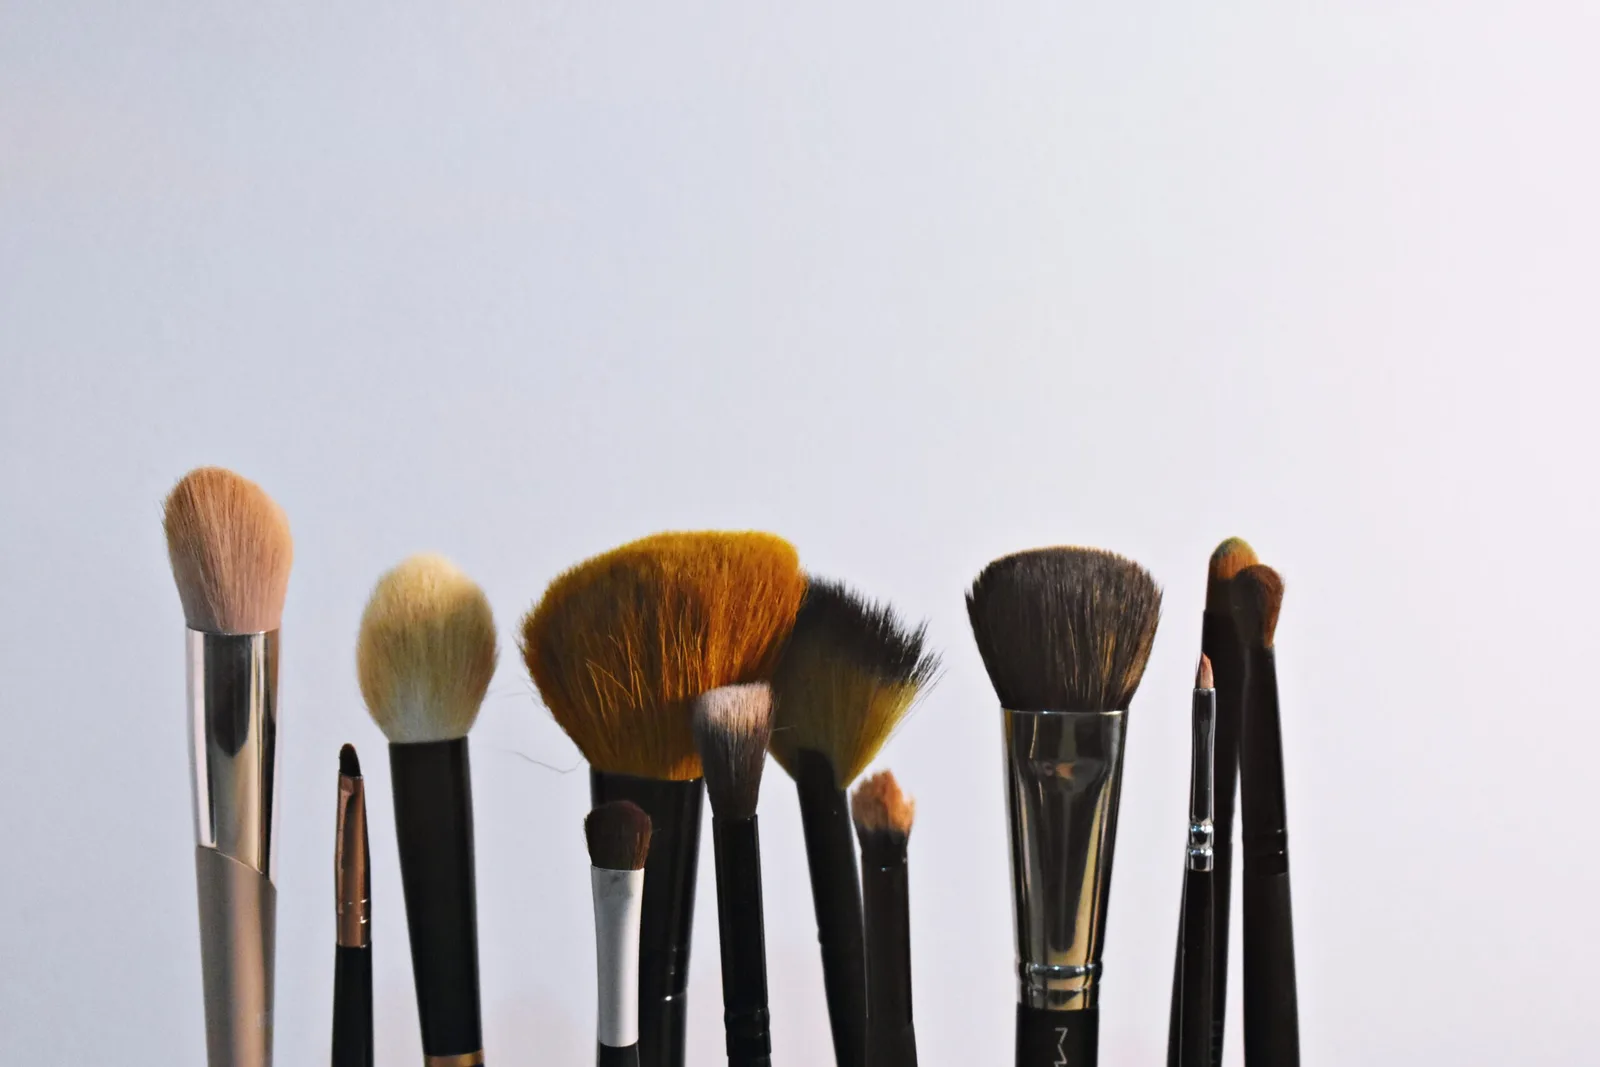
As your routine grows, these tools earn their place:
- A tapered eyeshadow brush for blending shadow.
- An angled brush for brows and liner.
- A powder puff or fluffy powder brush for setting your base.
- An eyelash curler for straight or droopy lashes.
- Cotton swabs for quick cleanups.
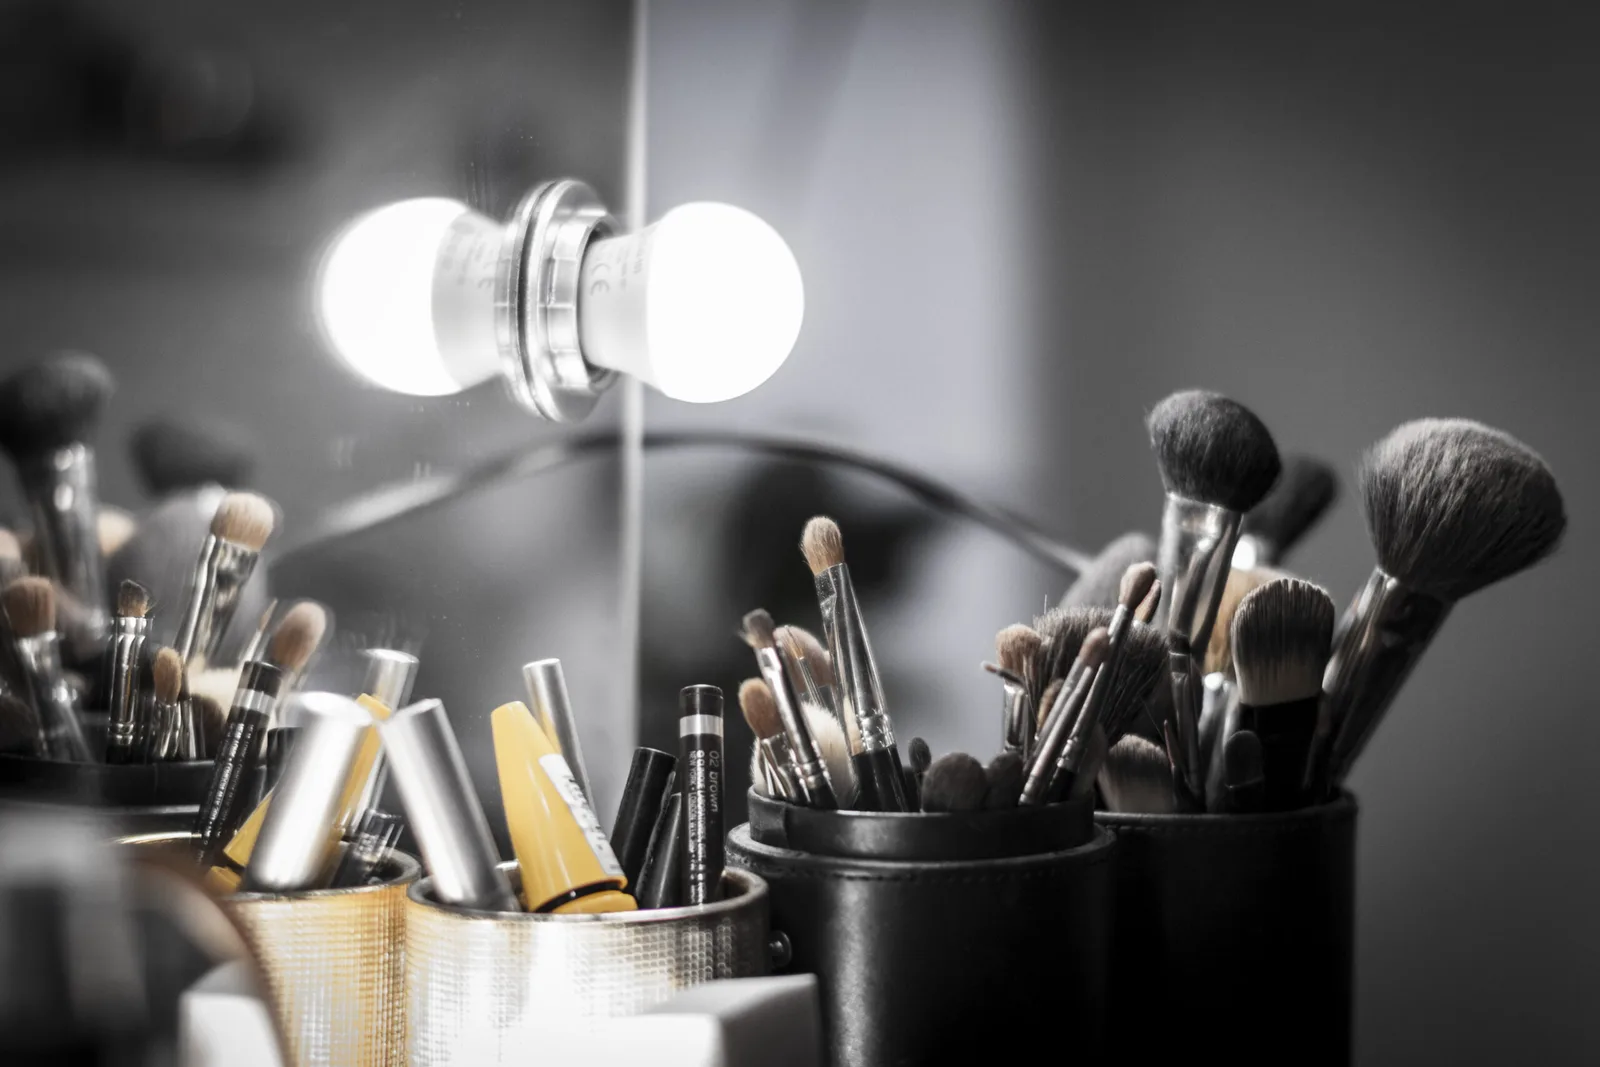
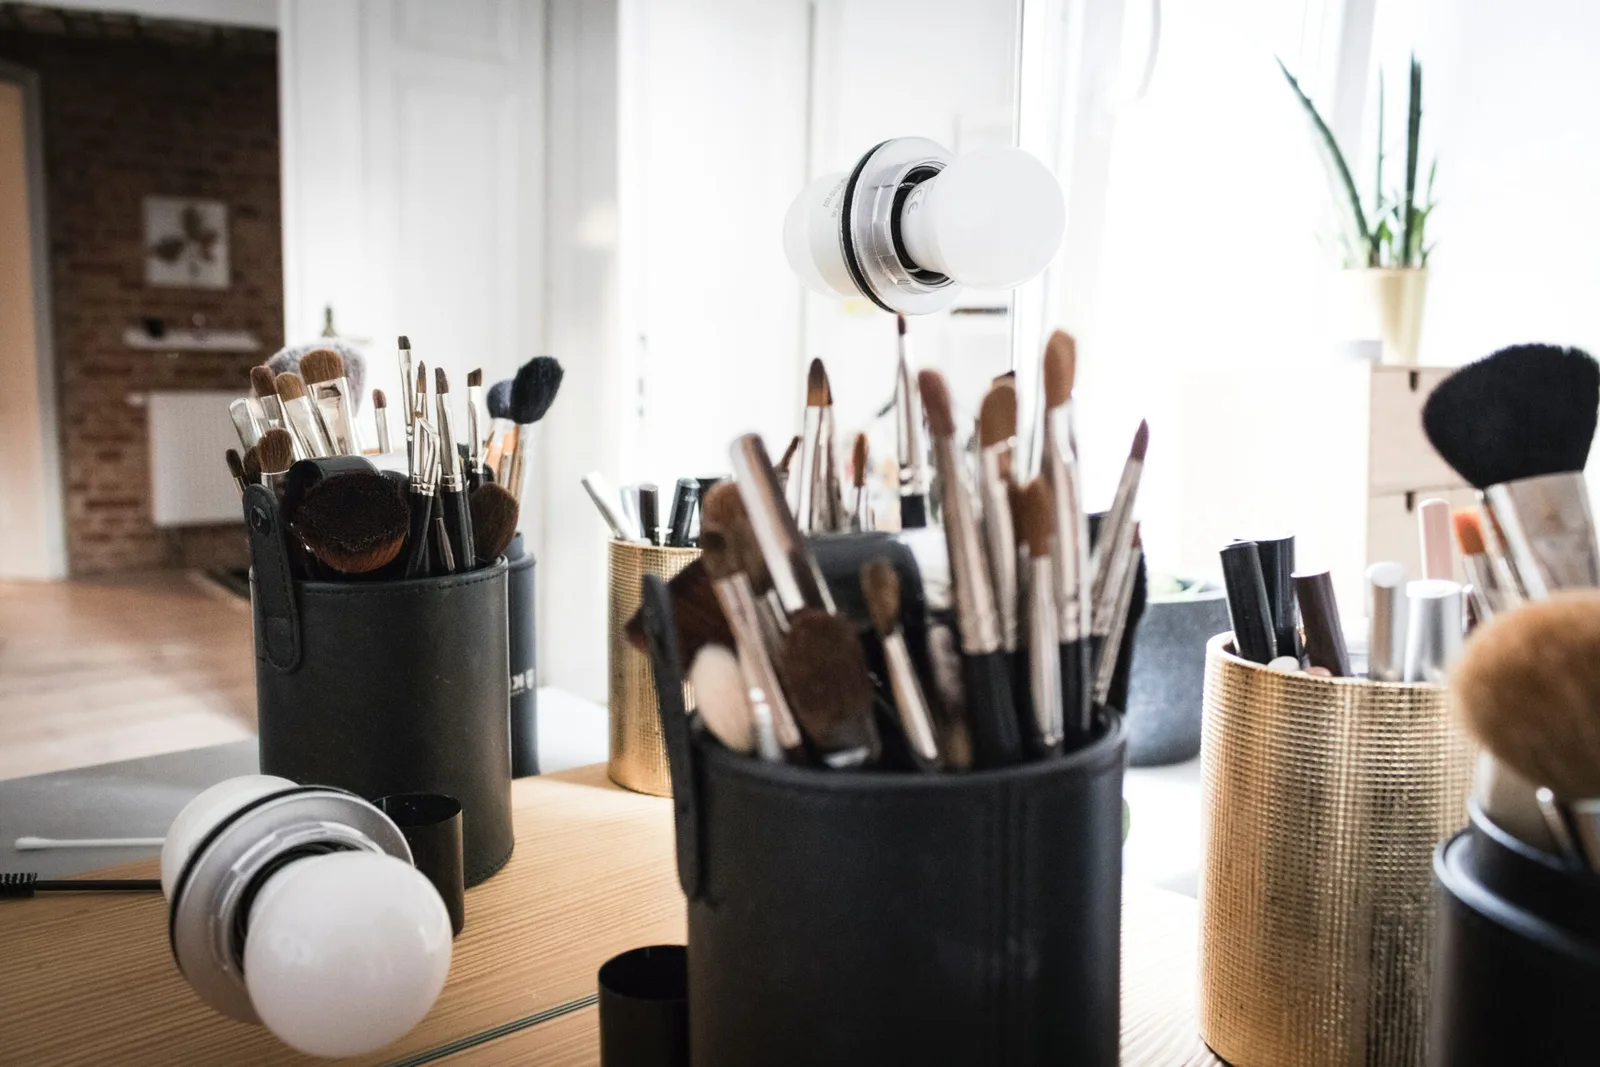
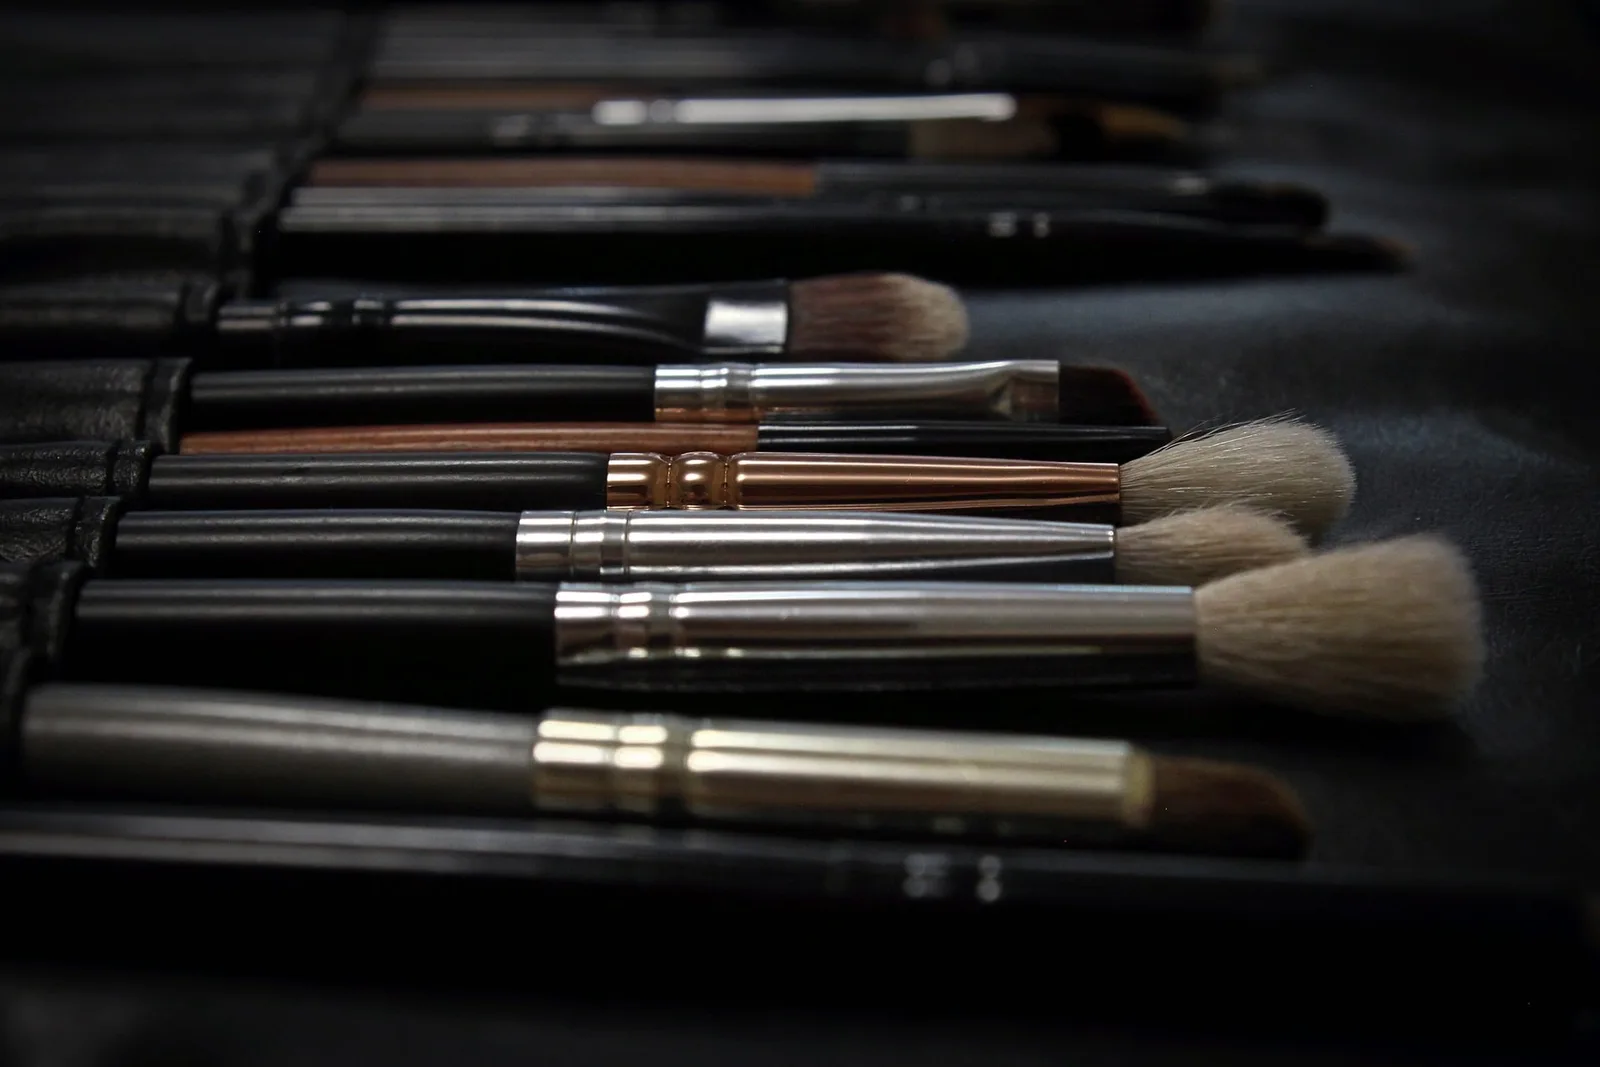
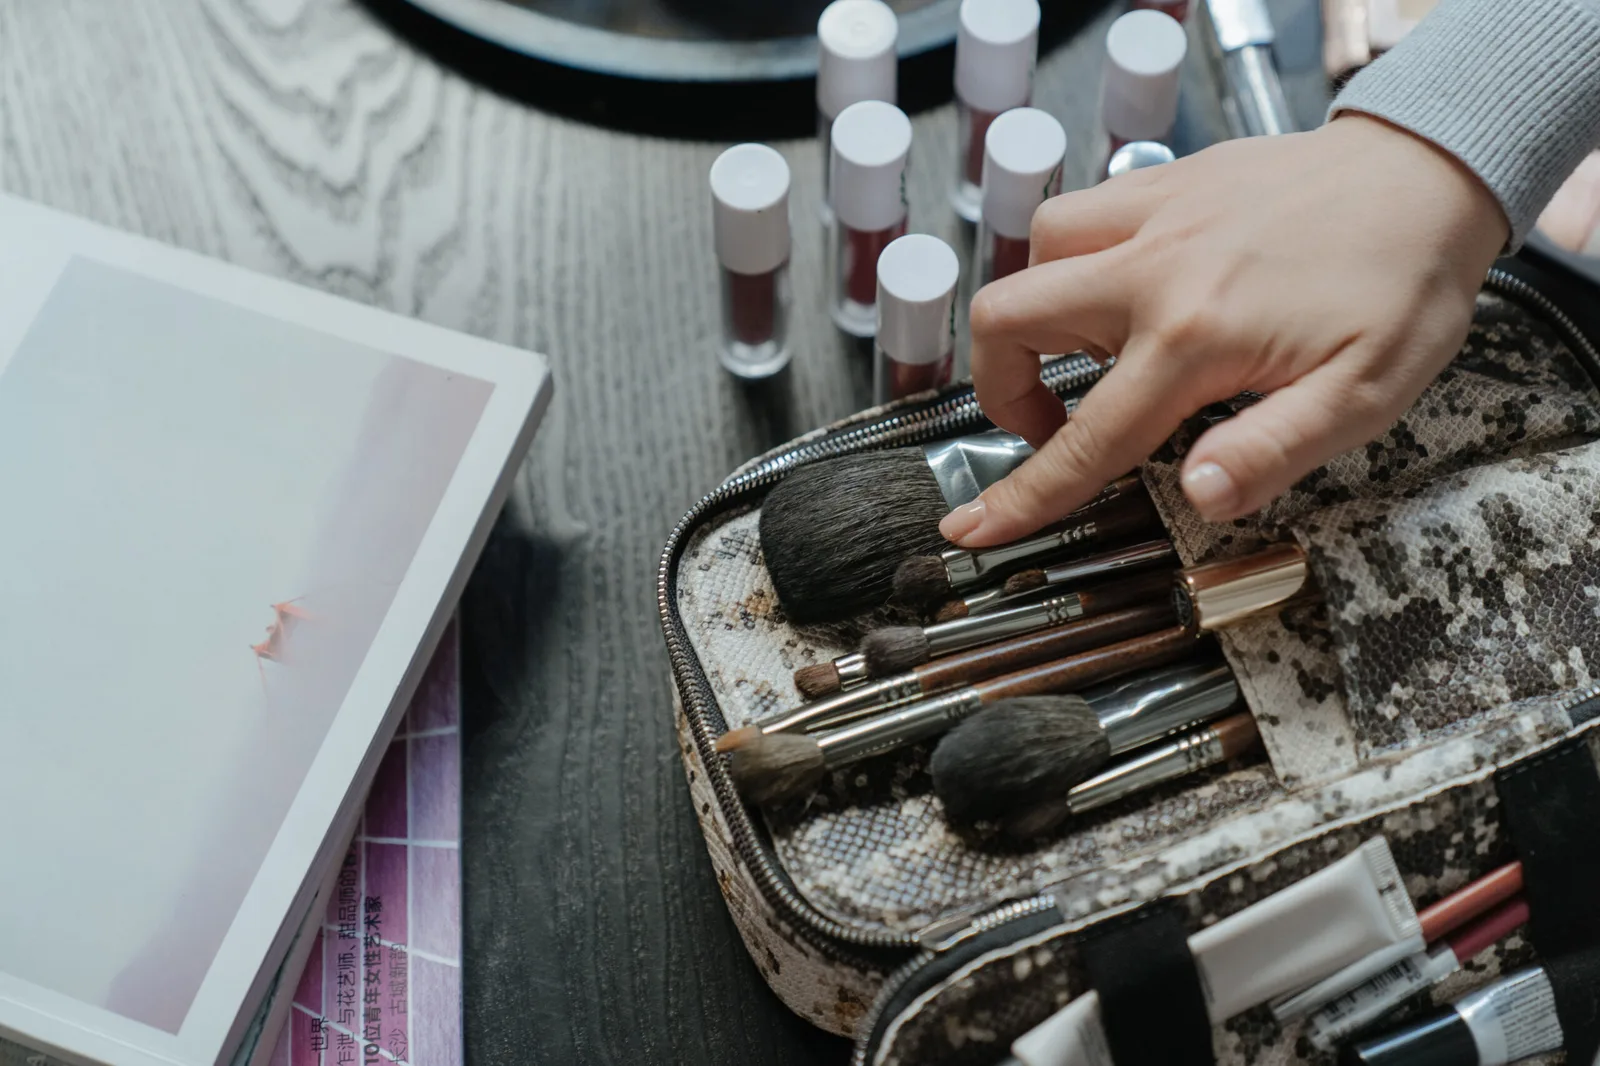
Learn makeup brushes and their uses one shape at a time, as each step calls for it. When you’re ready to buy, compare drugstore makeup brushes before paying more.
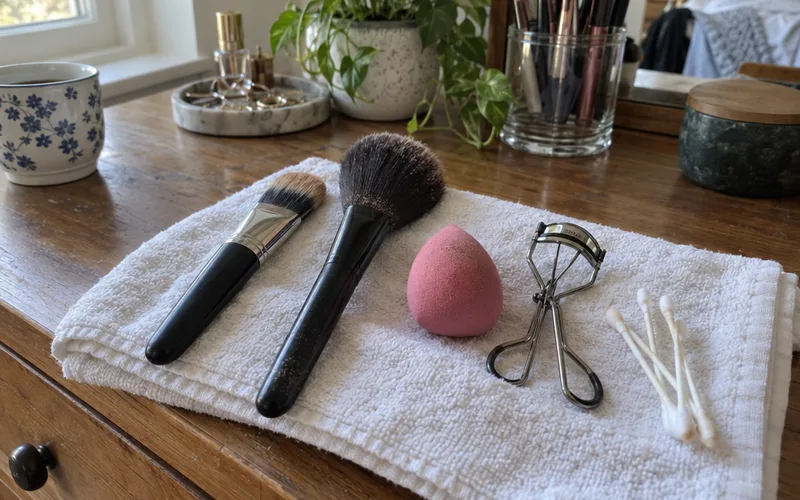
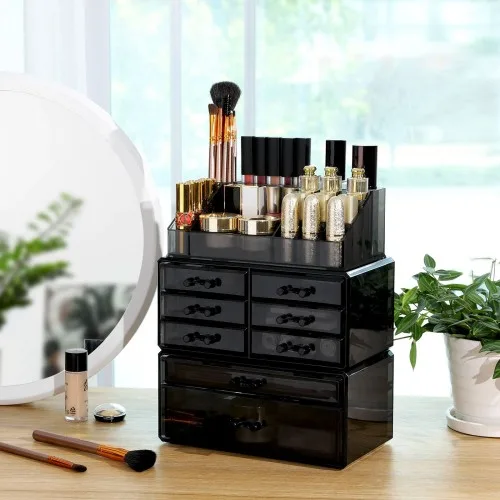
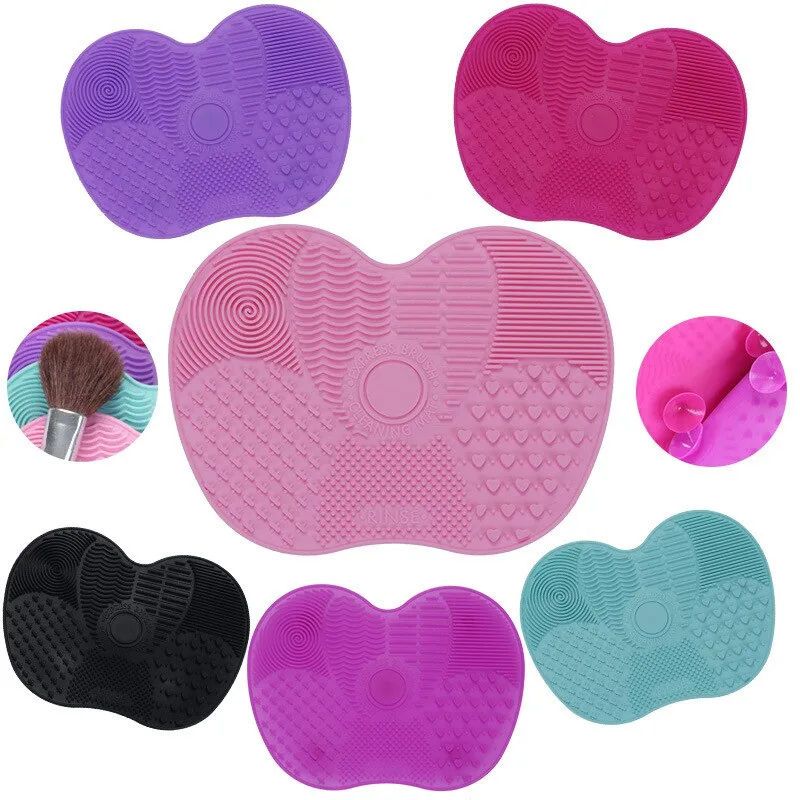
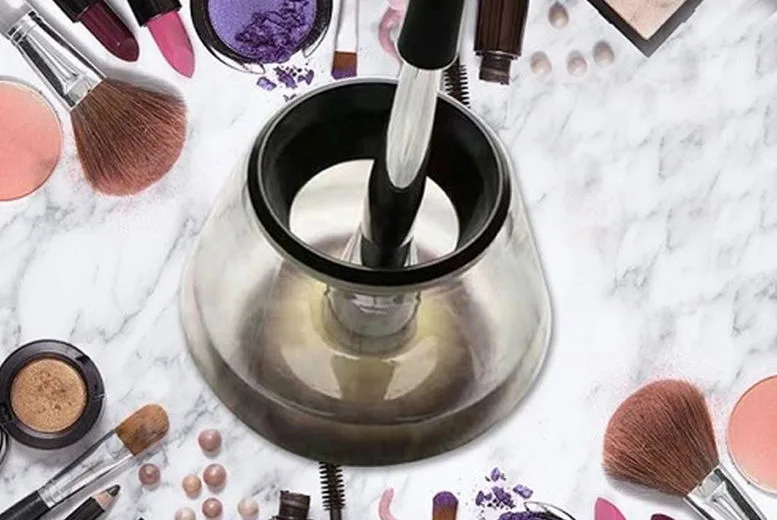
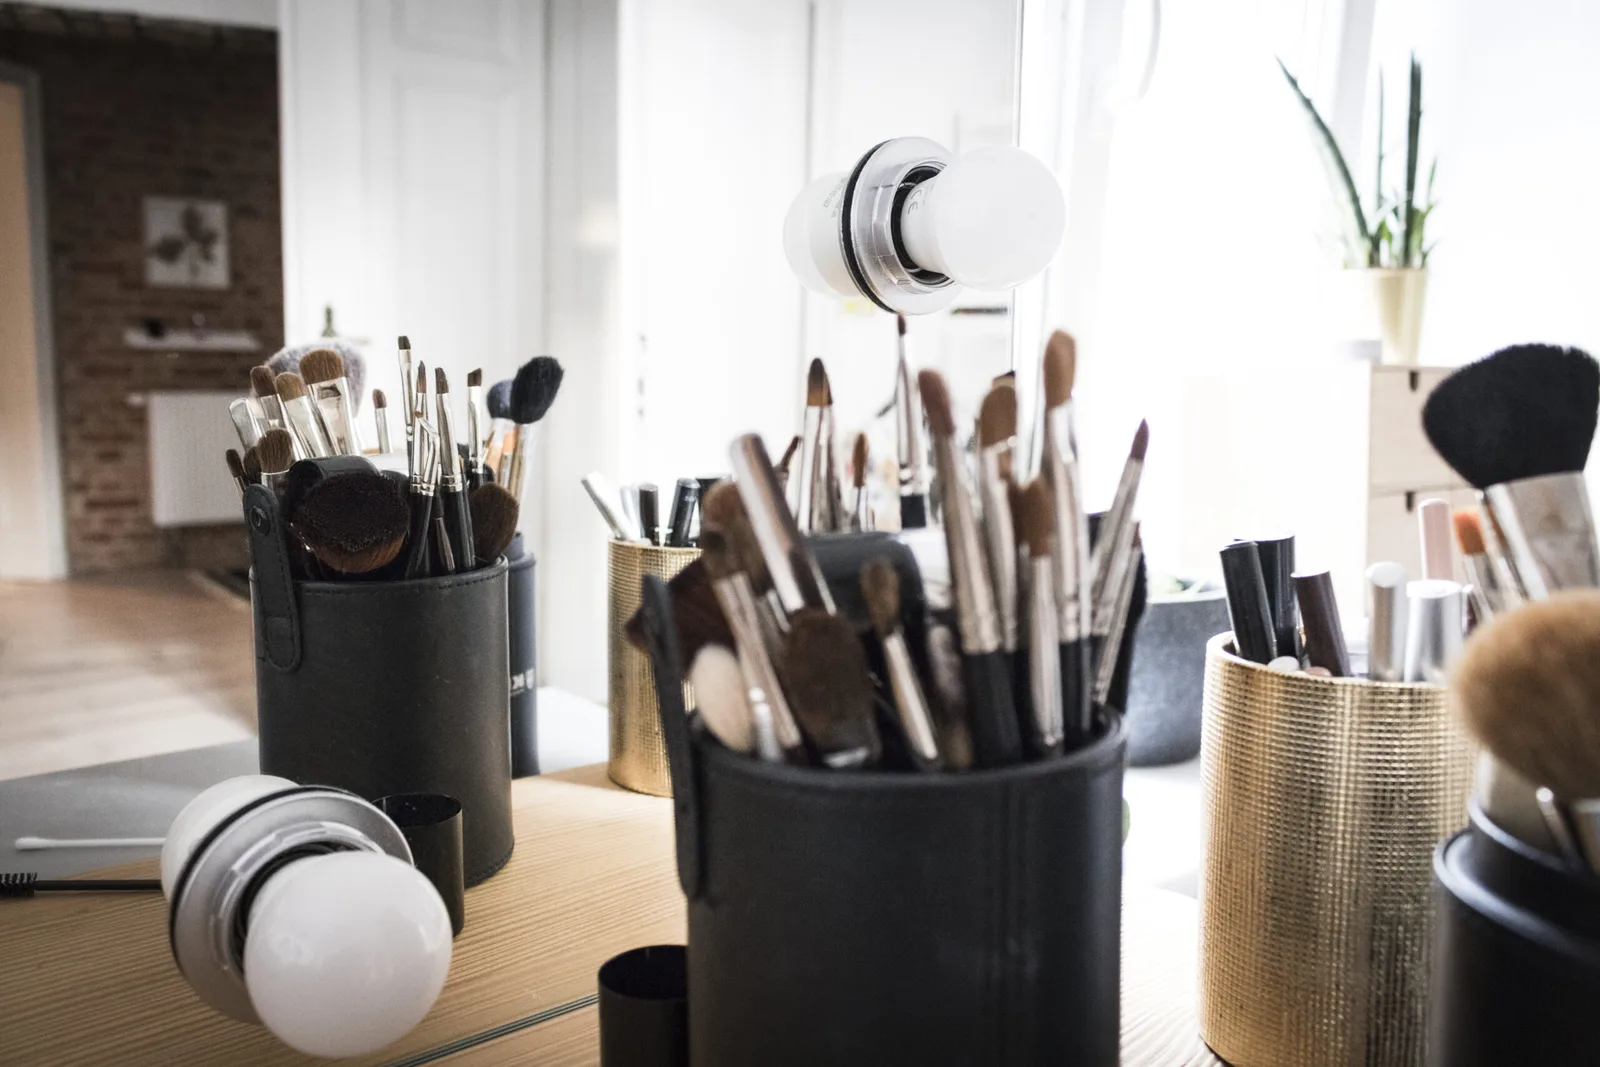
Tools need a little care too, so keep a simple DIY brush cleaner spray nearby and store your makeup brushes where they stay clean.
Buy the 2 core tools first, then add others only when a step feels hard without them.
How Do You Make Makeup Last All Day?
Makeup lasts longest on prepped skin, in thin layers, with powder on your oily spots and a light mist of setting spray on top. Each step gives the next one something to grip.
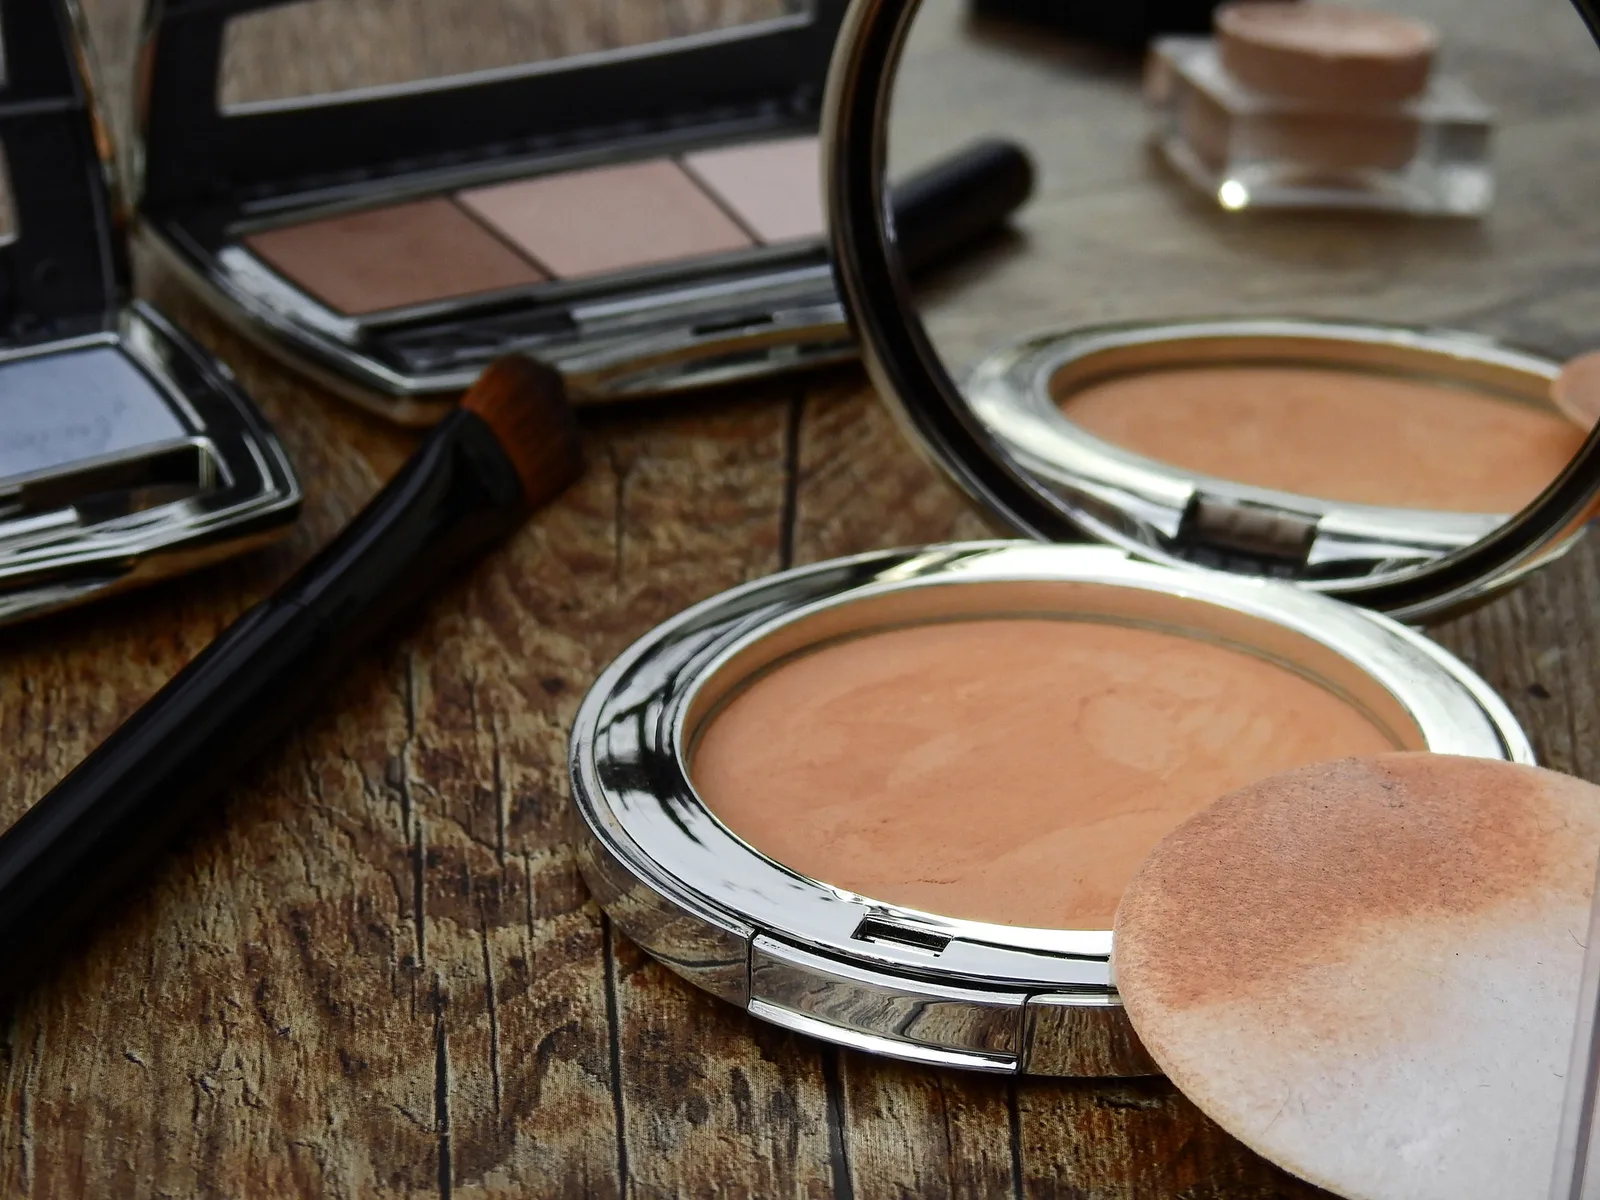
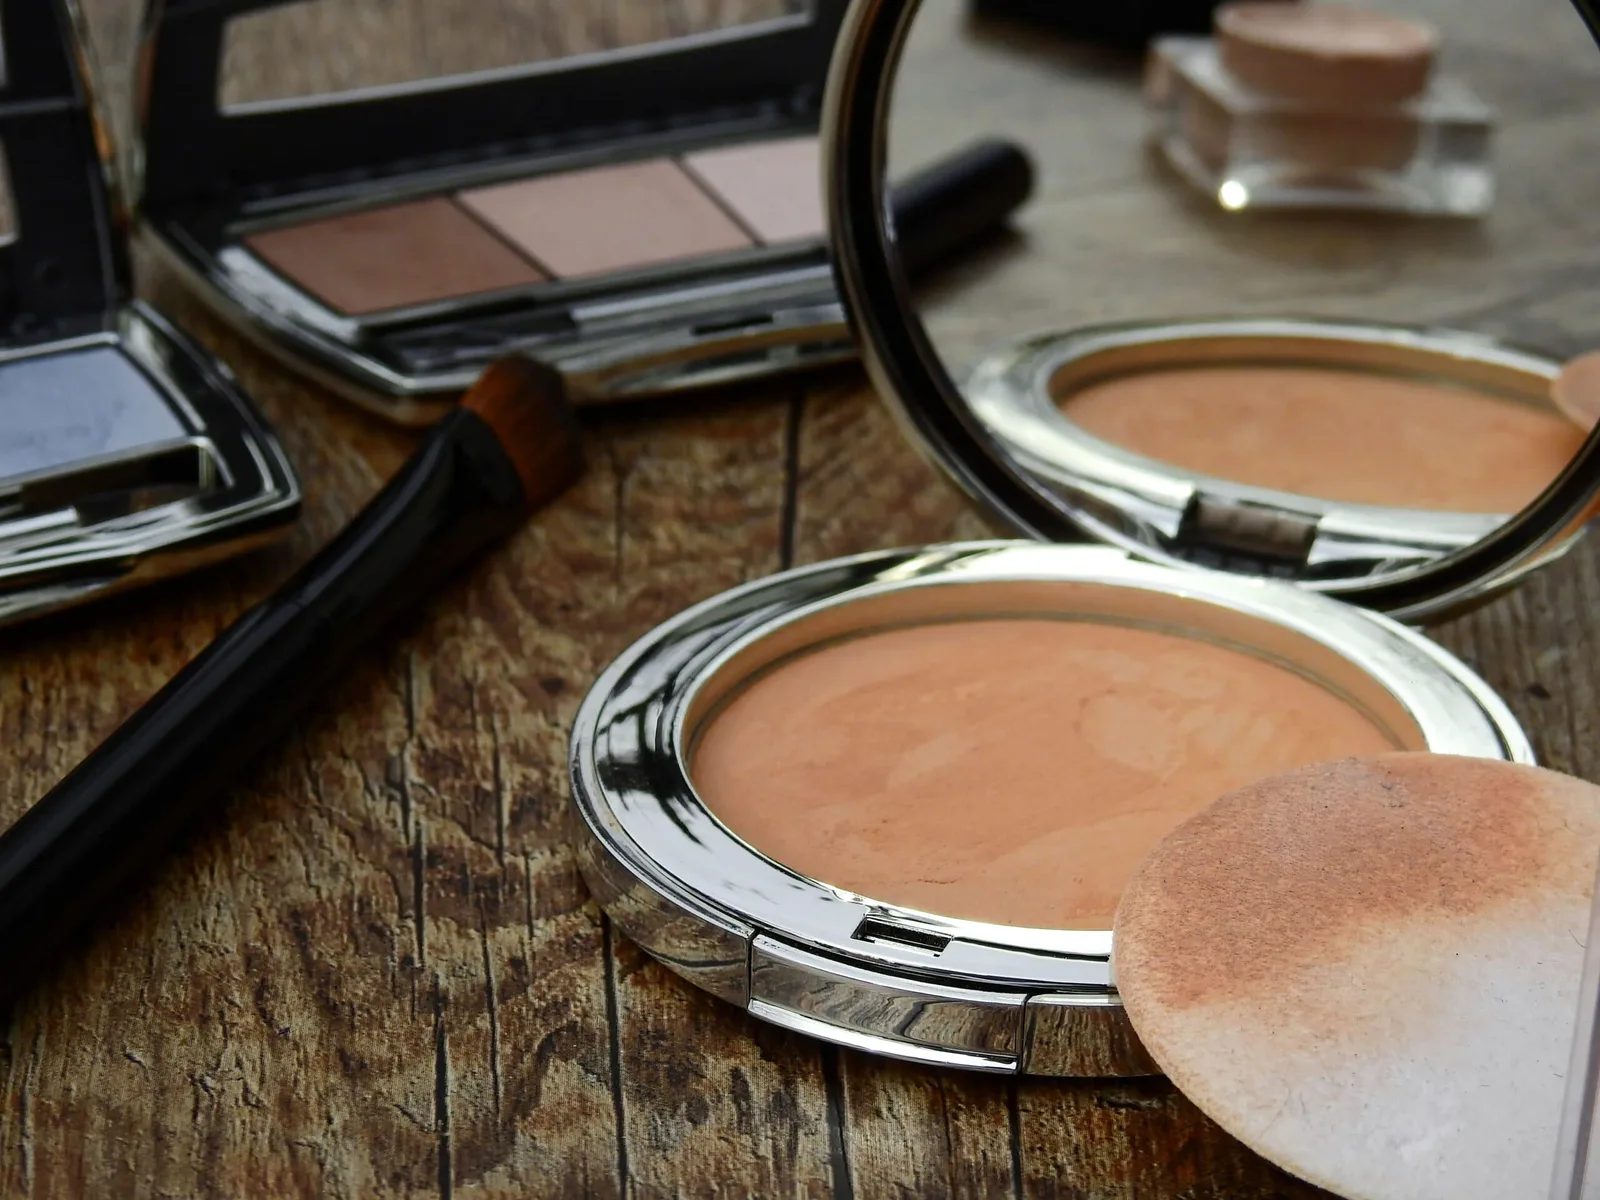
Setting powder keeps your base from creasing and flaking, and it comes in 2 main forms. Loose powder is finely milled and sits in a jar, while pressed powder is packed into a compact.
Which one should you buy?
Pressed powder is easier to carry and less messy, so it’s the simple pick for most beginners. The choice of loose vs pressed powder mostly depends on where you’ll use it.
Color is the other choice to make. Translucent powders are colorless, while tinted ones add a little color correction, so choose based on what your skin needs.
Use a powder puff to dab it on your T-zone first. Then add a whisper under your eyes, so your concealer stays put and doesn’t crease.
Setting spray comes last.
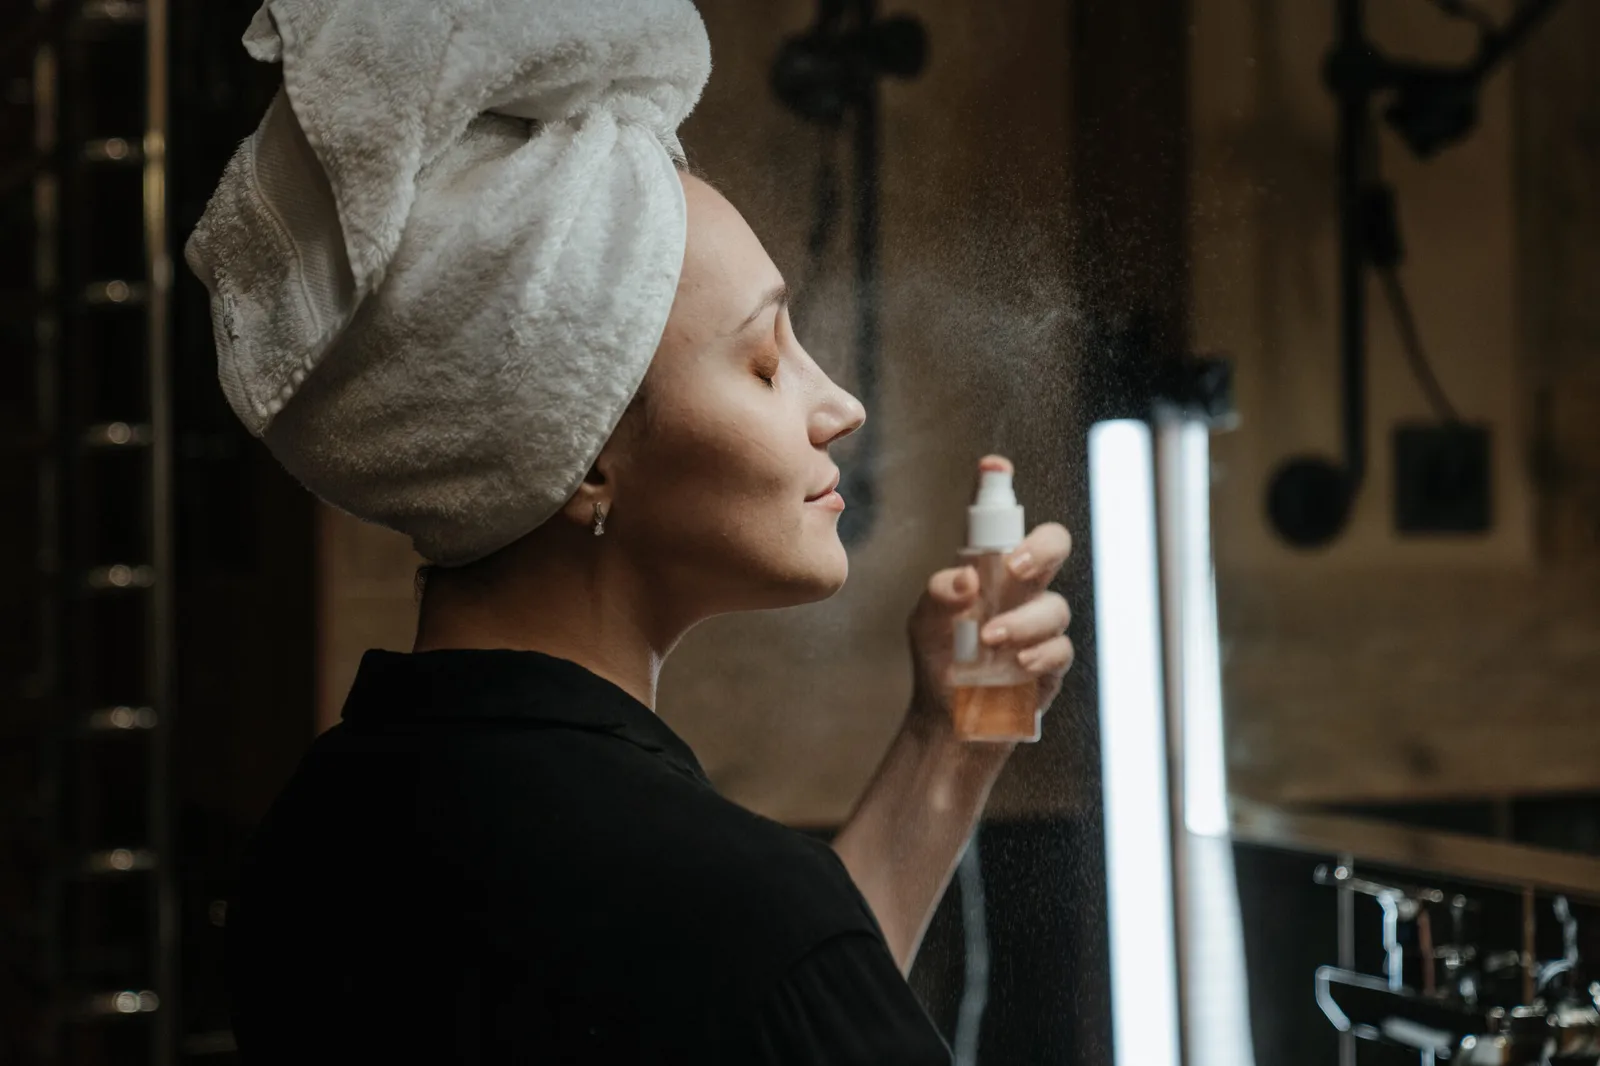
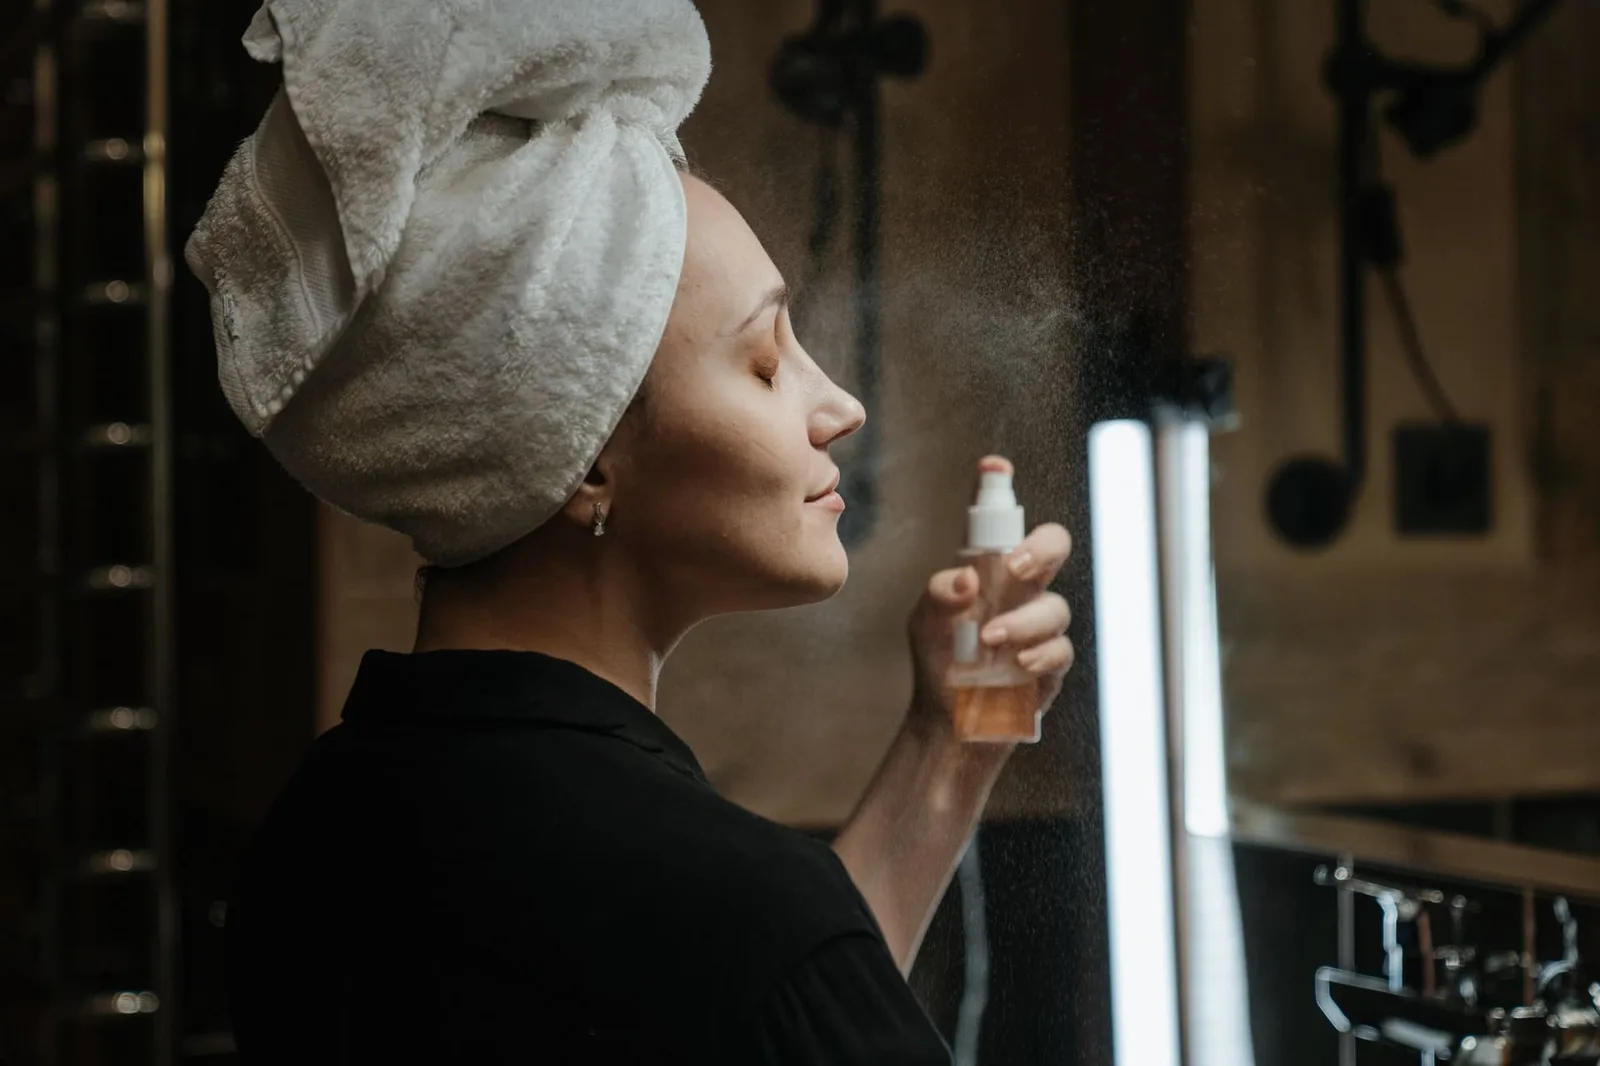
A light mist melts powder into your skin and helps everything keep wearing through the day. It does a different job than powder, so setting powder vs setting spray isn’t really an either-or choice.
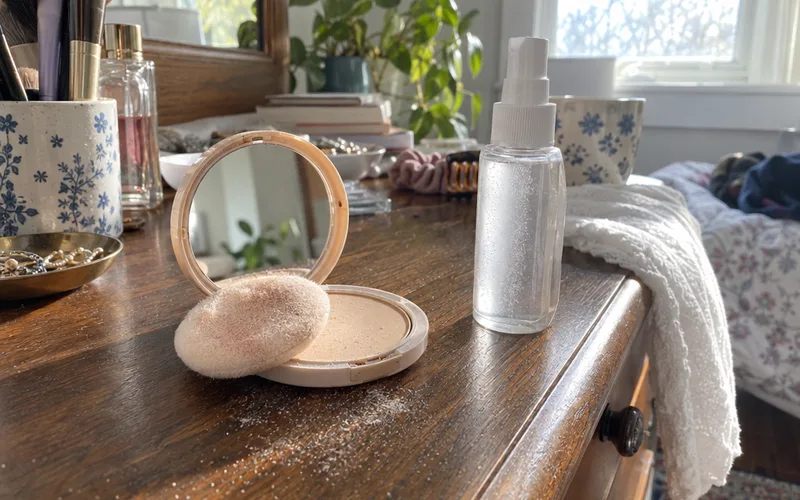
For shine-prone faces, start with a setting spray for oily skin. And to experiment for less, try a DIY setting spray before spending anything on a finished product.
What Are the Most Common Makeup Mistakes?
The most common makeup mistakes are using too much product, skipping skin prep and choosing shades in the wrong place. Each one has a free fix, since all 3 come down to how you apply makeup and not what you buy.
The other mistakes are easy to miss, so here are the ones that come up most after those:
- Mixing up bronzer and contour. Beginners often confuse them, but they do different jobs.
- Starting with the hardest product. Liquid eyeliner and full contour are tough first projects.
- Drawing brows as one solid line. A solid shape looks heavier than a few light strokes.
- Using different undertones on each feature. Your face looks less connected when the colors clash.
Try one change at a time, and use the next morning to see whether it helped.
If your makeup looks heavy, take something away before you add anything new.
This look at how much makeup is too much can help you judge.
How Do You Remove Makeup Properly?
Removing makeup properly takes 3 steps: dissolve it with an oil-based cleanser or micellar water, wash with your regular face wash, then moisturize. Micellar water is a gentle cleansing water that lifts makeup off your skin on a cotton pad.
The order matters here too.
The first step breaks down what you’re wearing, and the second cleans the skin underneath. Skip the first one and your face wash has to do both jobs.
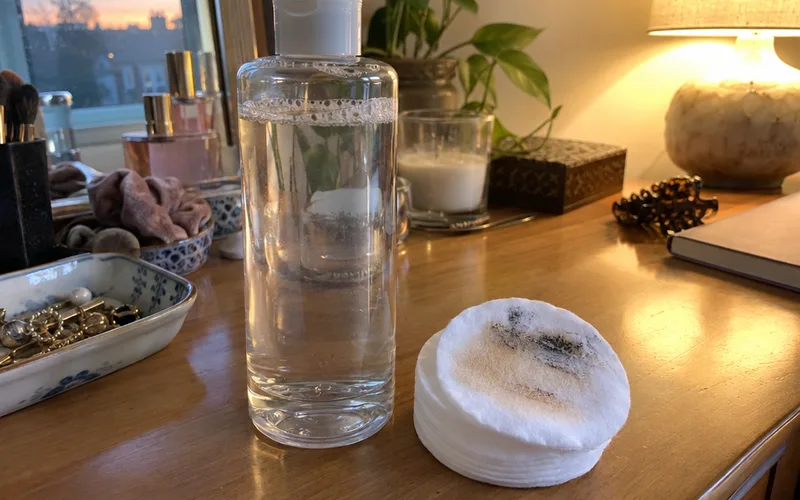
For that second step, use whichever face wash suits your skin. Then finish with a face moisturizer, so your skin is ready for tomorrow.
Eyes may need their own product, so compare eye makeup removers, including a remover for sensitive eyes if you need one.
How Do You Spend Less on Makeup?
Spending less on makeup comes down to 3 habits: buy one product at a time, compare size as well as price and buy for a specific job. A short list you finish costs less than a long list you don’t.
Start by writing down what you have, what you’ve used up and what you’d buy again. That list stops you from buying a third nude lipstick because the packaging looked nice.
Next, do the math at the shelf, because a low price can hide a tiny tube.
Before you buy foundation, ask whether you can bring it back once it’s opened. A shade you can’t return is an expensive way to learn your undertone.
A list of the best drugstore makeup is a good first stop, and drugstore foundation is the place to start if your base is the first thing you’re buying. A minimalist makeup collection is another way to keep the total down, because you’re buying less from the start.
Spend your money on the product you use every day, and keep everything else simple.
How Do You Turn a Daytime Look Into an Evening Look?
A daytime makeup look becomes an evening look with 3 small changes, and none of them means starting over. Deepen your outer eye corners with a darker neutral, add more blush and swap your gloss for a bolder lip.
Bigger occasions call for more planning, so natural makeup looks and wedding hair and makeup each start from the same basics you’ve just read. If you’d rather have something bold, editorial makeup shows how far the same steps can stretch.
What Else Can You Learn About Makeup?
Makeup on this site splits into 5 main topics, each with its own set of guides. Pick the one that matches what you want to do this week, and go deeper from there.
Eye makeup covers lashes, liner, shadow and removers, with extra help for eye shapes and sensitive eyes.
Makeup tutorials and looks turns the products into finished faces, from everyday looks to bridal and bold styles.
Halloween and costume makeup runs from zombie looks to full special effects makeup.
Best eyebrow makeup sorts out pencils, brushes and techniques for sparse brows, or for shaping your brows at home for the first time.
Setting makeup explains powders and sprays, for when your makeup is the part that won’t stay put.
What Should You Do First?
The best first step with makeup is to buy one forgiving product and practice it for a week.
Start with the base that matches your jawline, then add the rest of the first 5 as each one starts to feel easy.
Pick that first product before Friday.