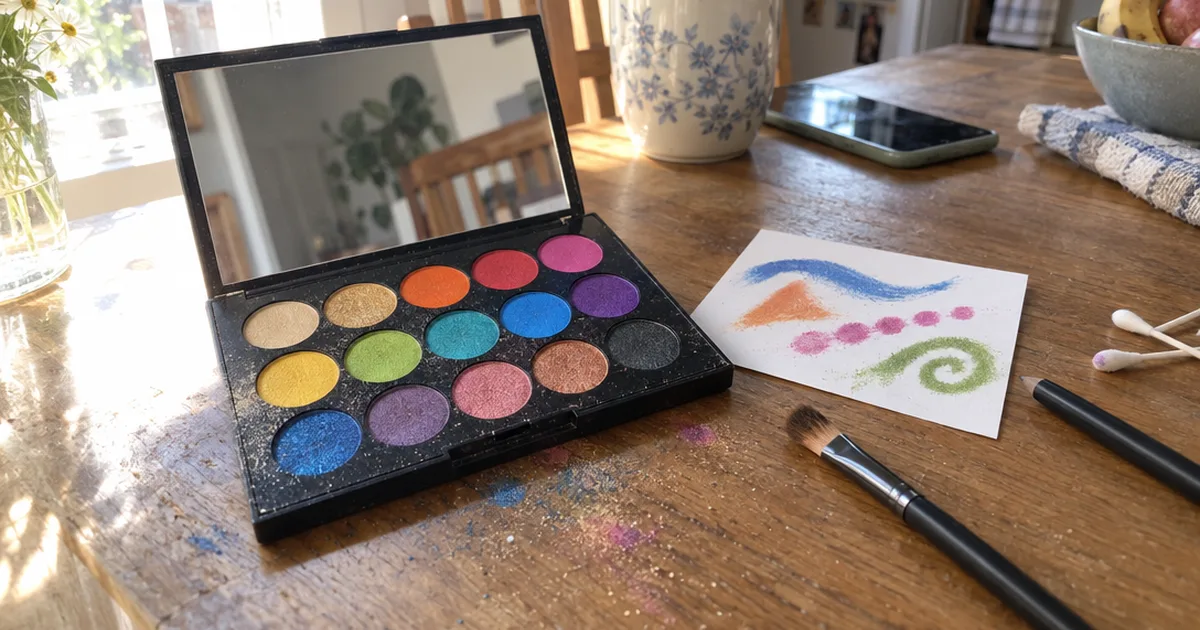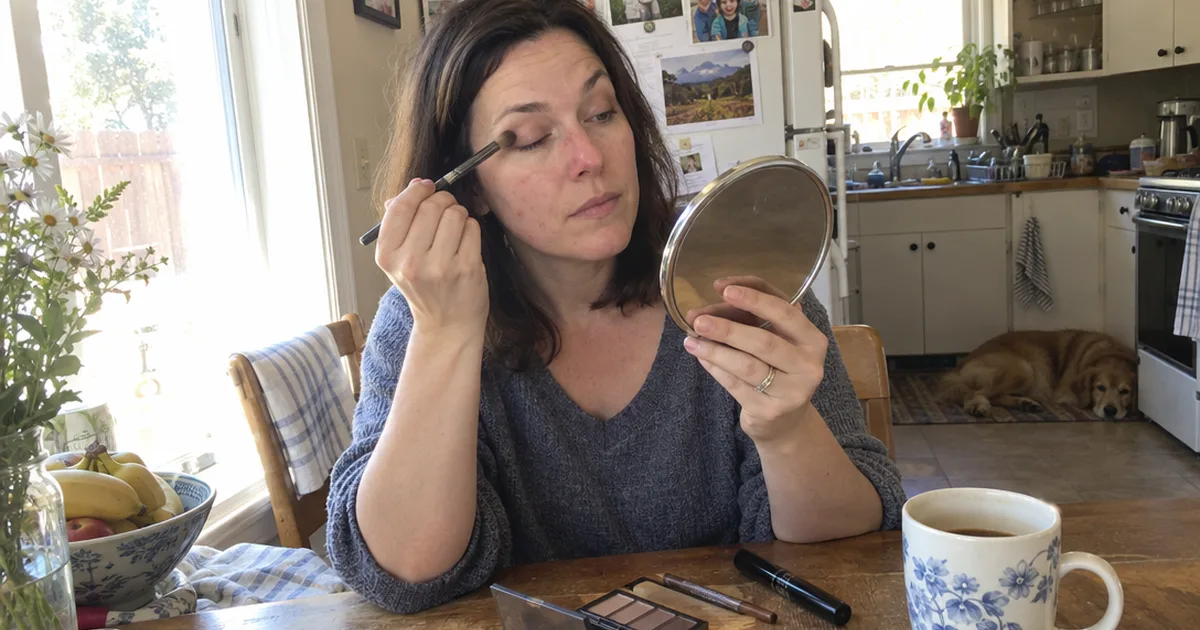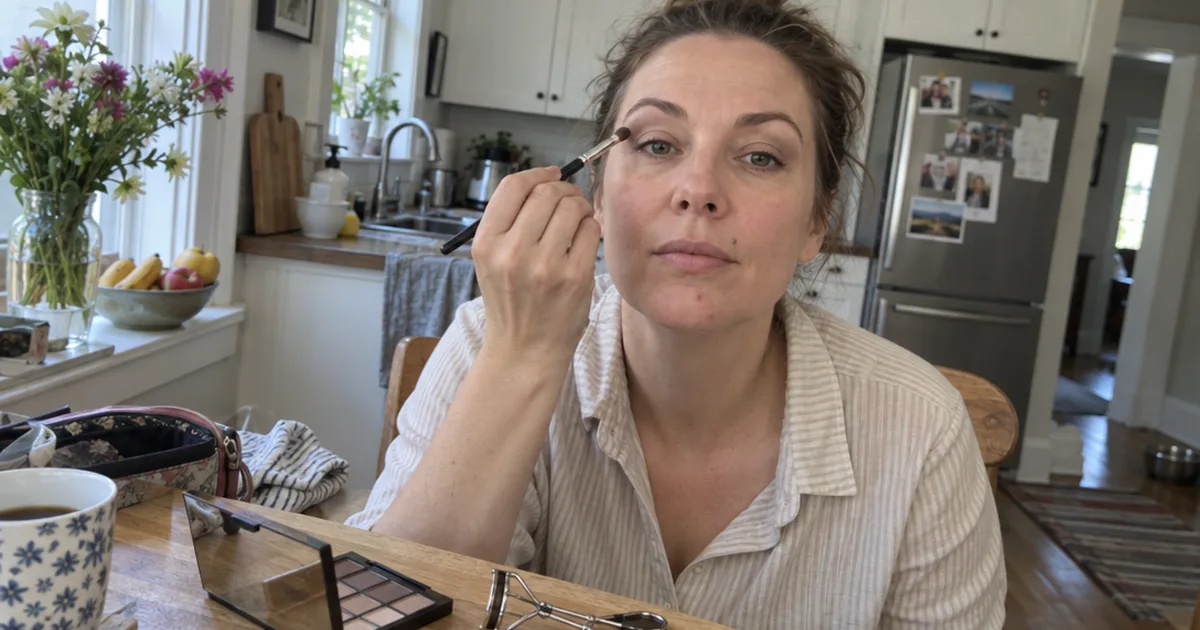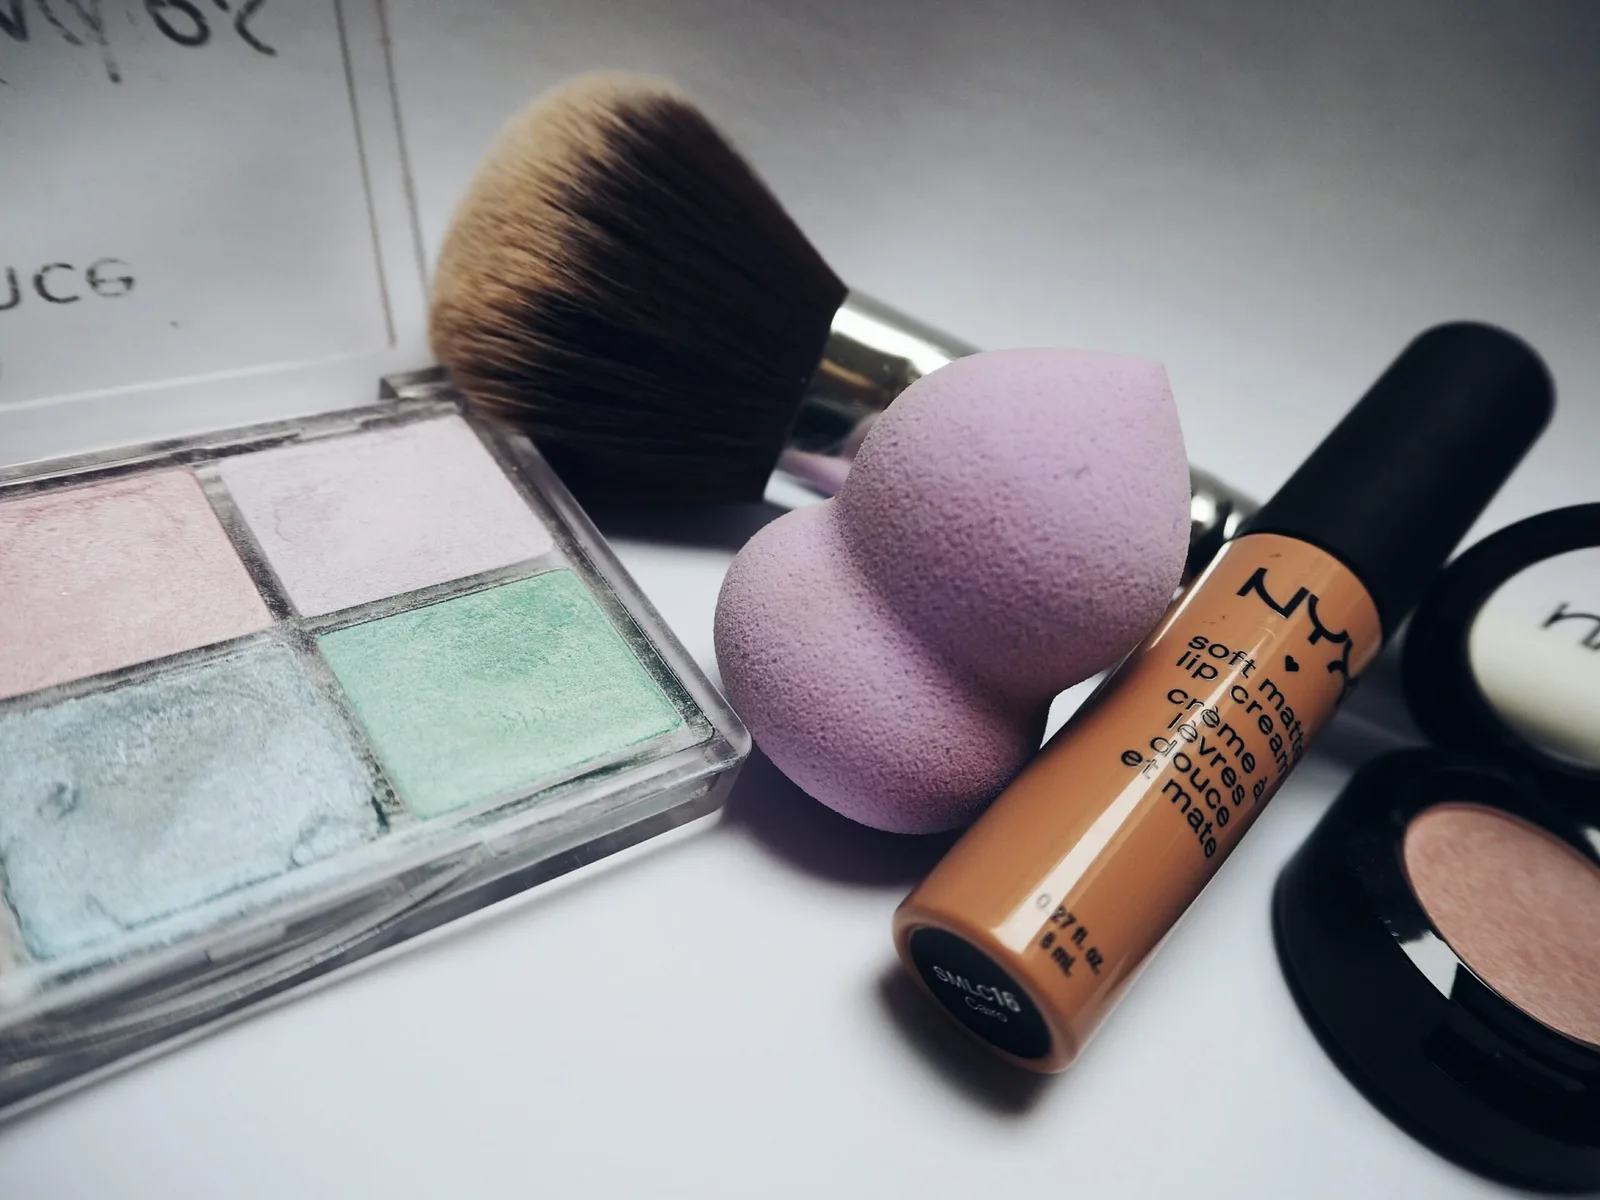

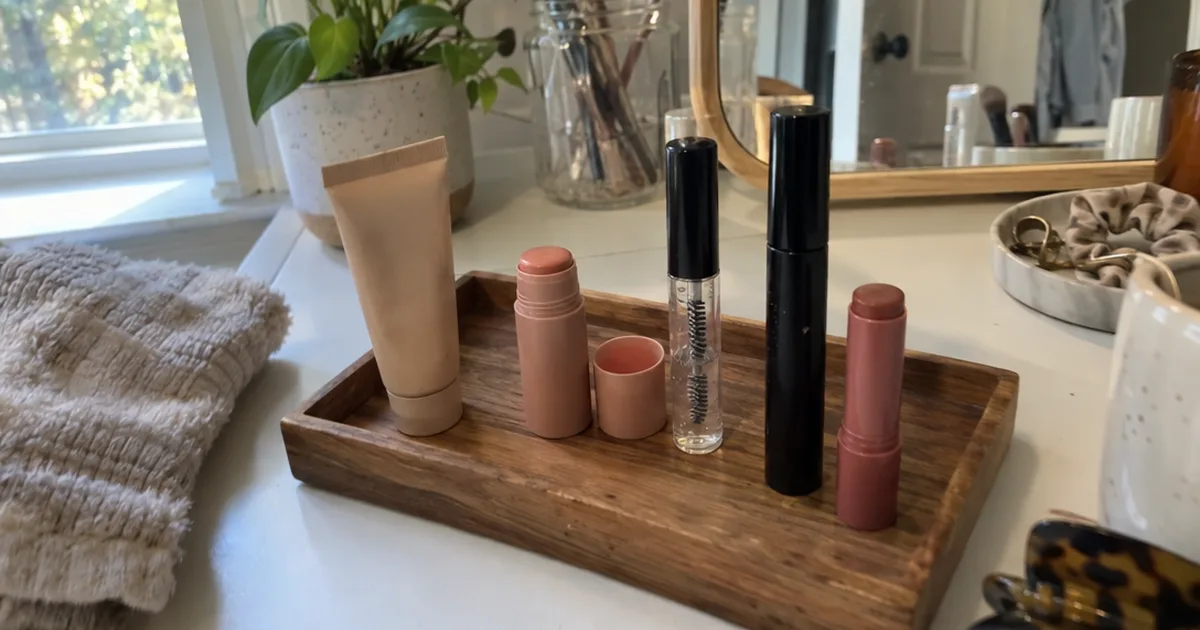
A $19 stick can be your blush and your lipstick.
That’s Pixi On-the-Glow Blush, which Ulta lists at $19.00 for 0.6 oz as of November 2026, with directions for cheeks and lips.
Products that do two jobs are how natural makeup looks stay simple.
Below are 8 looks ranked by how few products they need, each with its shopping list and steps.
Not sure where to start?
- Brand new to makeup: #1 uses 2 products, and one does two jobs.
- If sunscreen is already part of your morning, #2 builds on it.
- Got a wedding coming up? Go with #8.
- Glow lovers with dry skin will like #5.
How These Looks Are Ranked
Each natural makeup look here is ranked by how many products it needs, from 2 at #1 to 8 at #8. Your usual cleanser and moisturizer aren’t counted, and ties go to the look with easier steps.
Every look follows the order you’d learn in any beginner makeup tutorial, just with fewer products.
8 Natural Makeup Looks, From Fewest Products to Most
The easiest natural makeup looks run from a 2-product lip-and-cheek flush to an 8-product polished look for weddings, with the clean girl look, sun-kissed bronze, dewy glow, soft brown eyes and a natural cat eye in between.
1. The 2-Product Lip-and-Cheek Flush
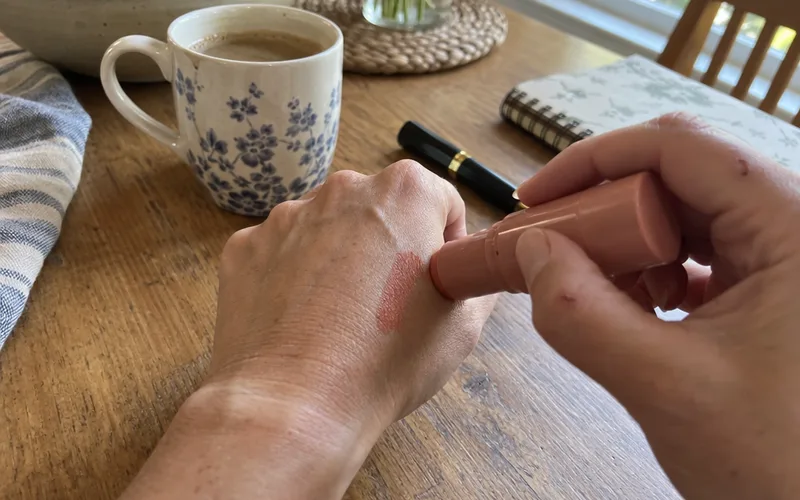
Swipe one cream blush stick on your cheeks and lips, then add mascara. Matching cheeks and lips looks pulled together with almost no effort.
Best for: total beginners and rushed mornings. Skip it if you need coverage.
Products: 2 (cream blush stick, mascara)
First step: Search “cheek and lip stick” on Ulta and pick the shade closest to your natural flush.
- Swipe the stick on the apples of your cheeks.
- Blend up toward your temples with your fingertips.
- Tap the leftover color onto your lips.
- Add 1 coat of mascara.
The catch?
A stick that’s too bright reads as makeup, so choose the shade your cheeks turn after a brisk walk.
2. Tinted SPF, Brows and Balm
Let a tinted moisturizer with sun protection factor (SPF) be your whole base, then brush up your brows.
Best for: anyone who already wears sunscreen daily. Skip it if you want dark spots hidden.
Products: 3 (tinted moisturizer with SPF, clear brow gel, tinted lip balm)
First step: Check your shelf for a tinted sunscreen before you buy anything new.
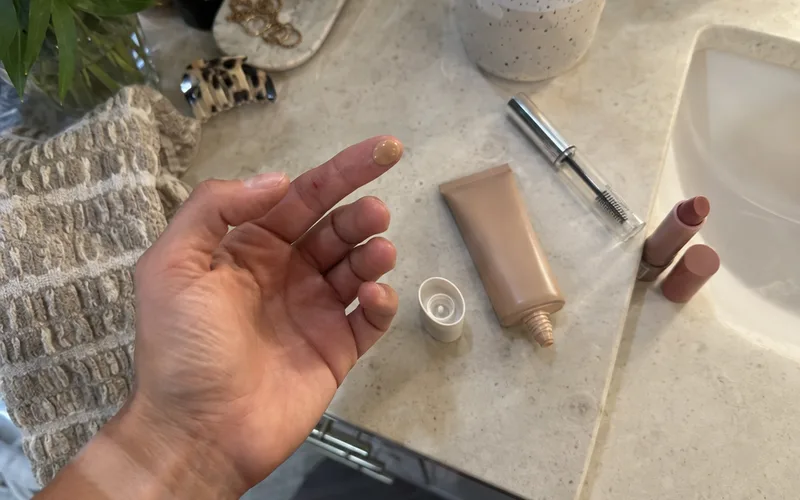
For example, the Neutrogena Healthy Skin Radiant Tinted Moisturizer is listed on Amazon as an oil-free daily moisturizer with broad spectrum SPF 30. Its listing describes breathable coverage with a touch of shimmer for a natural-looking glow.
If your sunscreen is clear, a tinted mineral sunscreen can take over. Teens starting out can keep the kit small with these makeup picks for teens.
3. The Clean Girl Look
The clean girl aesthetic is polished no-makeup makeup: glowy skin, brushed-up brows, a soft flush and glossy lips.
Best for: work, school and errands. Skip it if you love a bold eye.
Products: 5 (skin tint, concealer, clear brow gel, cream blush, clear lip gloss)
First step: Dab concealer on one blemish, then decide if you still want a tint all over.
Here’s the checklist:
- Skin tint buffed out from the center of your face
- Concealer only on redness, blemishes and under-eye shadows
- Brows brushed straight up with gel
- Cream blush on the apples of your cheeks
- Clear gloss in the center of your lips
The usual slip is too much concealer. Tap it until the edges disappear, then stop.
4. Sun-Kissed Bronze
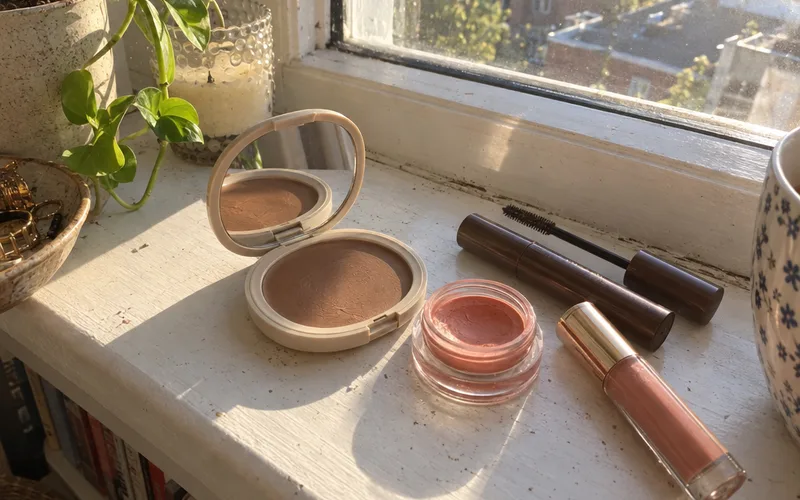
Warm up your face with cream bronzer and peach blush where the sun would hit.
Best for: summer and warm or olive undertones. Skip it if bronzer turns orange on you.
Products: 5 (skin tint, cream bronzer, peach cream blush, brown mascara, nude lip gloss)
First step: Pick a cream bronzer only 1 or 2 shades deeper than your skin.
- Apply your skin tint and let it settle.
- Tap bronzer on your temples, cheekbones and the bridge of your nose.
- Add peach blush over the bronzer.
- Finish with brown mascara and nude gloss.
On deep skin, swap the peach for terracotta, and find more shade ideas for natural makeup on brown skin. Brown mascara instead of black keeps the whole face soft.
5. Dewy Glow
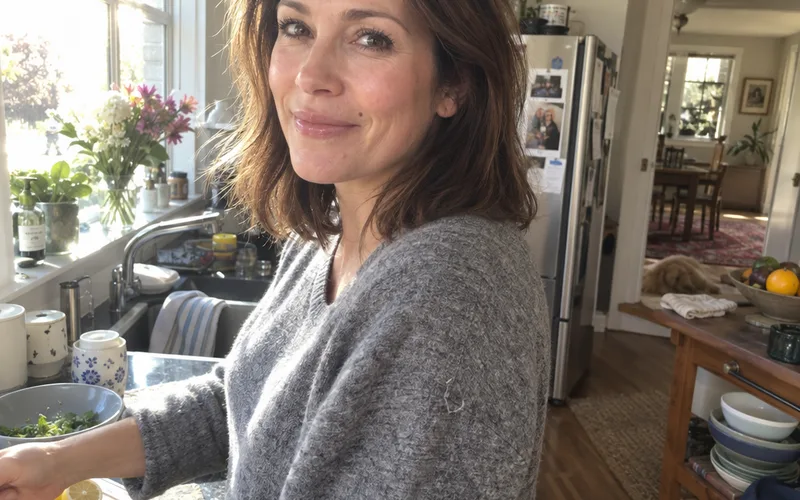
Build glow in thin layers: hydrating primer, sheer tint, cream blush and a dab of highlighter. Skin should look healthy, not wet.
Best for: dry or normal skin. Skip it if you’re shiny by lunch.
Products: 6 (hydrating primer, skin tint, cream blush, cream highlighter, mascara, lip gloss)
First step: Pat highlighter on the tops of your cheekbones with your ring finger, and nowhere else yet.
Say your skin looks flat by mid-afternoon. Highlighter on your cheekbones brings it back, while your forehead and nose stay bare because oil shows there first.
Glow on top of shine looks greasy, so blot your T-zone with a tissue before any highlighter goes on.
6. Soft Brown Eyes
Keep your skin simple and give your eyes soft brown definition.
Best for: eyeliner fans who want a softer version. Skip it if you’d rather not touch your eyes.
Products: 6 (tinted moisturizer, brow pencil, matte taupe eyeshadow, brown pencil eyeliner, mascara, tinted lip balm)
First step: Swap your black eyeliner for a brown pencil.
- Fill sparse brow spots with short, hair-like strokes.
- Sweep matte taupe shadow across your lid.
- Draw brown liner along your upper lashes, then smudge it.
- Add mascara and a tinted balm.
The most natural eyeshadow colors match the shadows already on your face:
- Ivory or champagne to brighten the lid
- Taupe for soft, cool definition
- Warm brown or bronze for warm undertones
- Chocolate or mahogany on deep skin
Matte shades in the crease keep it looking like your own eyes, just more awake. For placement by eye shape, the everyday eye makeup steps go deeper.
7. The Natural Cat Eye
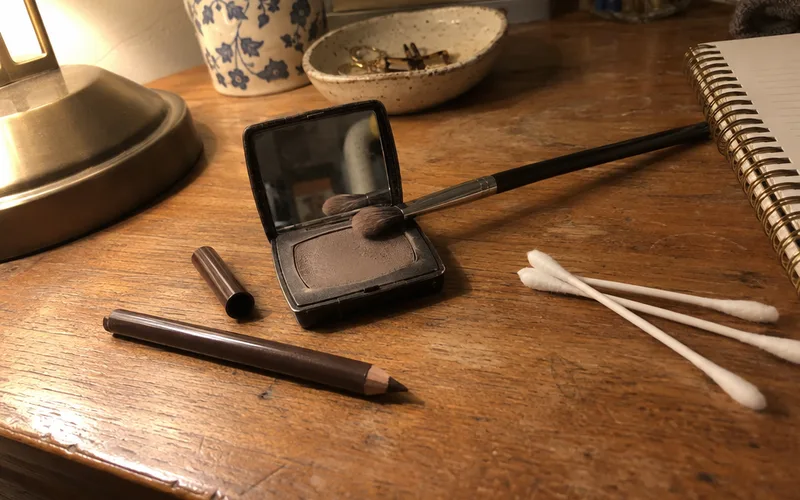
Draw a short, smudged brown wing instead of a sharp black one.
Best for: date nights and photos. Skip it if your hand shakes with liner.
Products: 7 (tinted moisturizer, concealer, clear brow gel, brown pencil eyeliner, brown eyeshadow, mascara, tinted lip balm)
First step: Practice the wing on one eye tonight, right before you wash your face.
- Draw a thin brown line along the outer half of your upper lashes.
- Flick it up toward the tail of your brow, keeping it short.
- Press brown shadow over the line to blur it.
- Clean up the tip with a swab dipped in concealer.
The catch?
A wing that points down drags the eye, so aim it at the end of your brow.
8. Polished Natural for Weddings and Events
Add primer, a light foundation and setting spray, so a natural look lasts through photos and dancing. For more drama, natural glam makeup looks sit one step up and soft glam makeup looks one past that.
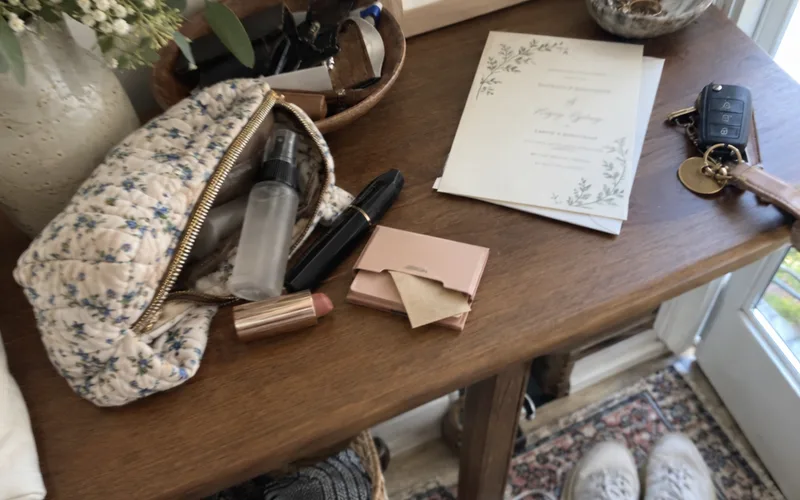
Best for: wedding guests, bridesmaids and long days.
Products: 8 (primer, lightweight foundation, concealer, cream blush, matte taupe eyeshadow, mascara, pinky-nude lipstick, setting spray)
First step: Do a full trial run in daylight a week before the event.
Here’s what to check before you leave:
- Foundation that disappears on your jaw in daylight
- Waterproof mascara if you cry at weddings
- Lipstick blotted once, then reapplied
- Setting spray misted over everything
An event look stays natural when every layer is sheer. Match it to the venue with these wedding guest makeup looks.
How to Do a Natural Makeup Look Step by Step
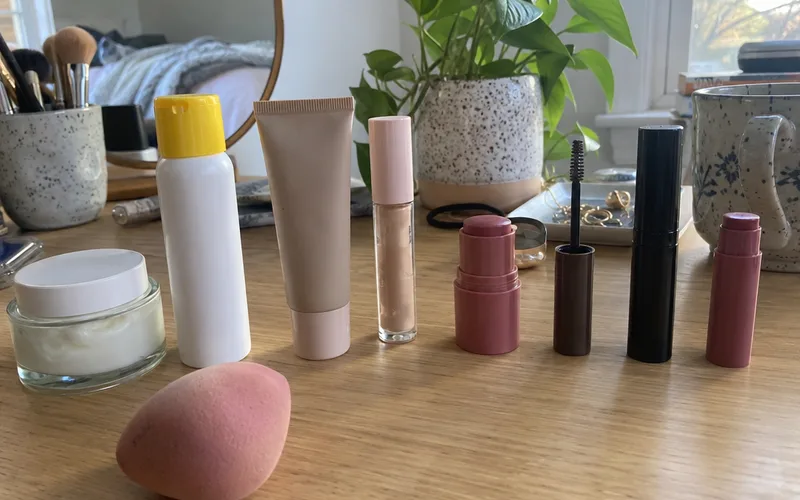
A natural makeup look takes 7 steps: moisturize, apply sunscreen, add a sheer base, spot-conceal, tap on cream blush, brush up your brows, then finish with mascara and a tinted lip.
- Moisturize and let it sink in.
- Apply sunscreen, or a tinted moisturizer with SPF as your base.
- Blend a skin tint outward from the center with fingers or a damp makeup sponge.
- Dab concealer only where you need it.
- Tap cream blush on your cheeks and blend up.
- Brush your brows up and fill any gaps.
- Add 1 coat of mascara and a tinted balm.
Timing matters when your base has sunscreen in it. The Neutrogena listing on Amazon says to apply it liberally 15 minutes before sun exposure, so do your face before your hair.
Want powder and contour too? This minimal makeup routine adds those steps.
Tinted Moisturizer or Foundation for Natural Makeup?
Tinted moisturizer is the better base for most natural makeup looks because its sheer coverage lets freckles and skin texture show. Choose a lightweight foundation only to cover redness, dark spots or breakouts.
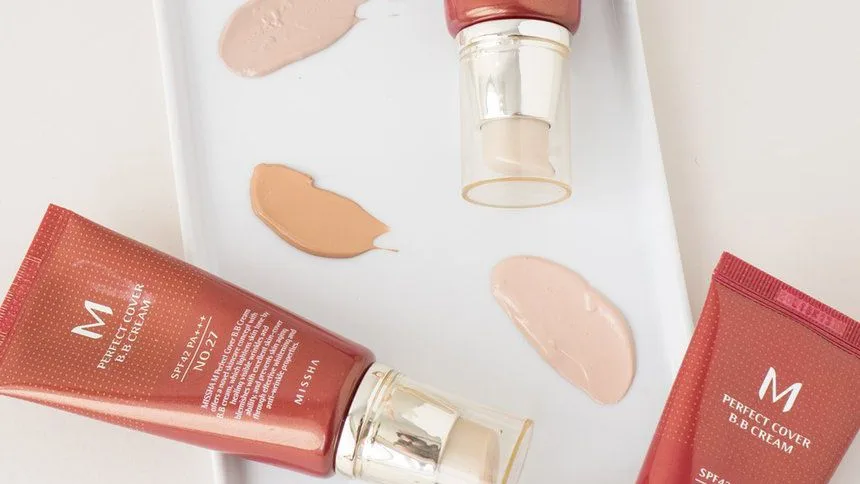
A BB cream sits in between, with a little more coverage than a tint. You can also wear tint all over and press a dot of foundation only where you need more.
Cream or Powder Blush for a Natural Look?
Cream blush looks more natural on most skin because it melts in and blends with your fingers. Powder blush is the better pick for oily skin or all-day wear.
That’s why cream sticks suit beginners: the Ulta listing for the Pixi stick says to swipe it on and blend with fingertips, no brush needed. If cream fades on you by noon, dust a sheer powder blush over it.
For budget options in both formulas, start with these drugstore blush picks.
How to Keep Natural Makeup From Looking Cakey
Natural makeup looks cakey when too much product sits on dry or oily skin, so moisturize first, apply thin layers and powder only your T-zone.
- Let moisturizer sink in before any base
- Start with a pea-sized amount of tint
- Press products in instead of rubbing
- Powder only the forehead, nose and chin
When in doubt, use less. If your makeup already looks heavy midday, these fixes for cakey makeup can rescue it.
Frequently Asked Questions
What do I need for a natural makeup look?
A natural makeup look needs a skin tint or tinted moisturizer, concealer, cream blush, brow gel, mascara and a tinted lip balm.
Starting from nothing? Try #1.
What is a natural makeup look called?
A natural makeup look is most often called no-makeup makeup. You’ll also see minimalist makeup, nude makeup or the clean girl look (#3).
Which makeup is best for a natural look?
Sheer, creamy formulas are best for a natural look: tinted moisturizer, cream blush, brow gel and tinted balm.
How do you look naturally beautiful with makeup?
Looking naturally beautiful with makeup means matching each shade to your own face: base to your jaw, blush to your natural flush, lip color to your lips. Then blend every edge away.
How long does a natural makeup look take?
What is a good natural makeup look for school?
Tinted SPF, brow gel and balm (#2) is a good natural makeup look for school: 3 products and nothing to touch up between classes.
What natural makeup look works for a wedding guest or bridesmaid?
The polished natural look (#8) works best for a wedding guest or bridesmaid: light foundation over primer, taupe eyes, rosy cream blush, a pinky-nude lip and setting spray.
How do I do natural makeup on brown or dark skin?
Natural makeup on brown or dark skin starts with a base matched to your jaw in daylight, then warm, deeper shades like bronze eyes and terracotta or berry cheeks. Skip ashy beige shadows, which can look gray.
Final Thoughts
The biggest takeaway: natural makeup looks come from fewer, sheerer products, not more blending skill.
This week, try #1 with one cheek-and-lip stick and mascara, then add one product at a time as you work down the list.