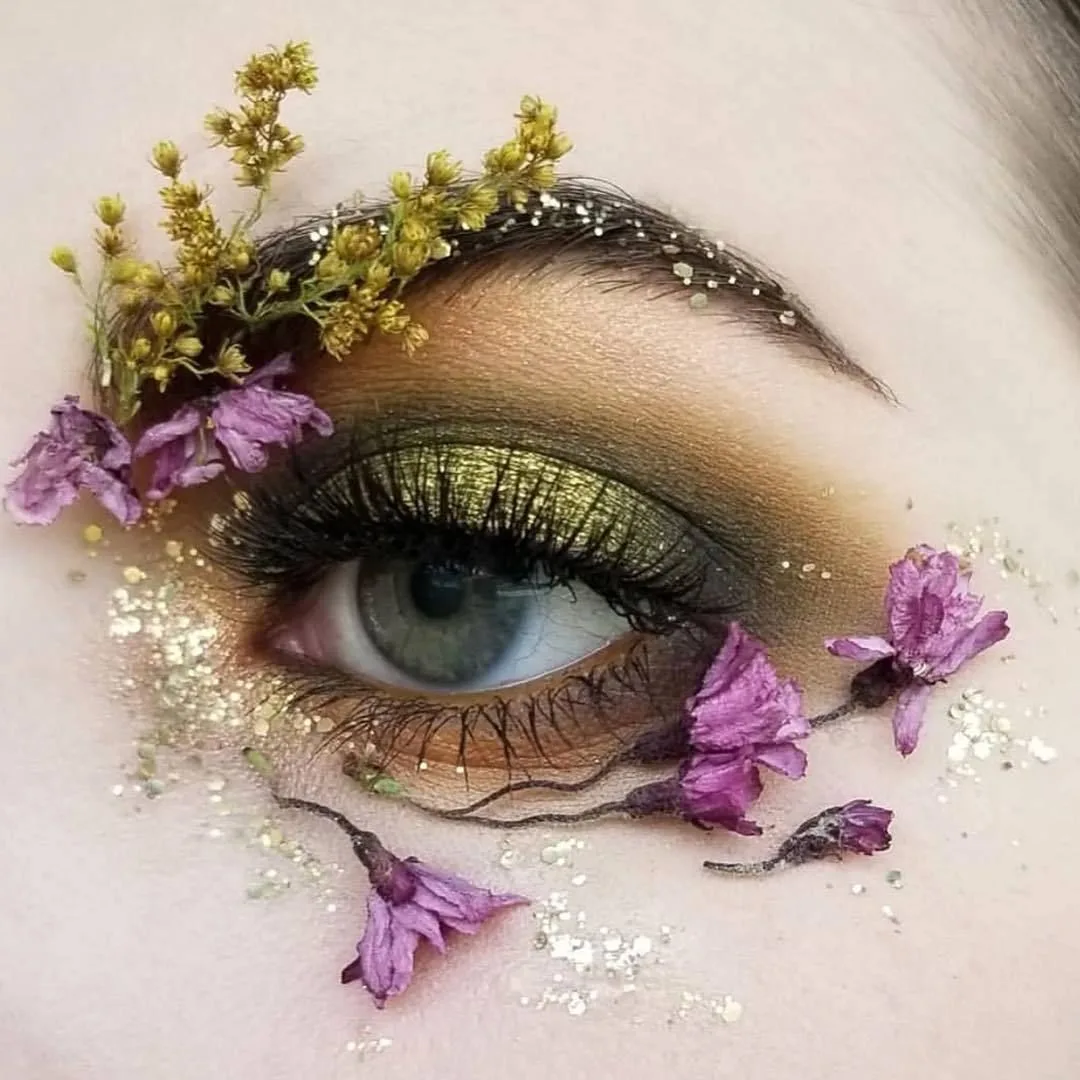

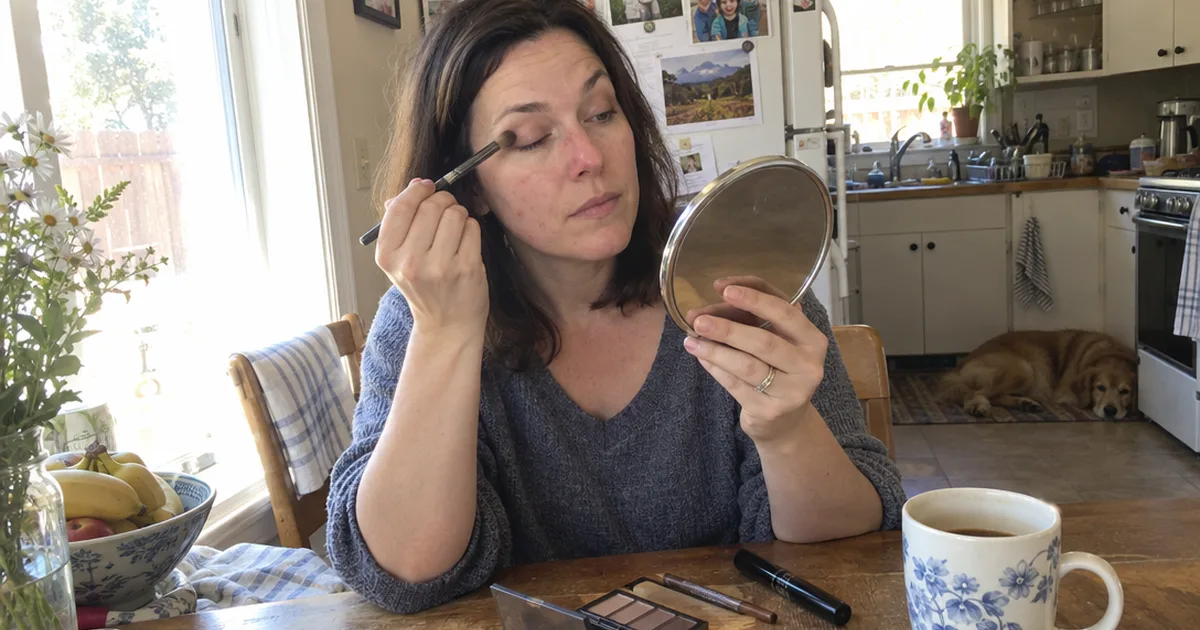
Most eye makeup should go in the trash 3 months after you open it.
That’s the advice from eye doctors at the American Academy of Ophthalmology. Bacteria grow easily in creamy and liquid formulas, so the mascara in your bag may be older than it should be.
The good news? Great eye makeup doesn’t need a big collection.
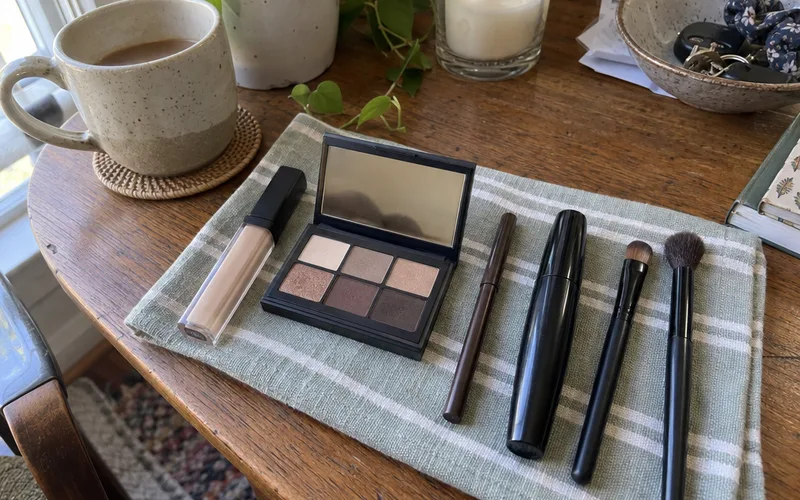
It needs a few products you actually finish, put on in the right order. The 7 steps here build one everyday look with drugstore basics, then show you how to adjust it for your eye shape, eye color and age.
Here’s the whole routine at a glance:
- Best for: beginners and anyone who wants one reliable everyday eye look. Skip it if you already do a full smoky eye without thinking.
- Cost: A starter kit of 4 products and 2 brushes, all sold at drugstores.
- Time: Same day.
- First step: Find one matte shadow close to your skin tone and one a few shades deeper in the makeup you already own.
How to Do Eye Makeup Step by Step
Eye makeup for an everyday look takes 7 steps: prep your lids, fill in your brows, sweep a light eyeshadow over the lid, add a deeper shade to the crease, line just outside your lashes, curl and coat your lashes, then brighten and clean up.
Work from light to dark the whole way through. A light shade can always go deeper, but a dark one rarely comes back.
Step 1: Prep Your Lids With a Thin Base
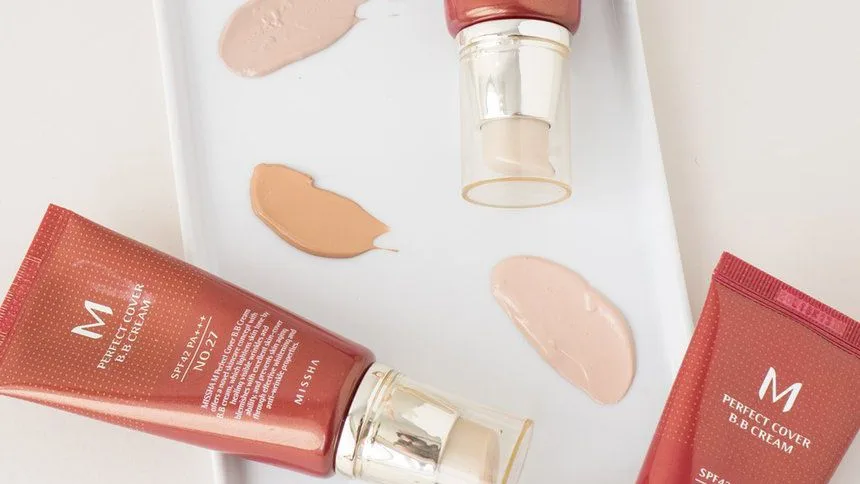
Clean, dry eyelids hold eyeshadow far better than lids with leftover moisturizer on them. Pat a thin layer of eye primer or a little concealer from your lash line up to the crease with one finger.
Give it a moment to set before any color goes on. A base that’s still wet grabs shadow in patches.
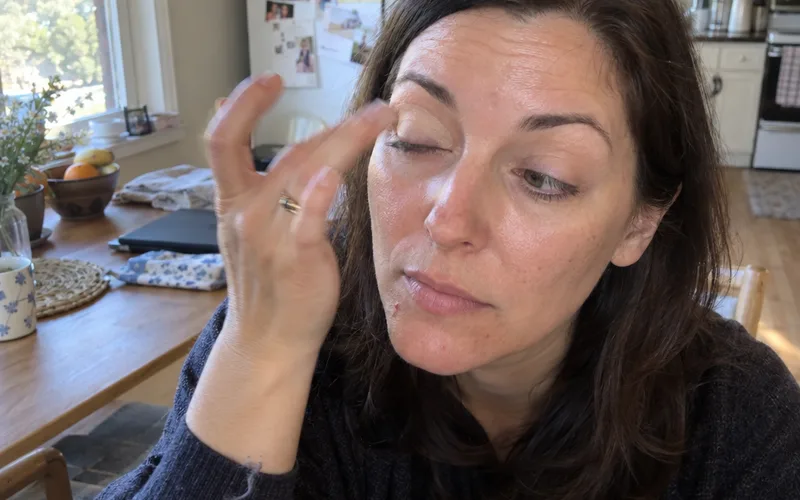
A thin layer beats a thick one, because heavy base is what slides into your crease by lunch.
Concealer also hides the redness and veins on your lids. That way, the shadow you add next shows its true color instead of mixing with what’s underneath.
Step 2: Fill In Your Brows
Eyebrows frame the whole eye, so shape them before you place any shadow. Use short, light pencil strokes only where the hairs are sparse, then brush them up with a spoolie.
Why do eyebrows come first? Their shape shows you where your brow bone sits, and that’s where your blending stops.
Keep the color close to your natural hair. Brows that are too dark pull attention away from your eyes instead of framing them.
Step 3: Sweep a Light Shade Over the Lid
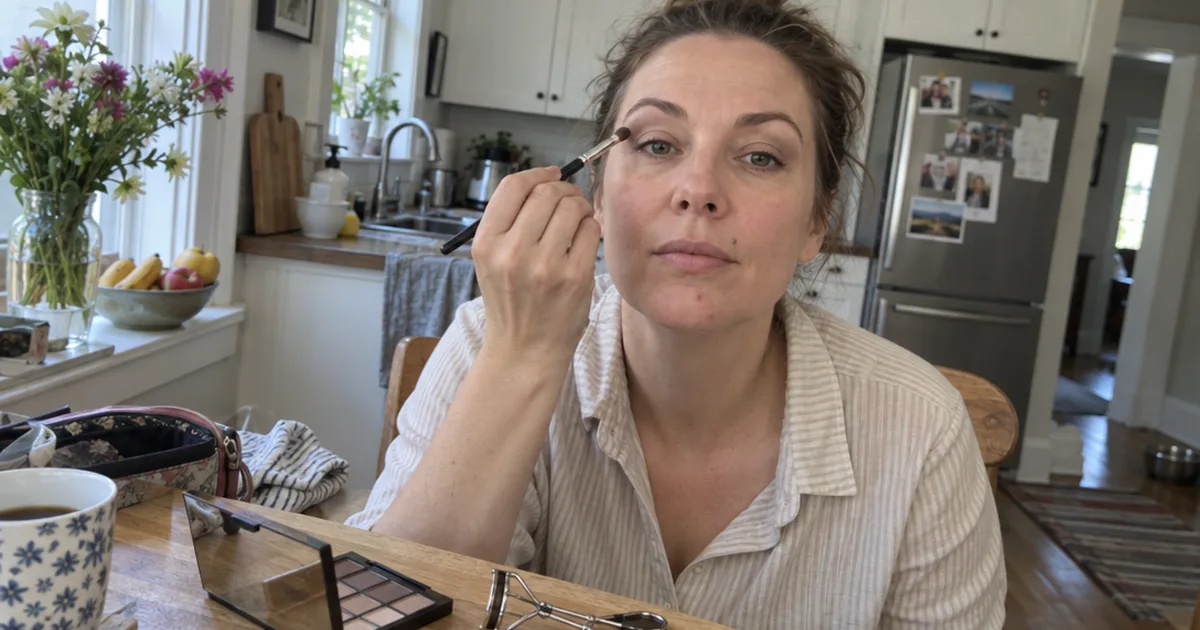
A matte or satin shade close to your skin tone goes over your whole moving eyelid first. Use a flat brush and press the color on, rather than swiping, so the pigment sticks to the base.
This shade evens out the lid and gives the deeper color something soft to blend into. A small neutral eyeshadow palette covers this step and the next one.
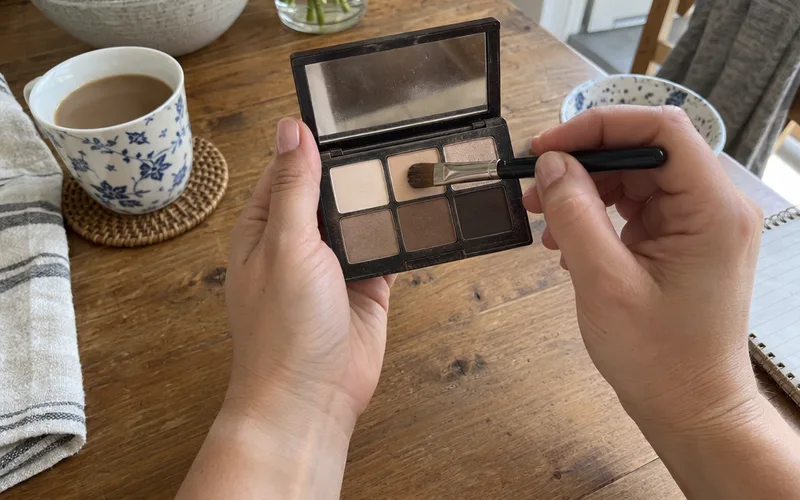
Short on time? Stop here and skip to mascara.
One wash of eyeshadow plus mascara is a complete everyday eye. You can add the crease and liner on days when you have a few extra minutes.
Step 4: Define the Crease With a Deeper Shade
A mid-tone matte brown or taupe in your crease adds depth, and a fluffy brush does most of the work. Look straight into the mirror, find the fold above your lid, and tap the extra powder off your brush before you start.
Then blend in small back-and-forth strokes, like a windshield wiper. Keep the darkest part toward the outer corner.
Stop blending when you can’t see where the shade ends. If you’re unsure whether cream or powder suits you, this breakdown of eyeshadow types explains how each one wears.
Step 5: Line Just Outside Your Lashes
Eyeliner goes on the skin right next to your lashes, not inside them. The American Academy of Ophthalmology advises applying makeup outside the lash line, away from the eye, so it doesn’t block the oil glands in your upper and lower lids.
Those glands make oil that protects the surface of your eye. So the safest line is also the one that looks most natural.
For daytime, use a soft brown pencil. Draw short dashes along your upper lash line, connect them, then smudge the line with a small brush.
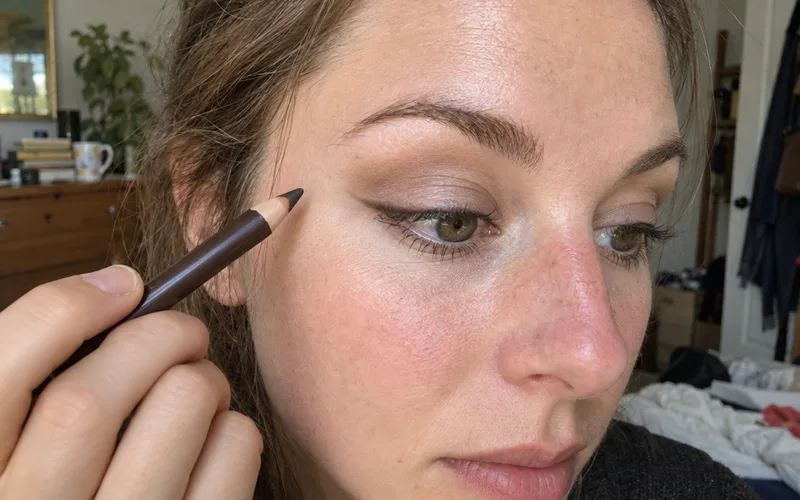
New to liner? These eyeliner steps for beginners walk you through the hand position, and you can add a lower lid line once the top feels easy.
Some people line the inner rim with a waterline eyeliner for drama. Just know that’s the spot the academy steers you away from.
Want a flick at the end? Pick a shape from these eyeliner wing styles and keep it short at first.
Step 6: Curl Your Lashes and Apply Mascara
Curled lashes open up the eye, and mascara holds the curl in place. Clamp an eyelash curler at the base of your upper lashes, hold it gently, then wiggle a mascara wand from root to tip.
Skip the heated versions. Natasha Herz, MD, a clinical spokesperson for the academy, says skin can get first-degree burns at 118 degrees Fahrenheit, and heated lash curlers often run from 100 to over 200 degrees.
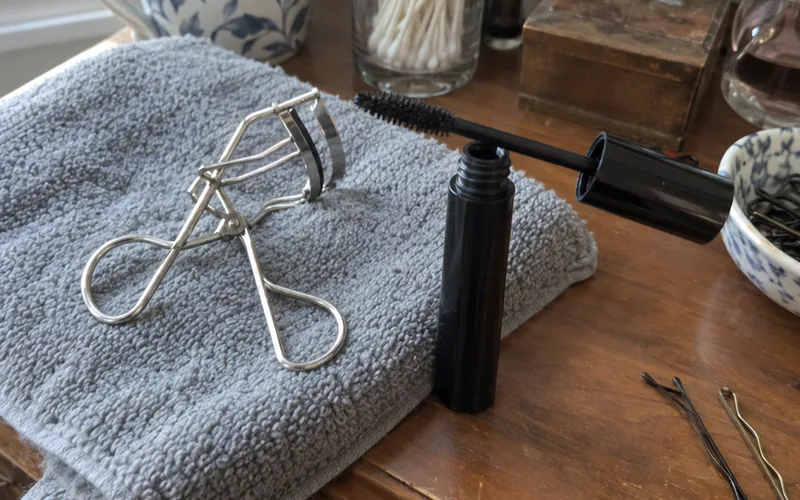
A regular curler with no heat lifts your lashes without the burn risk.
One coat is enough for daytime. On a budget, start with a drugstore mascara, and browse these lash makeup picks when you want more volume.
Step 7: Brighten the Inner Corners and Clean Up
A dot of pale shimmer or light matte in your inner corners makes your eyes look more awake. Tap it on with your ring finger, then add a touch under the arch of your brow.
Next, fix any fallout. A cotton swab with a little concealer erases shadow specks and sharpens a wobbly line.
Clean-up is the step that makes a quick look read as polished. It takes seconds and fixes most beginner mistakes.
What You Need for Eye Makeup
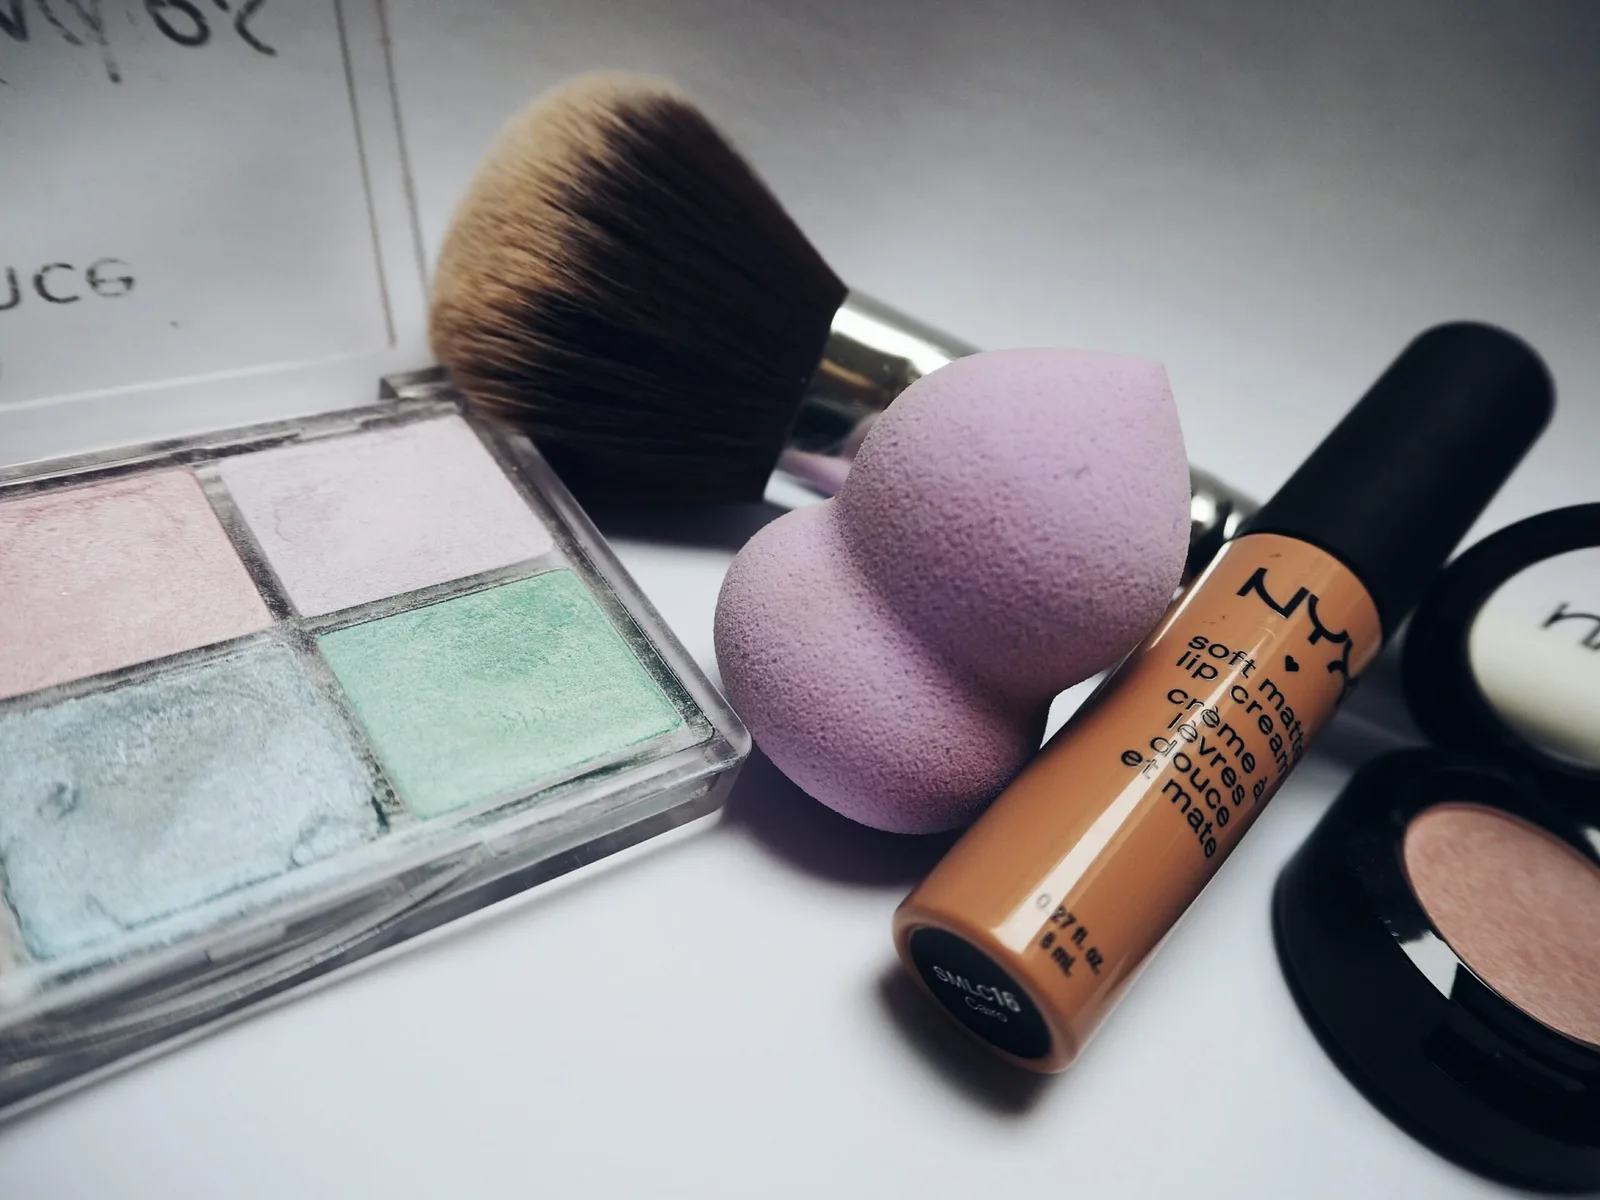
Eye makeup for beginners takes 4 products and 2 brushes, and a drugstore version of each works fine. Here’s the starter kit:
- Primer or concealer: grips shadow and evens out the lid.
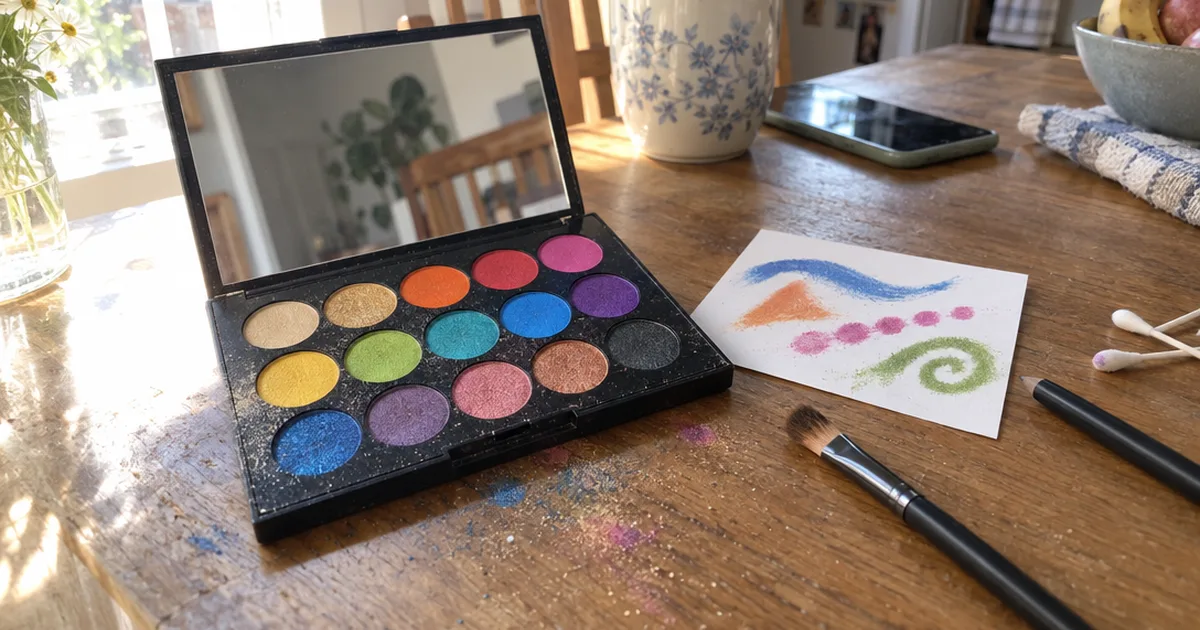
- Small neutral palette: a light, a mid and a deep matte shade, plus one shimmer if you like.
- Brown pencil eyeliner: softer than black and easy to smudge over mistakes.
- Mascara: black or brown-black for definition.
- Brushes: a flat shader to press on color and a fluffy brush to blend.
I’d spend the most on mascara, since you’ll use it every day, and keep the palette cheap. Compare eyeshadow palettes, drugstore eyeliners and these eyeliners for beginners before you buy.
Once pencil feels easy, you can try gel eyeliner or drugstore liquid eyeliner for a sharper line. For a splurge, compare these liquid eyeliners, and see more eye makeup picks by budget.
Already own a cream blush in a soft brown or rose? It doubles as a one-step lid wash, so you can skip buying a separate shadow at first.
Eyeshadow or Eyeliner First?
Eyeshadow goes on first and eyeliner second in most eye makeup looks, with mascara last. Shadow drops powder and blurs any line drawn before it, so liner added after shadow stays crisp.
The exception is a smokey eye makeup look. There, you draw pencil first, smudge it, then press shadow over it to soften the edges.
Doing a dark or shimmery look? Do your eyes before foundation.
That way, you can wipe away fallout without ruining your base.
How to Do Eye Makeup for Your Eye Shape
Eye makeup for any eye shape works best when shadow and liner sit where they still show with your eyes open. So check your shape in a mirror with a relaxed face before you change anything.
Look at how much eyelid shows between your lashes and your crease, and where your outer corners point. Then find your shape below.
Hooded Eyes
Hooded eyes have a fold of skin that covers most of the lid when your eyes are open. Place your crease shade slightly above the natural fold while you look straight ahead, and keep liner thin.
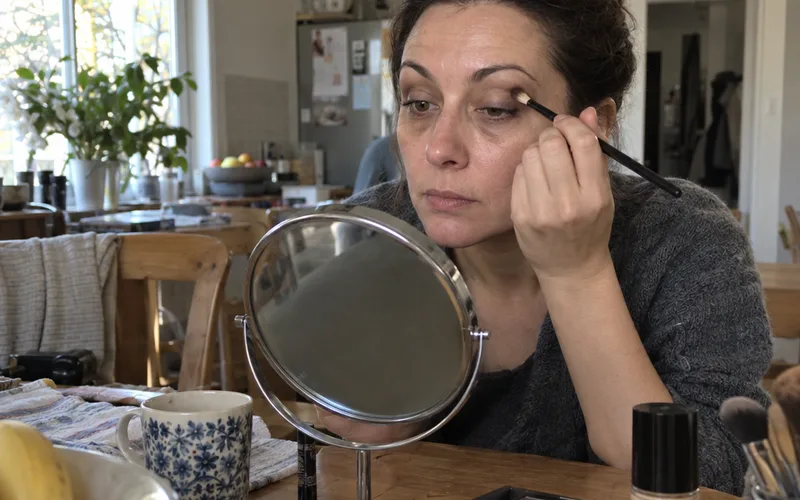
The step-by-step version is in this guide to makeup for hooded eyes.
Monolid Eyes
Monolid eyes have little or no visible crease on the eyelids. Build color up from the lash line in a gradient, darkest near the lashes, and make your liner a little thicker than feels natural.
Korean eye makeup is built around this shape, and these Korean eyeliners give you options for that lash-line gradient.
Almond Eyes
Almond eyes are a little longer than they are tall, with outer corners that lift slightly. Nearly every placement works, so this shape is the easiest place to practice.
A short flick suits them well. Try these eyeliner styles for almond eyes or go bolder with winged eyeliner.
Round Eyes
Round eyes show some white above or below the iris when you look straight ahead. Extending liner a little past the outer corner makes them look longer.
Here’s how to draw eyeliner for round eyes without closing them in.
Deep-Set Eyes
Deep-set eyes sit back under a strong brow bone, which can shadow the lid. Lighter shades on the lid bring the eye forward, while a deeper shade just above the crease adds shape.
These tips for deep set eyes go further.
How to Choose Eyeshadow Colors for Your Eye Color
Eyeshadow colors that sit opposite your eye color on the color wheel make it look brighter, while shades close to it look softer. Contrast is what pulls attention to your iris, the colored ring of your eye.
Start with these pairings:
- Blue eyes: warm copper, bronze and peach.
- Green eyes: plum, mauve and burgundy.
- Hazel eyes: purples and golds that pick out the flecks you want to show.
- Brown eyes: almost any shade, from gold to navy.
For blue eyes, see these eye makeup picks for blue eyes and palettes for blue eyes. Brown eyes have their own list of eyeshadow for brown eyes and eyeshadow looks for brown eyes.
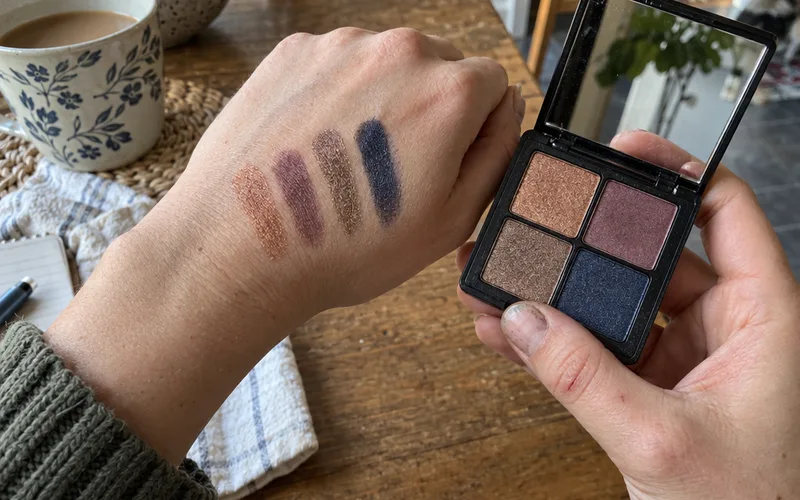
Not ready for bold color? Use it only as a thin line along your lashes.
These blue eyeshadow looks show how far a little goes.
How to Keep Eyeshadow From Creasing
Eyeshadow creases when it slides on oil or a thick, wet base, so making eye makeup last all day starts with a clean, dry lid and thin layers of product. A few habits keep it in place:
- Blot oily lids with a tissue before you prime.
- Let eye cream sink in fully, or skip it on the lid in the morning.
- Tap extra powder off the brush before each layer.
- Set cream or gel shadow with a powder in a matching shade.
Still creasing by mid-afternoon? Swap to a lighter layer of primer.
Too much base causes creasing as often as too little.
Eye Makeup for Older Eyes
The best eye makeup for older eyes is soft and light: matte or satin shadow instead of glitter, a smudged pencil instead of a sharp liquid line, and curled lashes to open the eye. A lighter hand usually looks smoother on mature lids.
If your lids have started to hood, place the crease shade a little higher while you look straight ahead. Then keep shimmer to the center of the lid only.
For product ideas, see this list of eye makeup for older women and these eyeshadows for mature hooded eyes.
Eye Makeup Looks to Try Next
The best eye makeup looks to try after the basics are a natural liner-and-mascara eye, a smokey eye, a winged or puppy liner and one bright shadow color, since each one changes just one of the 7 steps. Start with a natural eye makeup look that skips shadow and leans on liner and mascara.
Liner lovers have plenty of room to play. Try these eyeliner looks, a softer puppy eyeliner or bright white eyeliner looks.
For color, browse more eyeshadow looks or soft, sheer Korean eyeshadow. Costume nights are their own fun, like this guide to anime eyes.
Glitter is where I’d slow down. The academy warns that flakes can fall into the eye, get into the tear film and irritate it.
Keep glitter on the lid and well away from your lash line.
How Often to Replace Eye Makeup
Eye makeup should be thrown away 3 months after you open it, the American Academy of Ophthalmology says, because infection-causing bacteria grow easily in creamy and liquid formulas. That covers mascara, liquid liner and cream shadow.
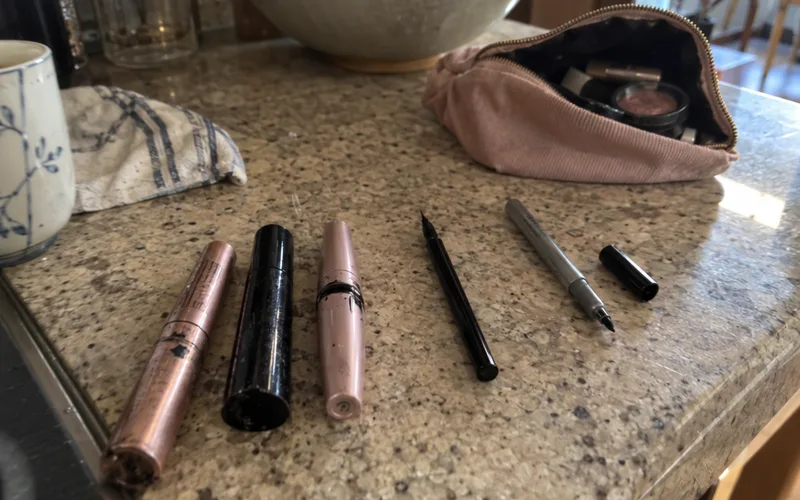
That rule comes from the eye makeup safety page the academy published on October 27, 2026. So it’s current advice, not an old rule of thumb.
Write the open date on each tube with a marker. Then you never have to guess.
Trying something new? The academy recommends introducing only one new eye product at a time, especially if you react easily, so you can tell which one causes trouble.
And never share mascara or liner, even with family. If your eyes are easily irritated, start with makeup for sensitive eyes, mascara for extremely sensitive eyes and eyeliner for sensitive eyes.
How to Remove Eye Makeup at Night
To remove eye makeup safely, soak a cotton pad in eye makeup remover, hold it on your closed eye so the mascara softens, then wipe down and outward without rubbing. Do it every night before bed.
That last part matters. The academy says to remove all eye makeup before sleeping, especially mascara, and describes a woman who slept in mascara for more than 25 years and developed black lumps under her eyelids.
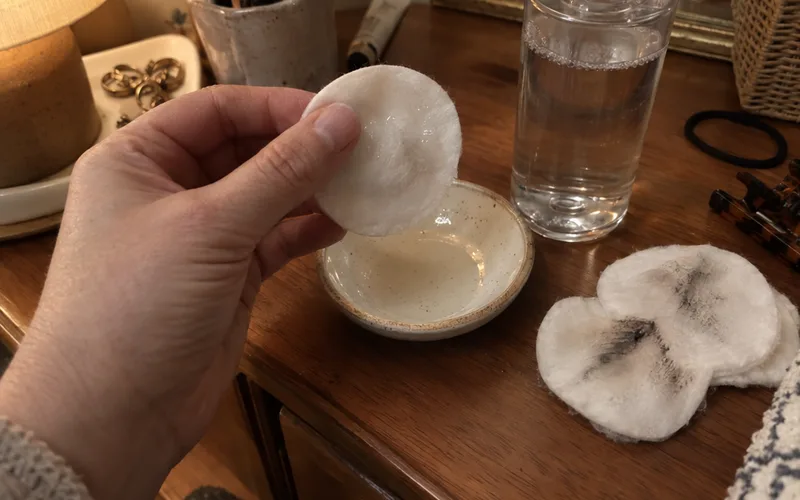
Here’s how it works:
- Wash your hands, and take out contact lenses if you wear them.
- Soak a cotton pad with remover or micellar water.
- Hold it on your closed lid while the mascara loosens.
- Wipe down and outward, never back and forth.
- Clean the lash line with a damp cotton swab, then rinse.
A gentle eye makeup remover makes this quick, and there are removers for sensitive eyes too. Waterproof formulas, like these drugstore waterproof mascaras, usually need an oil-based remover.
More Eye Makeup Guides
Every eye makeup guide on this beauty site lives under makeup, and these go deeper on single products. Pick by product:
- Mascara: mascara for length, mascara for short lashes, high-end mascara, Maybelline mascaras, the Sky High mascara review and Korean mascaras.
- Eyeliner: the Wonderskin eyeliner review.
Frequently Asked Questions
How do you do basic eye makeup step by step?
Basic eye makeup takes 7 steps: prep your lids with primer or concealer, fill in your brows, sweep a light shade over the lid, blend a deeper shade into the crease, line just outside your lashes, curl and coat your lashes, then brighten and clean up. Work from light to dark so mistakes stay easy to fix.
What is eye makeup called?
Eye makeup is the general name for cosmetics worn around the eyes, mainly eyeshadow, eyeliner, mascara and brow products. Eye primer and concealer are often counted too, since they prep the lid for color.
What is the best makeup for older eyes?
The best makeup for older eyes is soft and light: matte or satin eyeshadow, a smudged brown pencil instead of sharp liquid liner, and curled lashes with one coat of mascara. Skip glitter, and place crease color a little higher if your lids have started to hood.
Can you wear eye makeup with contact lenses?
Yes, you can wear eye makeup with contact lenses if you keep products outside the lash line and skip loose glitter. The American Academy of Ophthalmology warns that glitter flakes can fall into the eye and irritate it.
Are heated eyelash curlers safe?
Heated eyelash curlers carry a burn risk, so a regular curler is the safer choice. An American Academy of Ophthalmology spokesperson says skin can burn at 118 degrees Fahrenheit, while heated curlers often run from 100 to over 200 degrees.
Final Thoughts
The biggest upgrade to your eye makeup is order, not more product: light to dark, shadow before liner, mascara last.
This week, check the open date on your mascara, then try Steps 1, 3 and 6 for a 3-product everyday look.